Hey again,
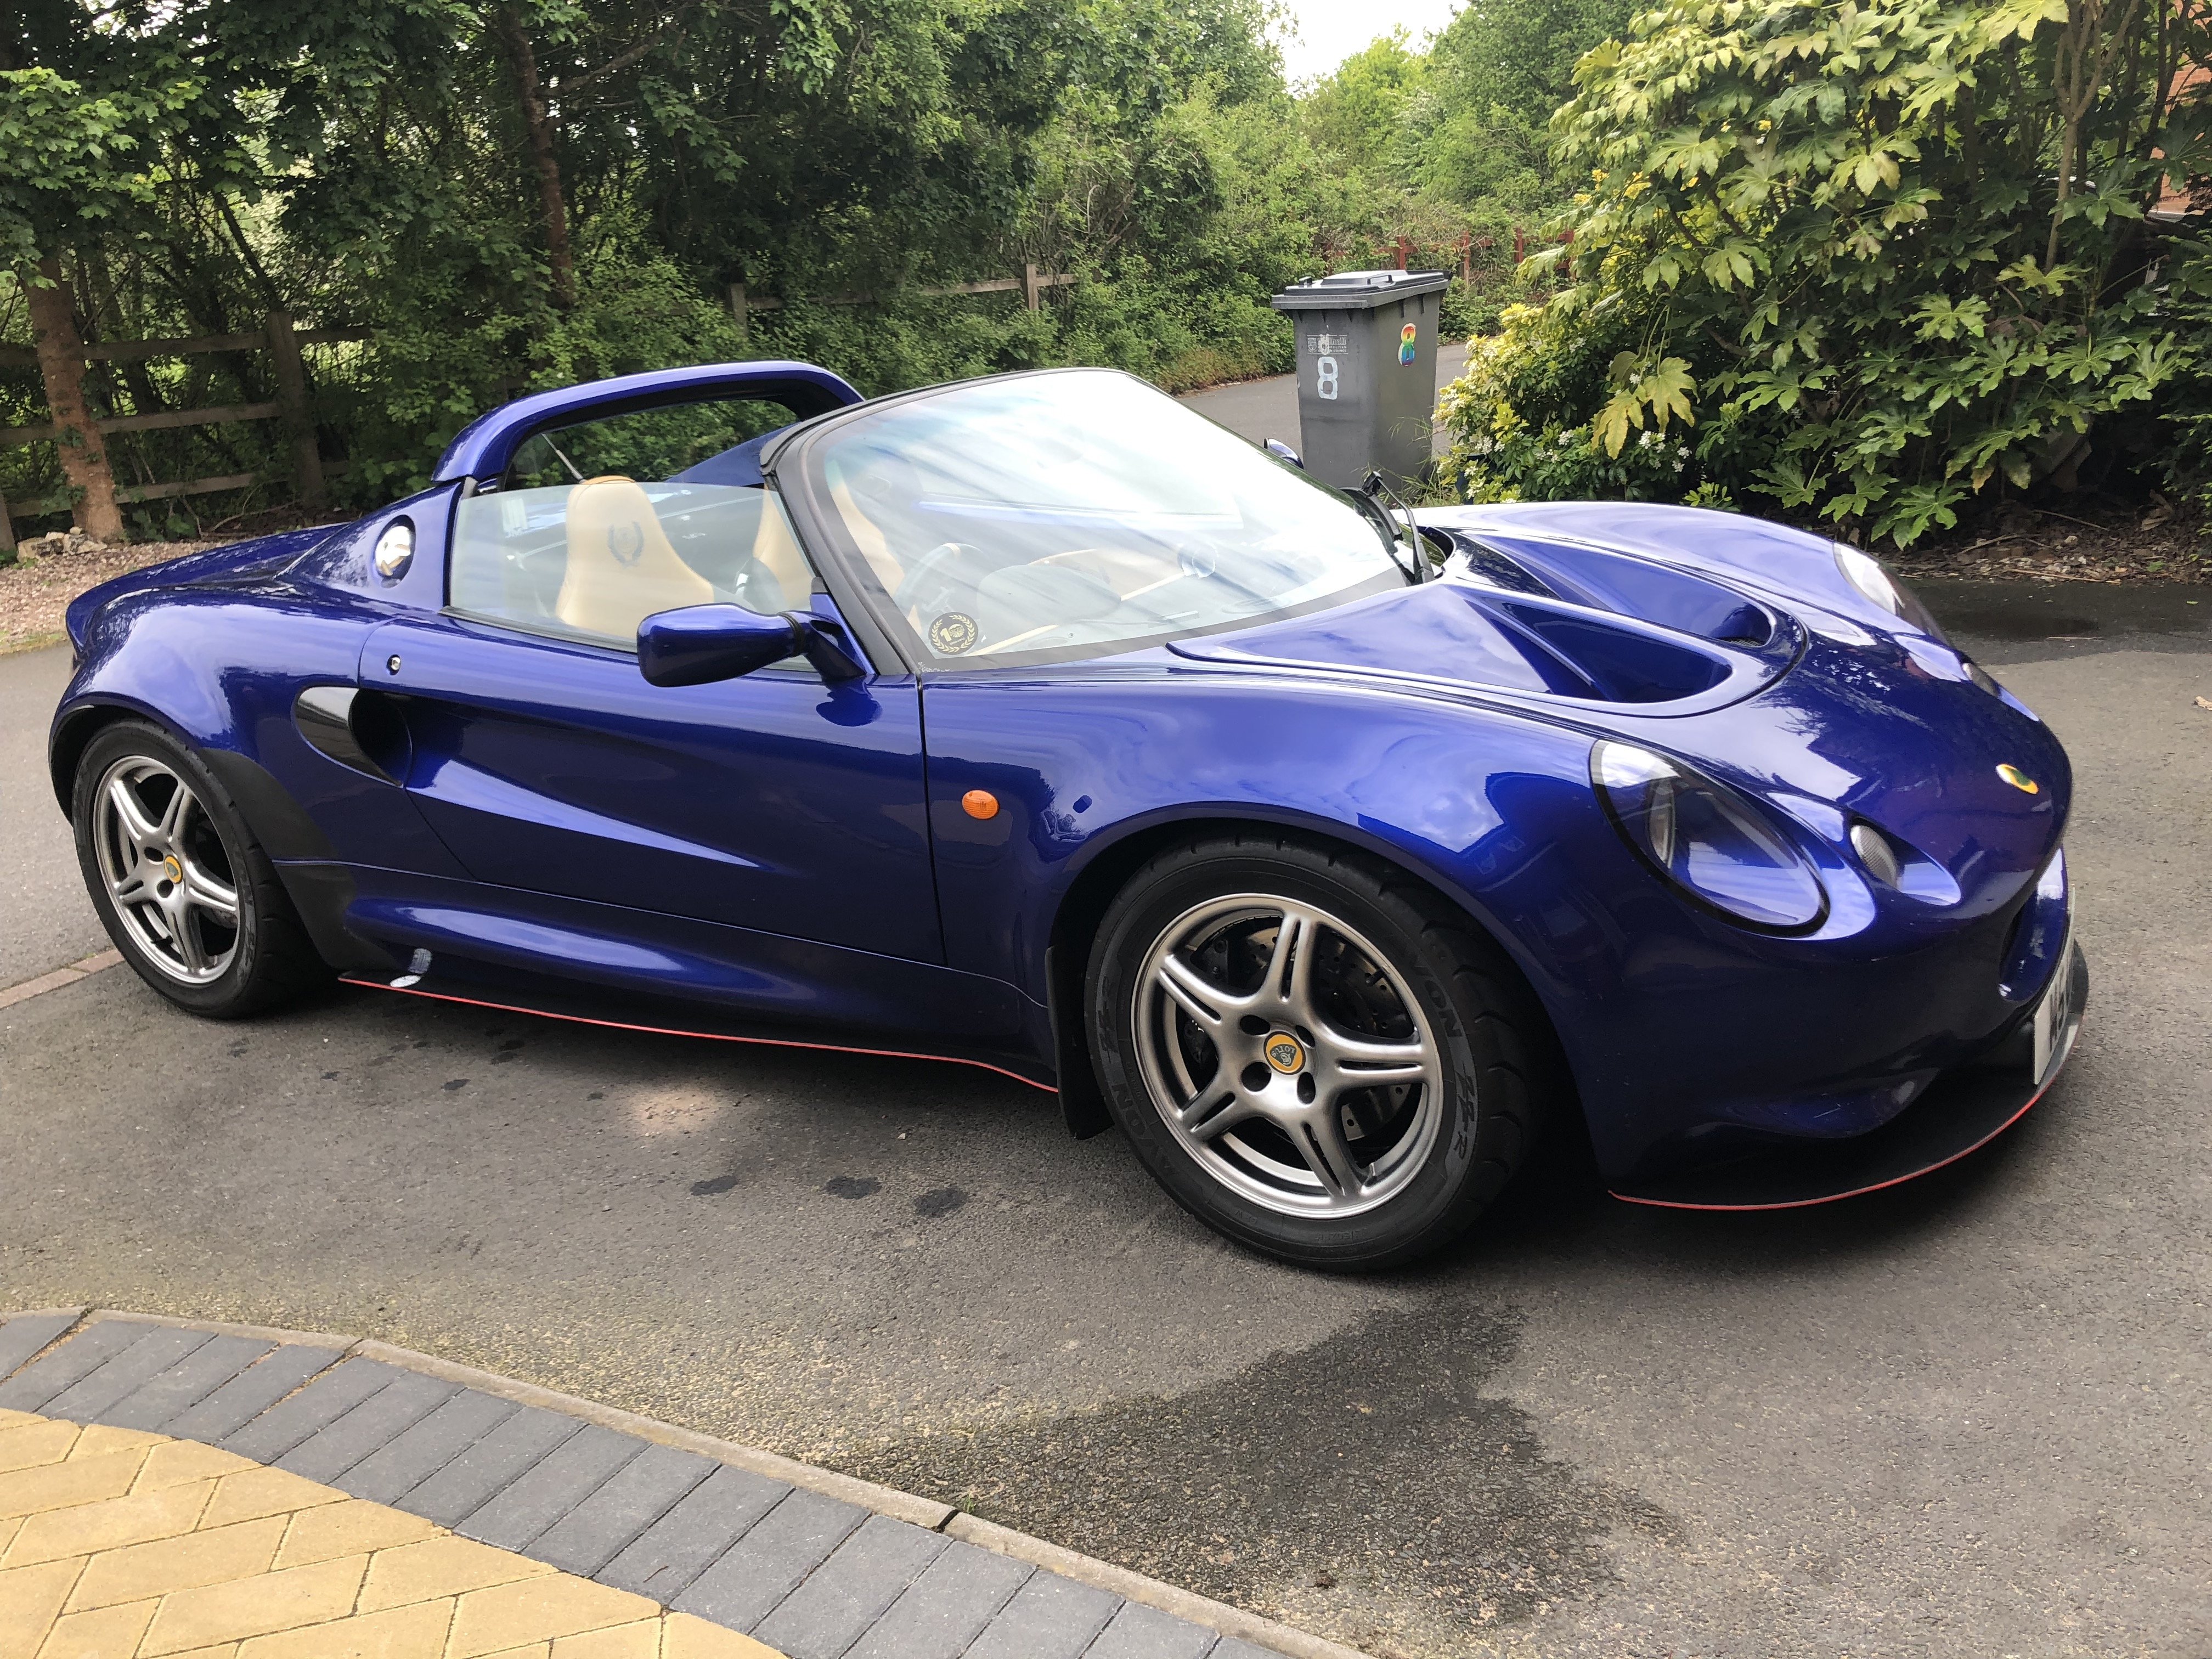
Like most Elise', mine clonks and bangs with the best of them. Due to years of abuse, the suspension is feeling a little worn at the moment. As we have been having some of the worst weather in history, it is the perfect opportunity to get the suspension stripped and rebuilt.
Now, there are couple of very good blogs/ threads that go into detail as to what you need to do, so I am not going to do that here. I am just going to show you a quick over-view of what I got up to.
Good references:-
Phil's thread as below...
http://www.midlandsl...ension-refresh/
And Martin R's very detailed approach...
http://www.midlandsl..._hl__winter+diy
As for me, my journey started just before X-Mas 2010 and in pictures, it went something like this...
Got the car up on stands...
I then removed all the bolts and fixings holding the wheelarch lining in place and by twisting it and out a little, I made enough room to get to all the bolts I needed to remove the suspension.
The photos show it best.
Good clearance to the bolts.
Disassembling begins. The only advise I would give at this point is that make sure that you keep all your bolts in a safe place. I use a number of containers that I mark to ensure that I put them back where they came from.
Some really unpleasant looking bits...
A few hours later, all the bits are off the car...
Please note that there a number of shims that you will need to make sure you make a note of and retain. More details on the threads referenced above.
Make sure that you support the brake calipers with some cable ties so as not to stress the brake hoses.
To clean the rust off the suspension parts, I used rust removing goo that you can buy from most motor shops. You simply apply it to the metal, leave it over night, then simply scrape it off with wire brush and wash off.
The outcome is not too bad. Its not as good as say, shot blasting, but it certainly cheaper and quicker.
Once dry, I then applied some rusk killer paint (please don't use the dining room table at Christmas like me - not a good move) and once dried, it was ready for painting.
I painted mine with POR15 and after two coats ( leave it for an hour between the coats), the results were pretty good.
Note that buy some cheap paint brushes for this ( I got mine from pound land) as once used, you will have to throw them away.
Bushes and balljoint go back in using the tools...
Looking good and ready for bolting back on the car...
Re-assembly was much easier as I used new bolts all round.
Quick Reference.
Paint - POR15
Refresh kit - Seriously Lotus ( http://www.seriously...d-steering.html) - Really nice guys
Bushes - Standard ( I went for comfort)
Tools:
- Jacks - two is good.
- Axel stands - four is good
- Full spanner set
- Hex kit
- Balljoint remover ( Thanks Dr.H for lending me yours)
- Bush remover ( Thanks Dr.H once again for lending me yours)
- Balljoint spliter - the screw one is best
- WD40 or any other penetrating fluid
- You may deed a butane flame thrower for the rusty bolts
- Brushes - cheap ones
- Rubber gloves - POR15 is nasty on the skin
- Hammer
I hope this has been useful.
The car feels beautiful now and all the knocks, clonks and bangs have all gone. It feels tight and responsive. £500 or so money well spent.
I am sure with time, I will have to do it again, but as for now, its job done!![]()


1 Comment
Recommended Comments