

Headlamp Bulb Change
Firstly, as a point, I'm not a mechanic; I have put this guide together to act simply as a reference for those who are as sure about doing this as I was to start with. It is recommended you should always change bulbs in pairs to maintain equal brightness. Here I have used the example of the Dipped Beam headlight. The same process would apply for the other bulbs. These are the following lights to be used:
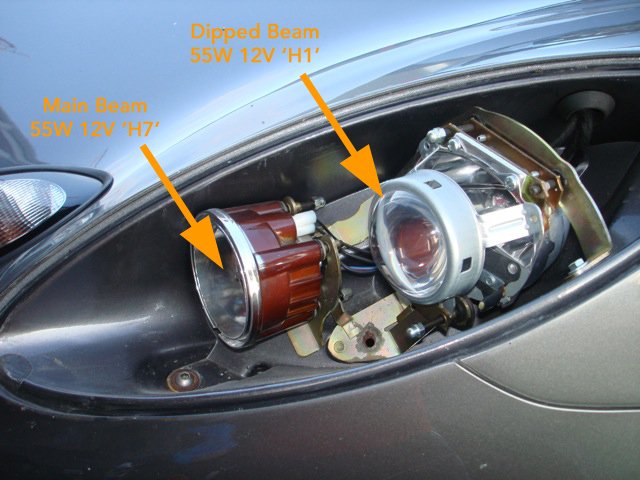
Main Beam - 12V 55W 'H7'
Dip Beam - 12V 55W 'H1'
1. First, turn your wheel to face outwards from the car. This will give you better access to the screws you need to undo in the wheel arc.

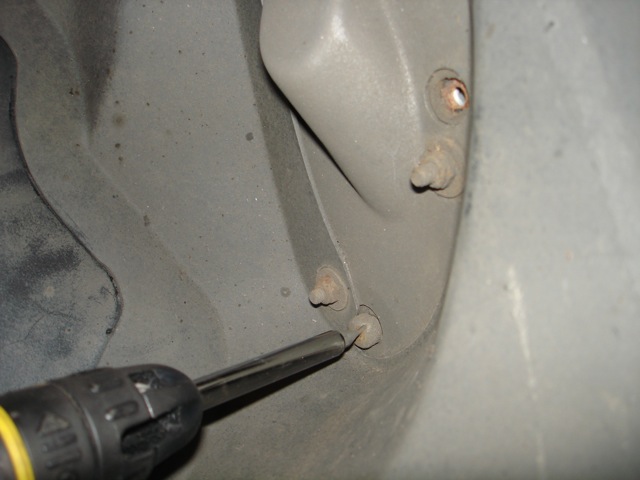
2. Initially I removed the lower part of the wheel arch liner as I was unsure exactly which screws needed removing. As it turned out these three screws are all you need to remove. These are flat head bolts holding the external lamp cover in place.
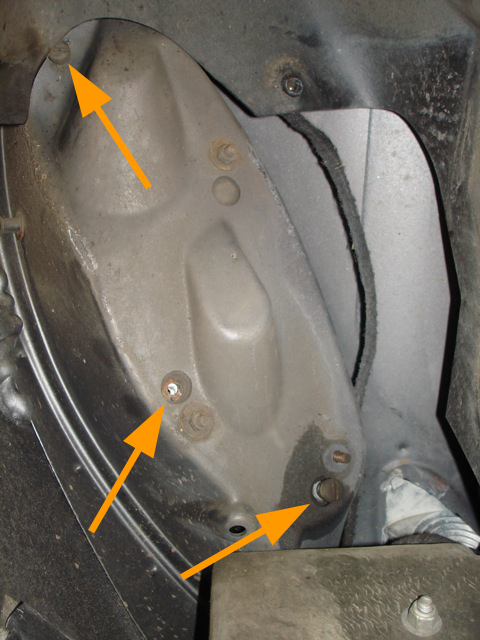
3. Once the three screws have been removed, you can slide out the lamp cover, being careful not to catch either of the lamp domes.

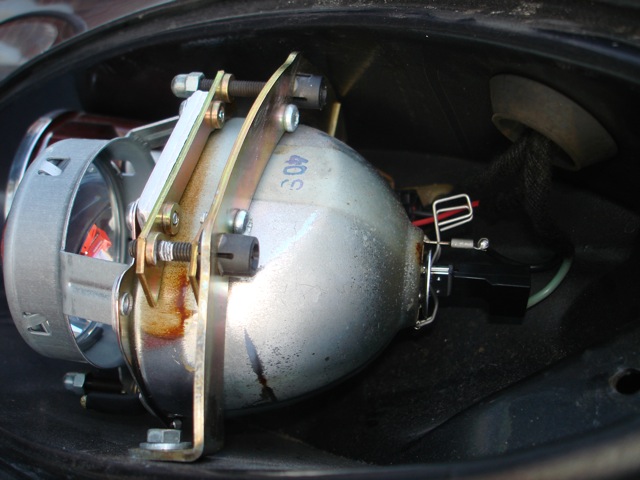
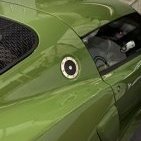
4. This leaves the lamp housing and cablelling exposed.
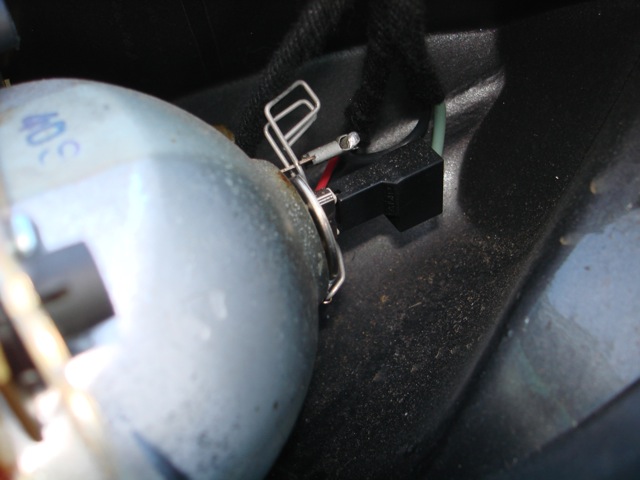
5. Remove the yellow coloured cable and the smaller black cable and push clear of the housing.
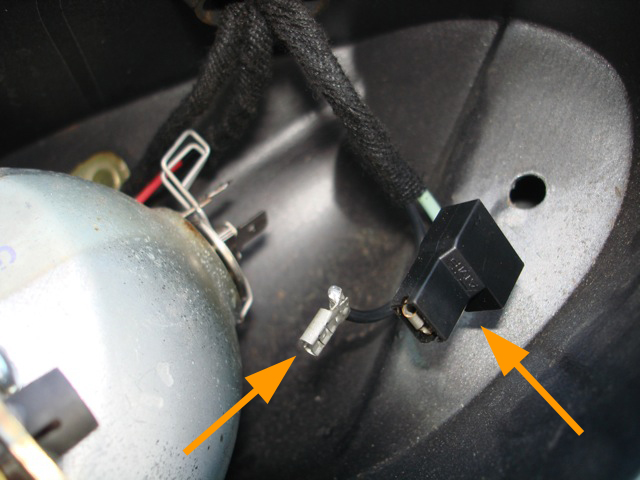
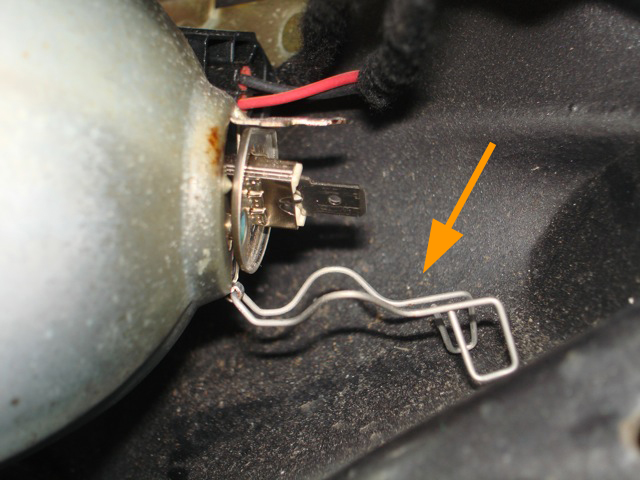
6. Unhook the two sliver clips holding the bulb in place.
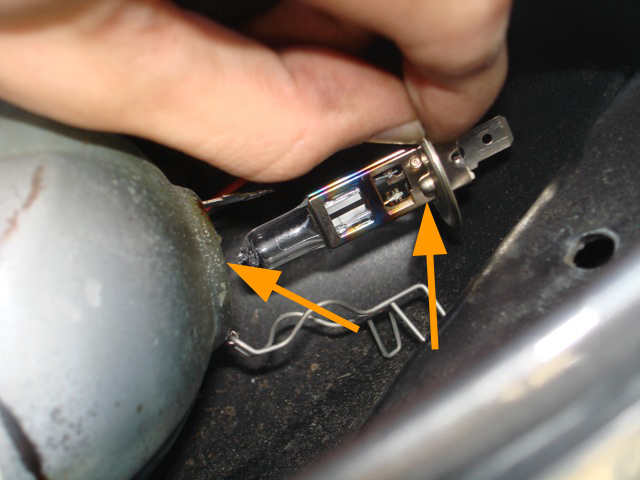
7. Carefully remove the bulb and replace with new one. Line up two lumps on the bulb fixing with the housing.
8. Reattach the metal clips and both cables, clean the seal and replace the headlight cover unit.
9. Rescrew cover back in place . Job done.


.thumb.JPG.8b430cdf432e55b4f884027eff0f6f45.JPG)

Recommended Comments
There are no comments to display.
Join the conversation
You can post now and register later. If you have an account, sign in now to post with your account.