We are now getting towards the business end of this installation.
The job on the list for this week, was to replace the original flexy brake pipes with uprated steel braided ones.
Searching through the tinternet, there were several options, I guess ranged quality and therefore price. I chose, for whatever reason to go for these...
I must say, I was quite pleased with the quality and seems to be as good as expected.
At this point, it's worth pointing out that if you don't know what you are doing when it comes to brakes, I suggest you go and get someone who does. Its just not worth risk!
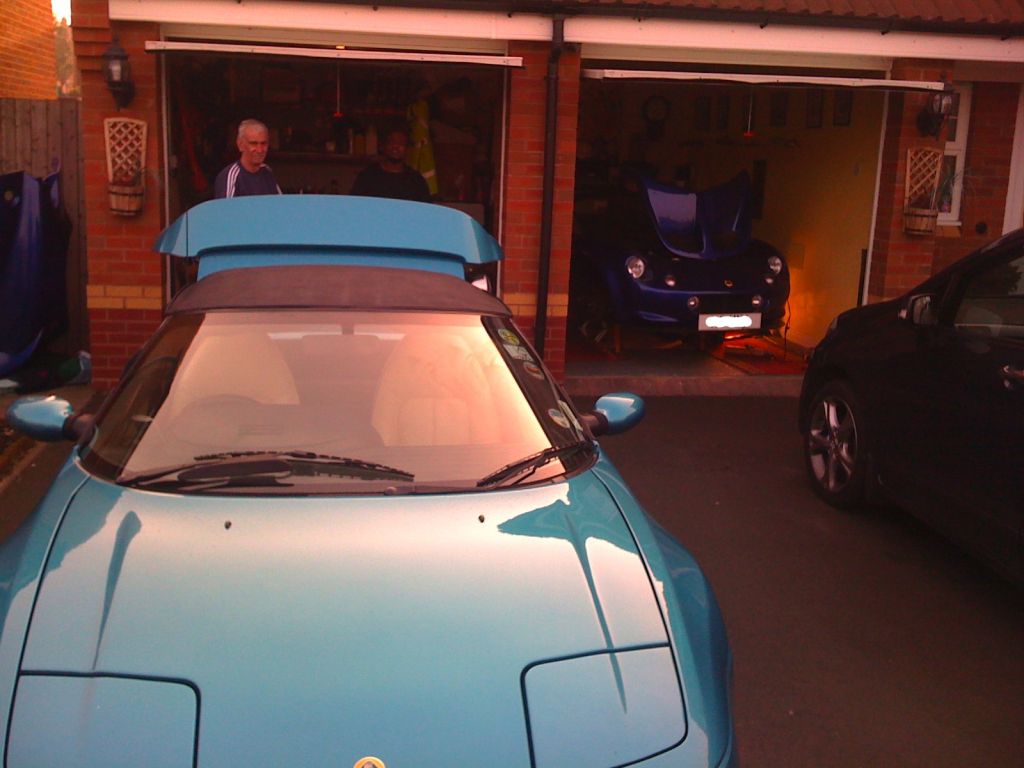
So, in my case I called in my Ol' Pal Martin R. I can't thank him enough, as no matter how much I read up on this, I did not feel comfortable at all even considering taking this on. So, you can imagine my relief when the Man turned up ![]()
Here he is with my Nephew Jason...
Since the system was pretty low in brake fluids due to the fact that the clutch pipe was disconnected when the engine was originally removed, it was safe to get on with the work knowing that we were not going to get buckets of fluids coming out.
The first job to do was to detach the brake calliper assembly from the old flexy tube. This can prove to be pretty tight due to rust and age, but with a bit of biceps on to it, it should be possible to crack it...
Once that is removed, then its a matter of unbolting the rest of the pipe from two points. Firstly, there is a nut holding it to the car, and the coupler to the rigid pipe from the car. If you take your time with this, it should actualy be pretty simple and with a simple 3 spanner action, you should be able to remove it in about 10 minutes or so.
Once the old pipe is out of the way, clean around the area and start the installation of the new ones.
Now, Martin and I tried a couple of different ways of approaching this. We first tried to attach the new pipe to the car first then the calliper - That proved a little ackward, so we tried the other way round. On reflection, it will be down to your preferance really. On the day, we favoured the calliper first approach.
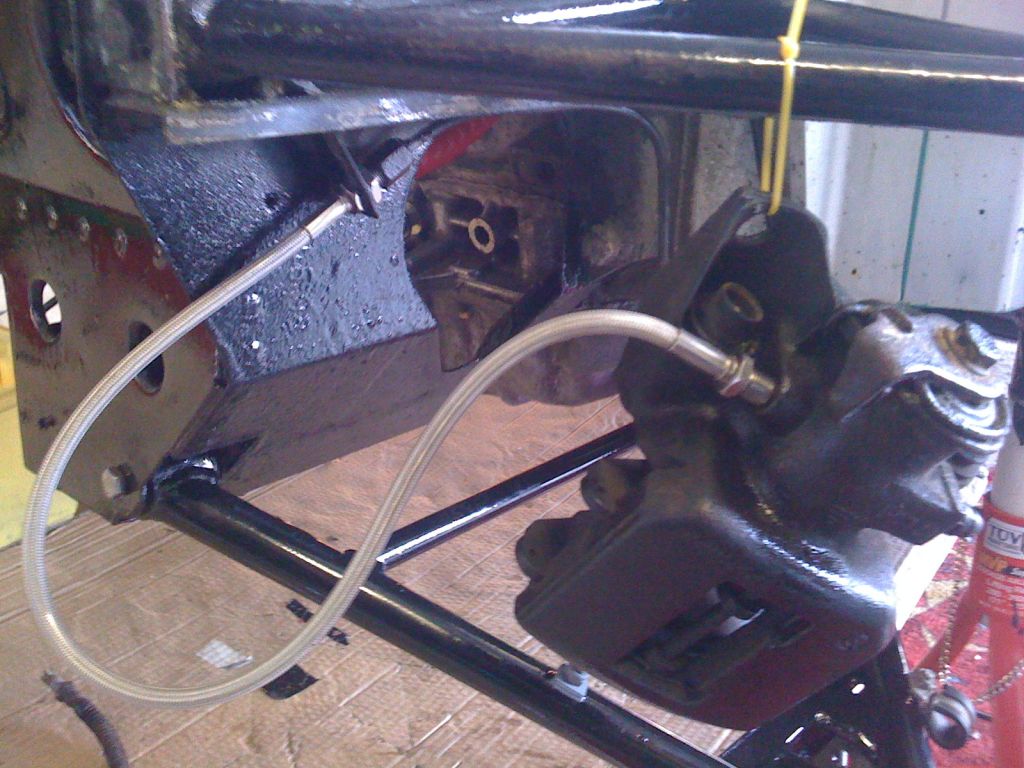
The installation is pretty much the reverse of the removal and takes less than ten minutes per wheel to screw everything back in place...
Attaching the pipe to the car...
Looking good...
Attaching to the calliper...
Nice!
Once all the rear were done, we went to attack the front...
The front is a little bit more ackward to work on due to the fact that the coupling between the flexy pipe with the rigid one from the car is actually in-board.
Luckilly, Lotus were kind enough to provide us with a little, and I do mean a little slot to just about get spanners in. With patience, you should eventually be able to get the nuts undone pretty much as the rears...
With Martin working on one side and myself on the other, we managed to get this done end to end in about 20minutes.
Thats the front done ![]() . ( Don't look at the wishbones as they are a disgrace!
. ( Don't look at the wishbones as they are a disgrace! ![]()
All that is left to do now is top up the fluids, bleed the system and job done. This will be done at a later date once the rear suspension is re-assembled and brake discs put back on. But for now, Martin's job is done and he rides off into the sunset after saving another day ![]()
The patient pearing into the open space with expectations!
BTW, if you need a more technical guide to how to do this, I found this link useful Clicky
As for the braided brake hoses installation for now, we can all it job done! ![]()


0 Comments
Recommended Comments
There are no comments to display.