

Engine Installation Part 2

Entry posted by mambosasa
1,869 views
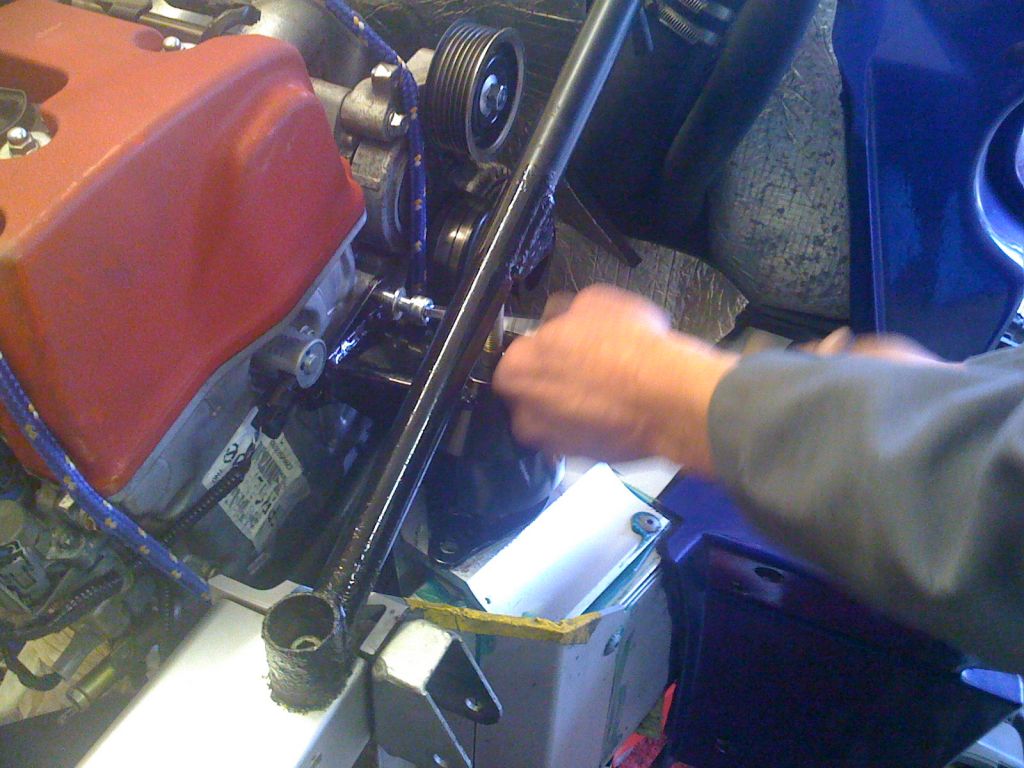
Before lifting the engine up into position, the bottom engine mount bracket has to be drilled and bolted.
This is a little awkward as you have to place the bracket into position, mark and then get under the chassis to drill through. As lining up the holes was pretty tricky, I decided to drill a pilot hole then enlarge it to suit, with the bracket in-situ.
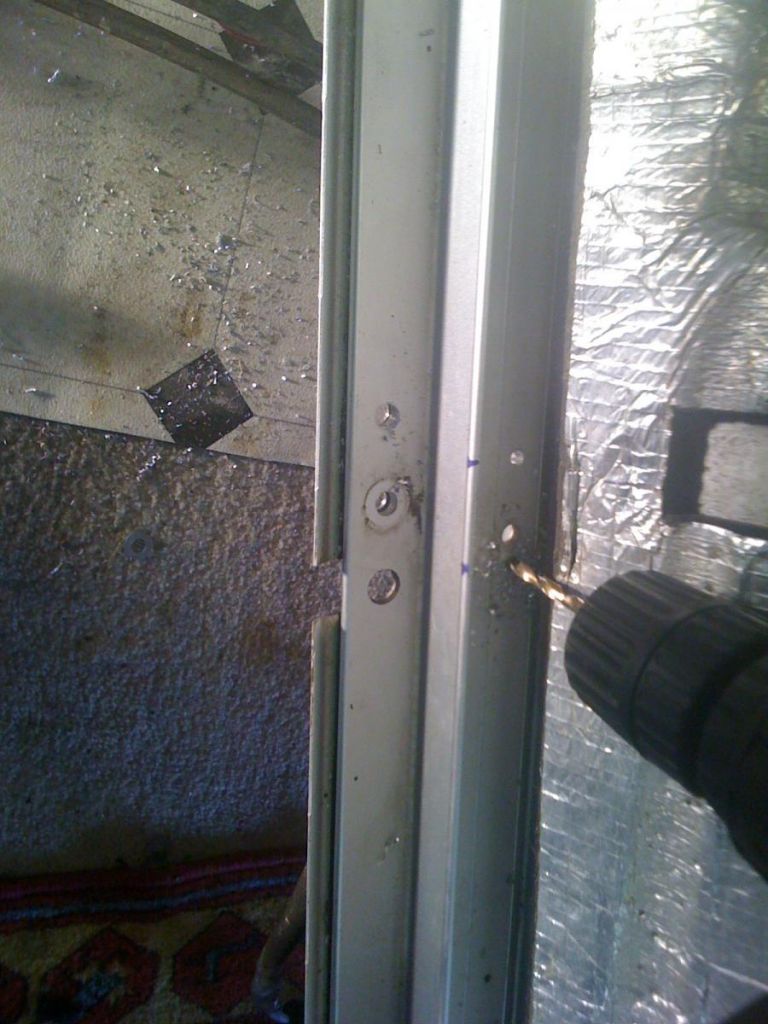
25 minutes later - all done.

I bolted the bracket into place and we are good to go for the installation.
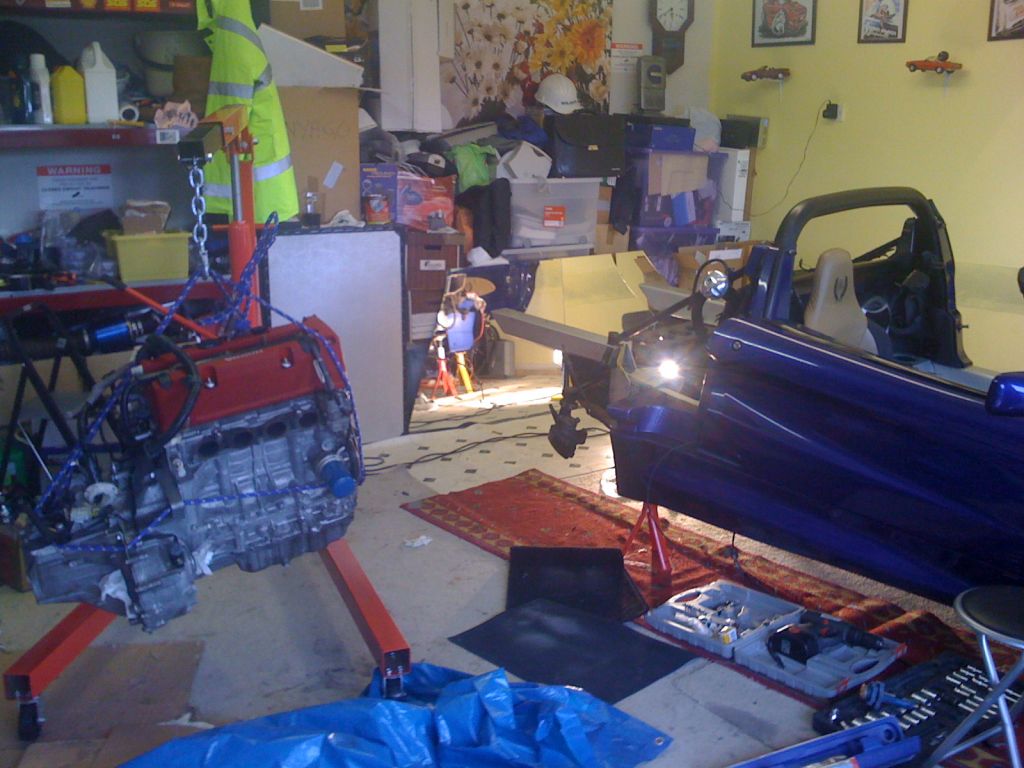
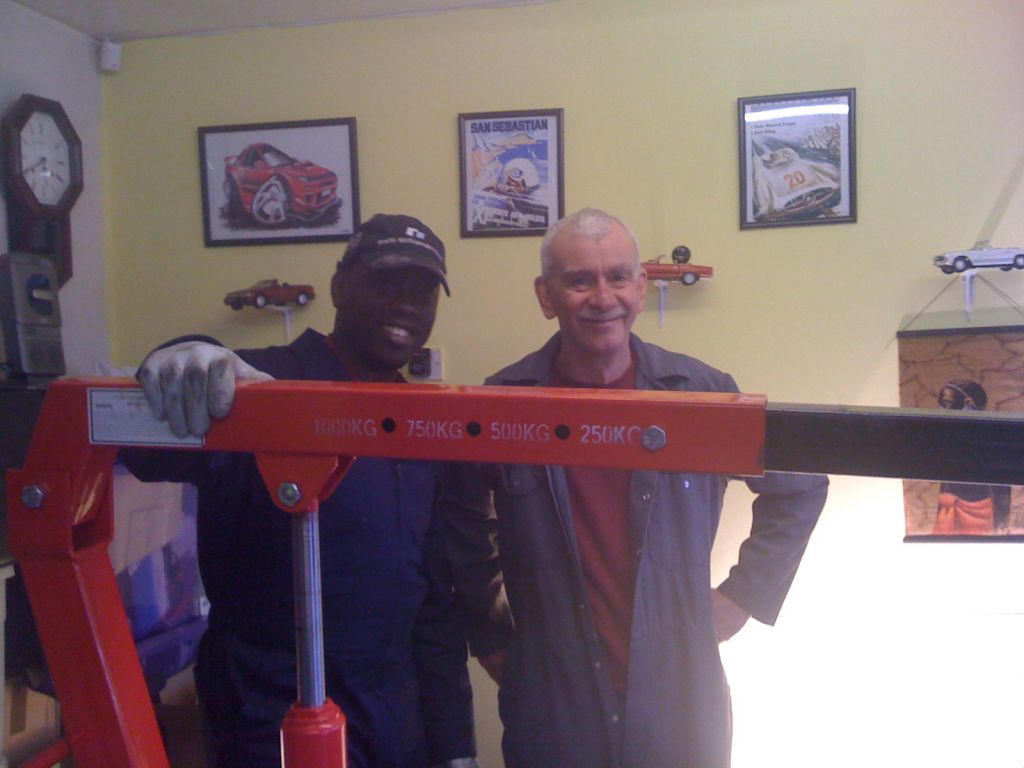
Martin and I pushed the hoist into position, with the engine just above the engine bay.
Martin's face say it all - Its never going to fit in there! ![]()
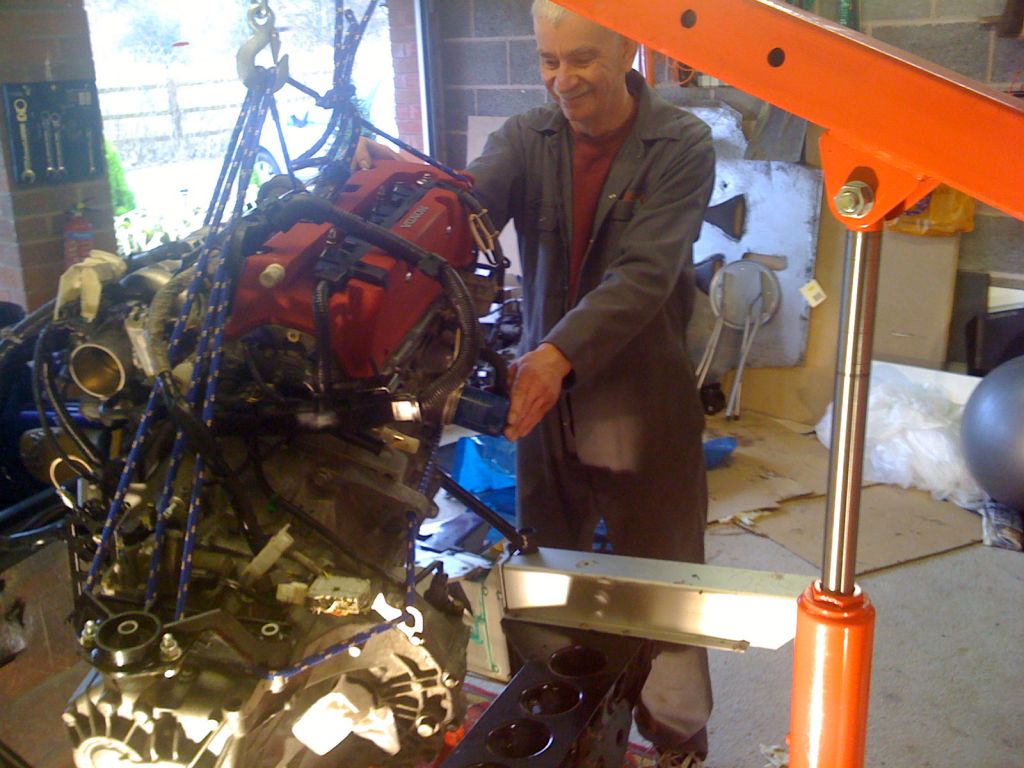
Then it was a matter of getting the engine as far forward as possible, in fact it has be be up against the firewall, tilt the gear end down and with a scooping motion, lower the engine into position.
TIP: Prepare yourself at this point for scraps, sweat, head scratching and a colour selection of swear words! It was an absolute bugger to get in ![]()
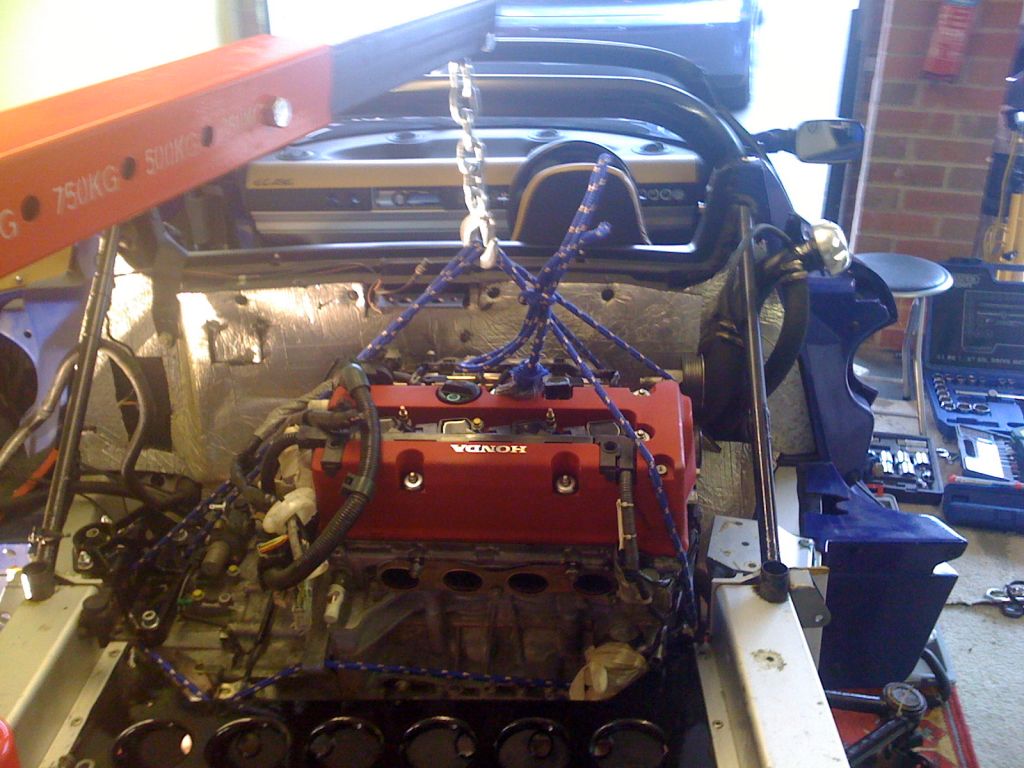
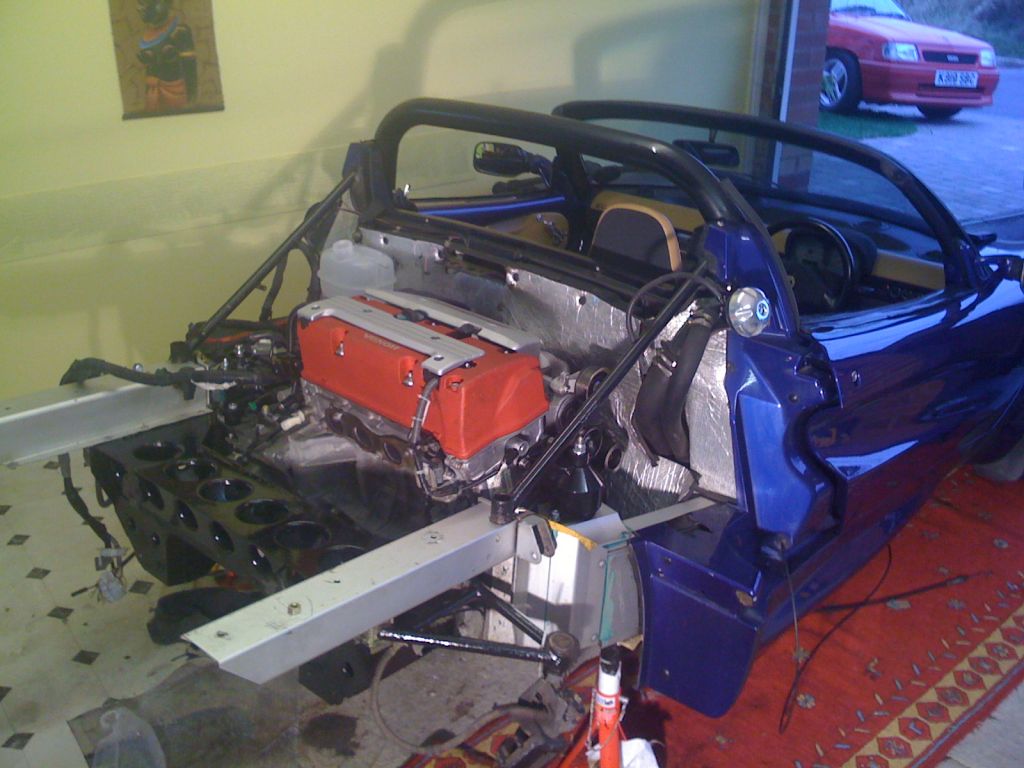
All in position now.
Note that the far engine mount is not in place as yet.
Two very happy guys! ![]()
![]()
The engine mount simply cups on top of the original Rover hydromount ( I actually decided to buy new one) and bolts to the engine.
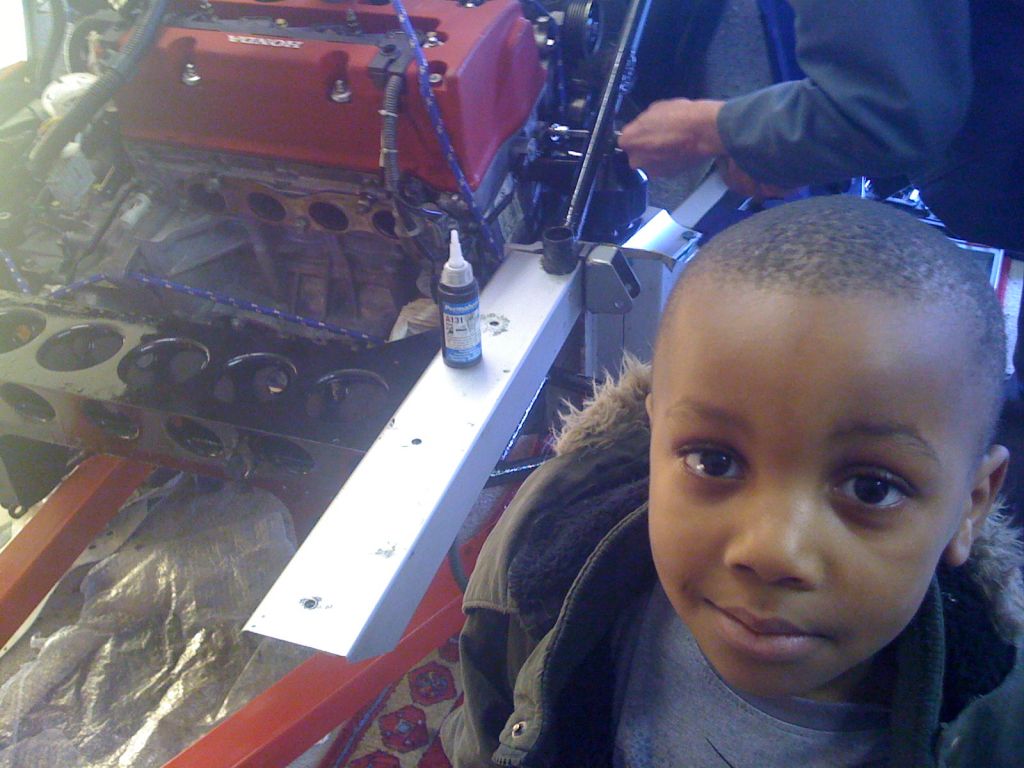
Even Little Bis was impressed...
Time to let the engine go to rest in its new home

Job done! ![]()
0 Comments
Recommended Comments
There are no comments to display.