


Entry posted by mambosasa
2,078 views
Now that the engine is in place, the next job on the list is to get the coolant system piped up.
The kit comes with all the appropriate hoses (you get a choice of Black, Blue and Red) and the associated clips, bends and joiners.
You will note that I have gone for RED! I had a long think about this before I chose and I concluded that its really a matter of taste and preference. I don't really think that there a right or wrong choice here. Alan (The chap who converted his S1 on Seloc with the same kit) went for blue hoses and I think look fantastic.
For those who don't like the look - ![]()
![]()
Temperature Sensor Adaptor
Before cracking on with the hose installation, there was one little job to complete.
To the left of the exhaust manifold, there is a coolant fitting that needed un-bolting and replaced with a temperature sensor adaptor. This is quite a simple job.
Unfortunately none of my spanners actually fit, so I had to get brutal and use a pair of grips (I believe that is what they are known as ![]() ), but 5 minutes later, all done.
), but 5 minutes later, all done.

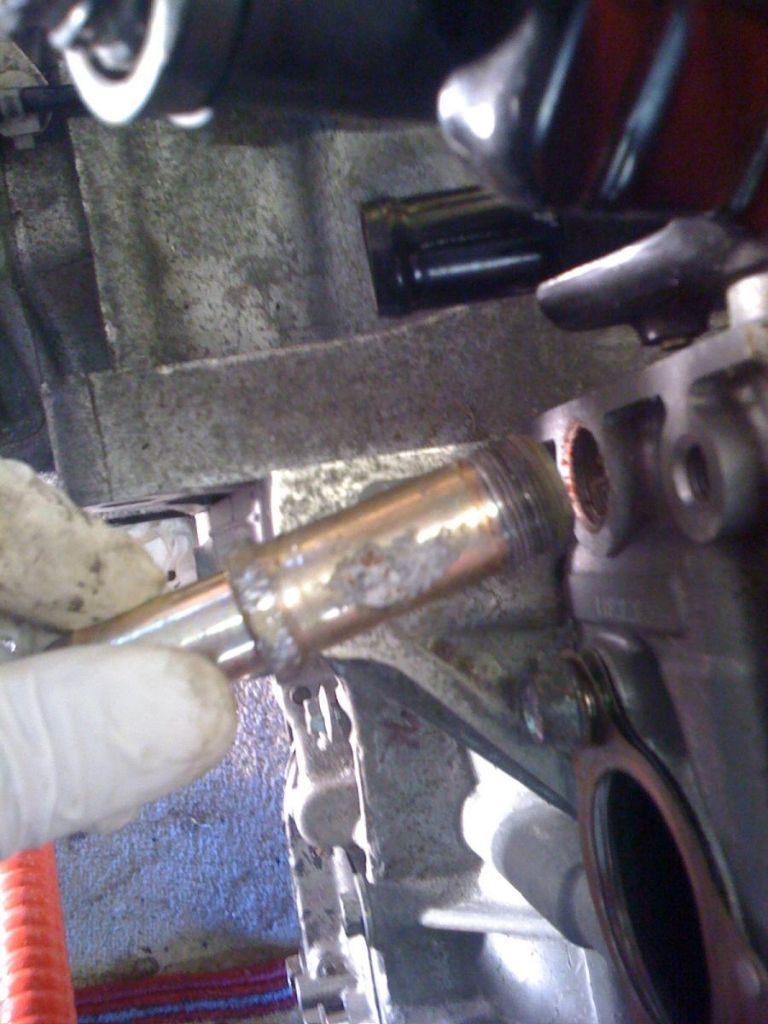
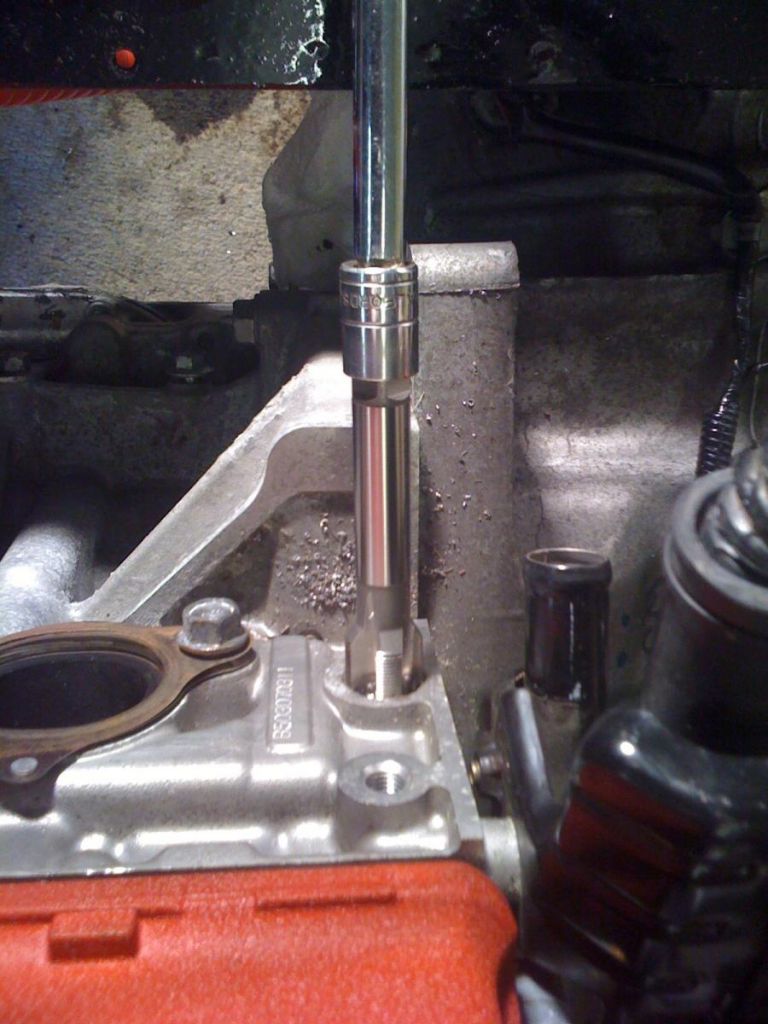
I then had to use the thread 'tap' provided...
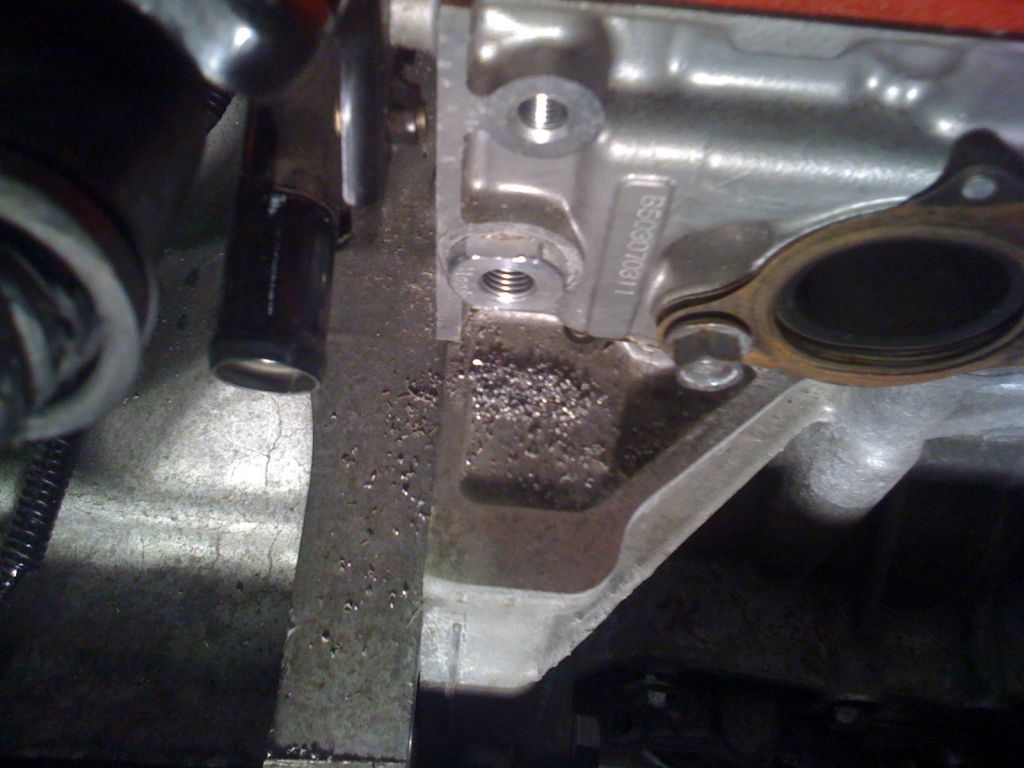
And then just a matter of screwing in the adaptor...
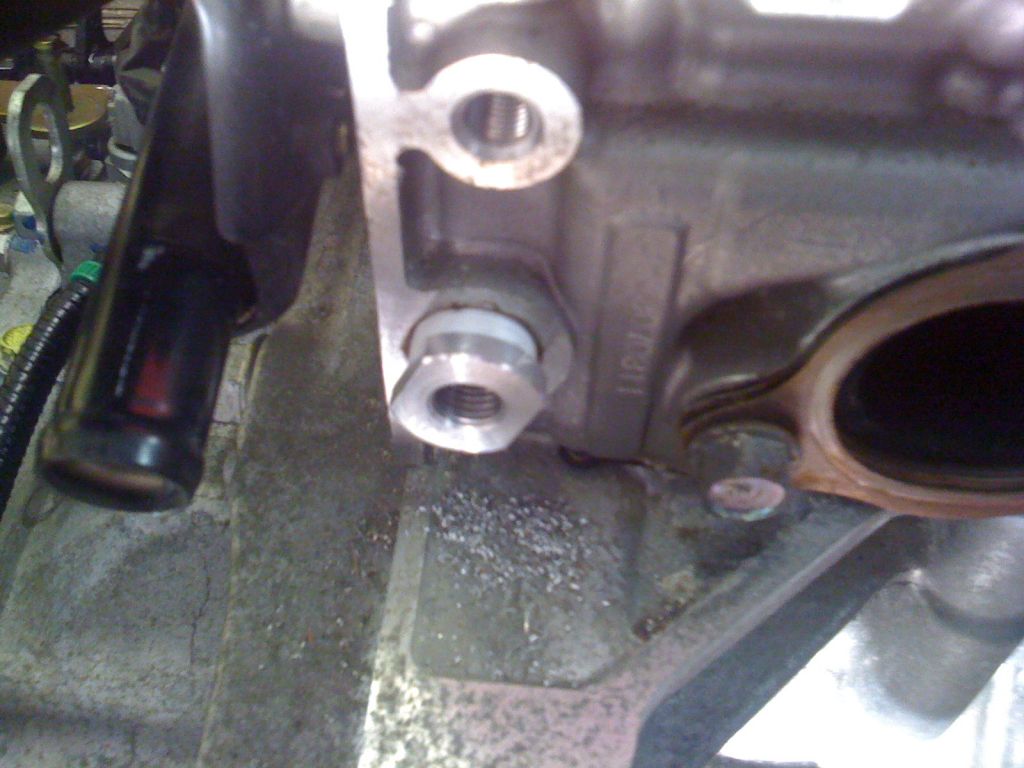
Job done!
Hose Installation
As mentioned above, the kit comes with all the hoses and accessories required to get the work complete. Its is simply a matter of taking your time, take on one run at a time and ensuring that you cut the hoses at the right places/ length.
The setup is pretty straight forward.
1. Nearside chassis pipe run to the thermostat
2. Farside chassis pipe run to the cylinder head in-take
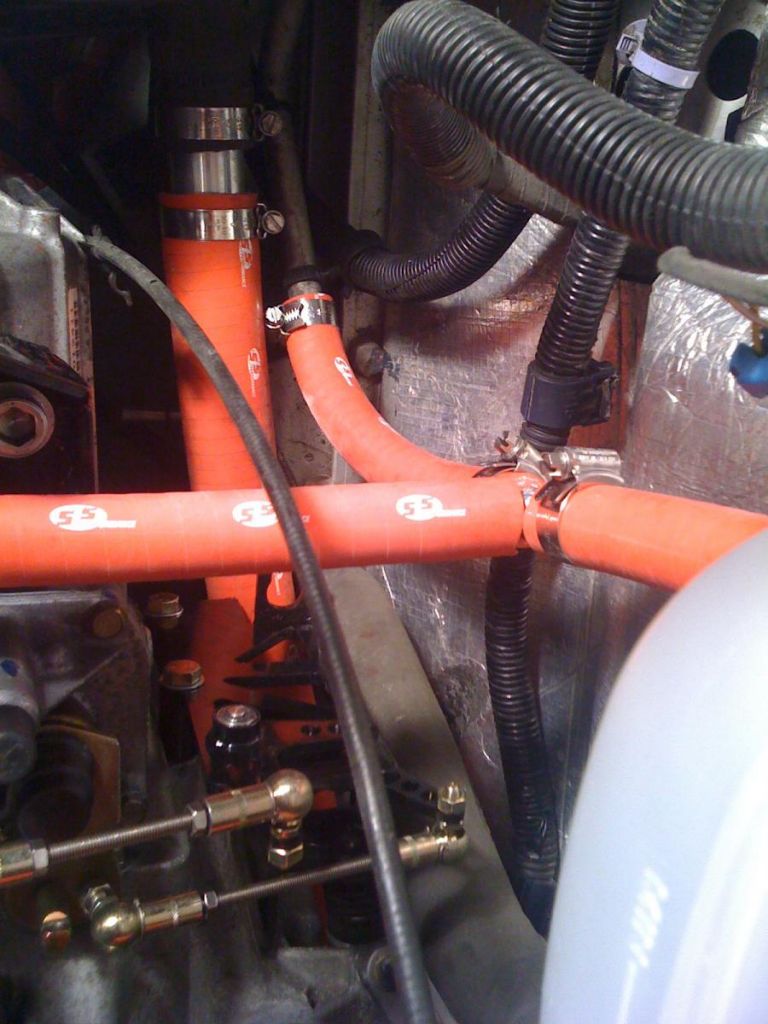
3. The coolant bottle runs down to small pipe by the nearside chassis and T off to the back of the engine.
That is pretty much the complete coolant system.
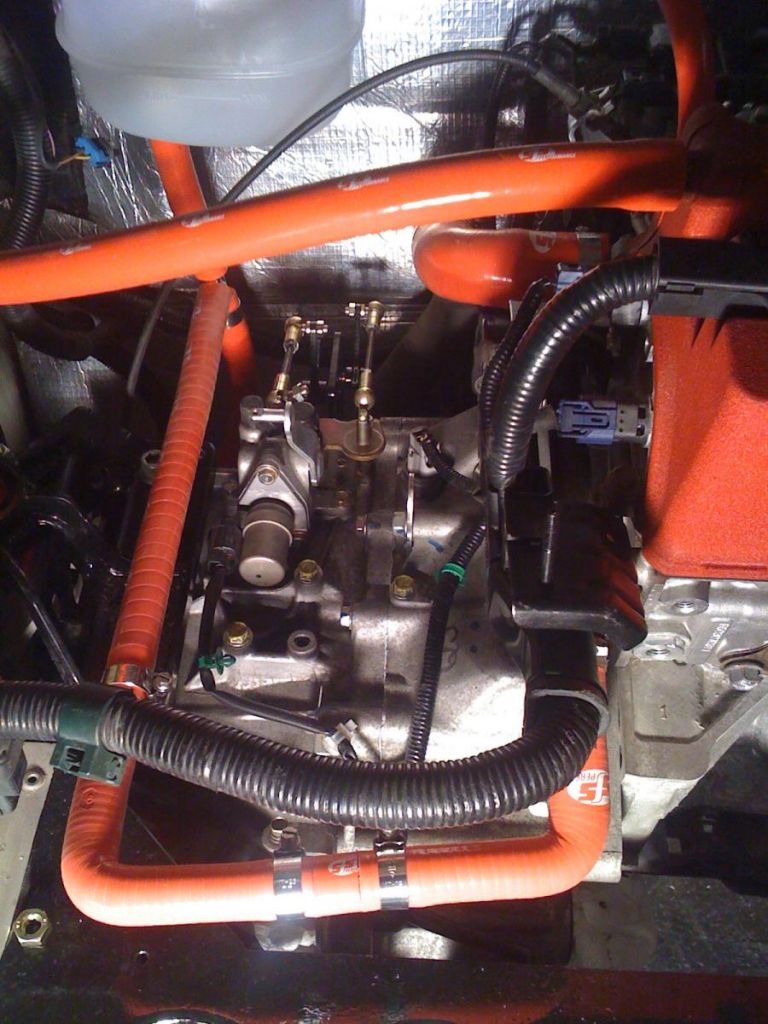
One think that is worth pointing out is that the kit requires complete replacement of all the original pipework. Now, I found it pretty tight at the back (between the engine and the firewall), especially where the pipework cross over.
I believe the idea is that since the hoses are made of rubber, then they would be able to absorb any vibration an therefore would be okay in the long run.
I however felt that this was not going to be good enough and decided to utilise the original aluminium pipes to run behind the engine, and secured against the chassis cross beam. This ensured that they were well out of the way and no where near the engine.
In fact, I used one of the original rubber hoses to come up to the cylinder head intake. I was a neater solution and bend route was were I wanted it.
The work took about 2 hours in total, but I think could be done in just over an hour if you had a clear run at it.
Photos to tell the story...
Pipe run to the coolant bottle.

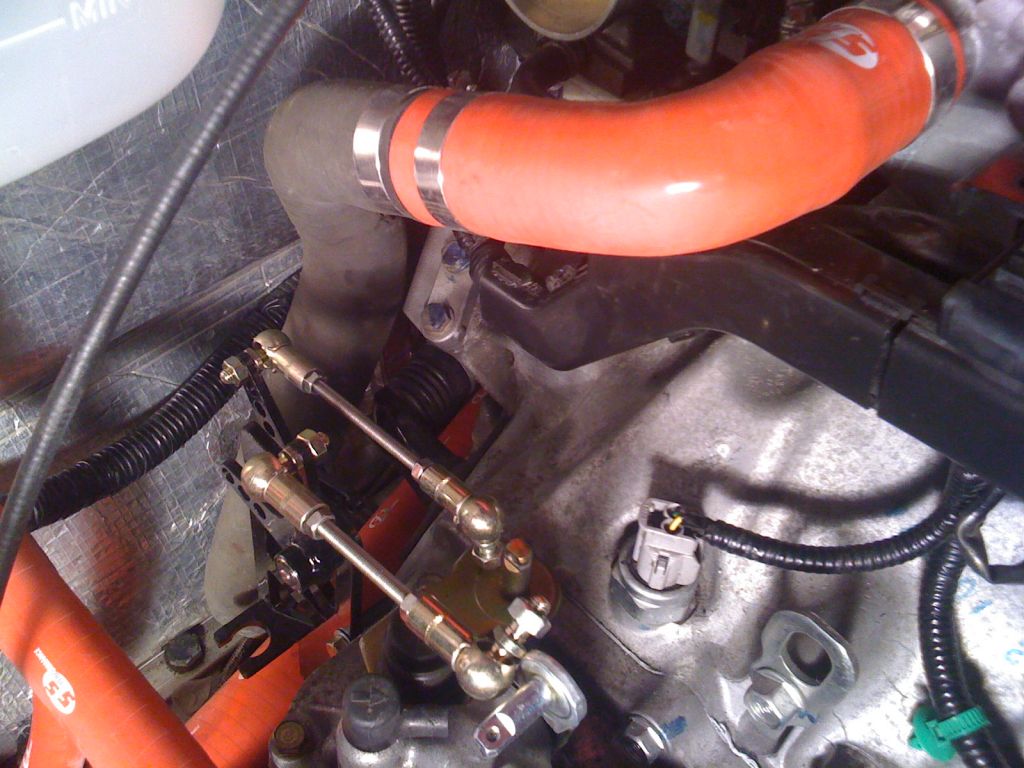
Connection to the nearside chassis.
I used the original hoses to give better clearance to the gear linkage...
The oil return pipe had to be extended and re-routed to avoid cutting the sub-frame. Rubber strips to be added to reduce rubbing...

Pretty in red...
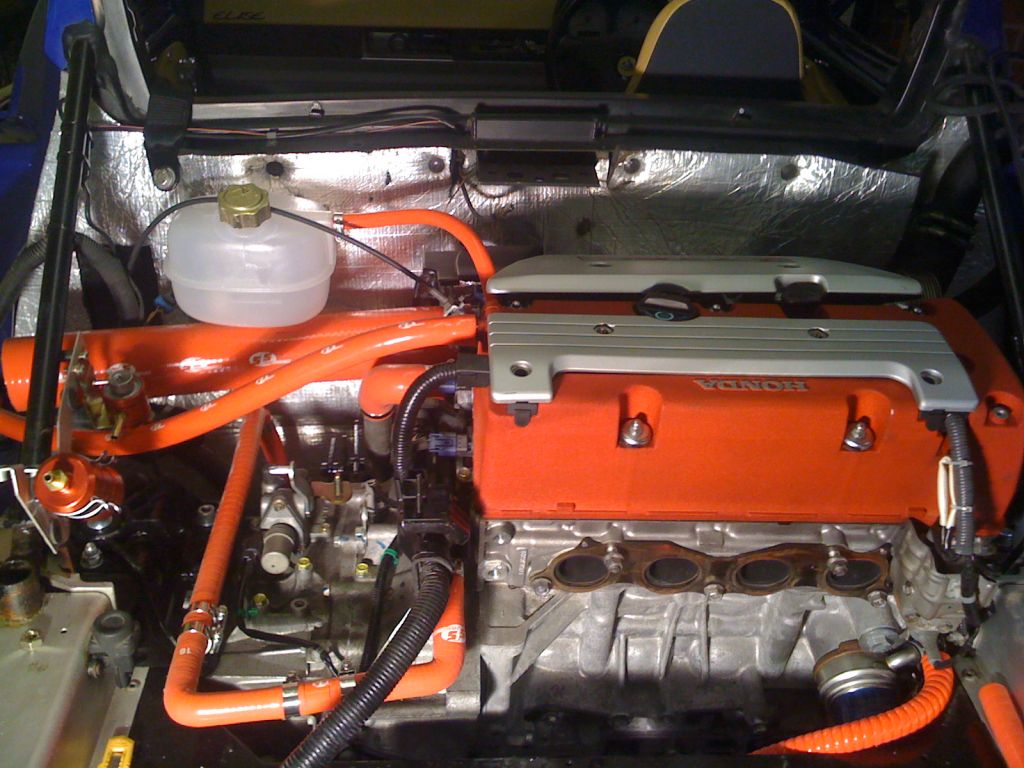
Job done! ![]()
.
0 Comments
Recommended Comments
There are no comments to display.