


Entry posted by mambosasa
5,283 views
This weekend has been a big one. The aim was to get the rear clam and the engine removed all in a day! That is a lot of work to undertake in a single day, but given that the Saturday is the Feb 14th (Something to do with Roses and the like for the Wife), it was evident that I will not be able to spend the whole weekend in the garage.
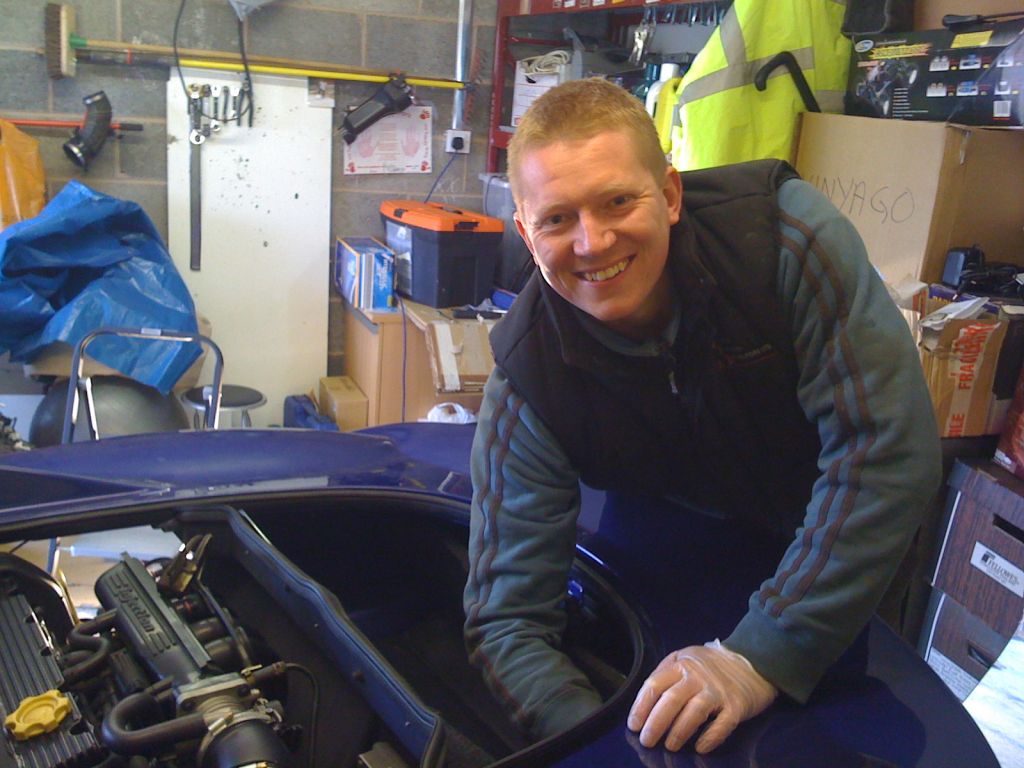
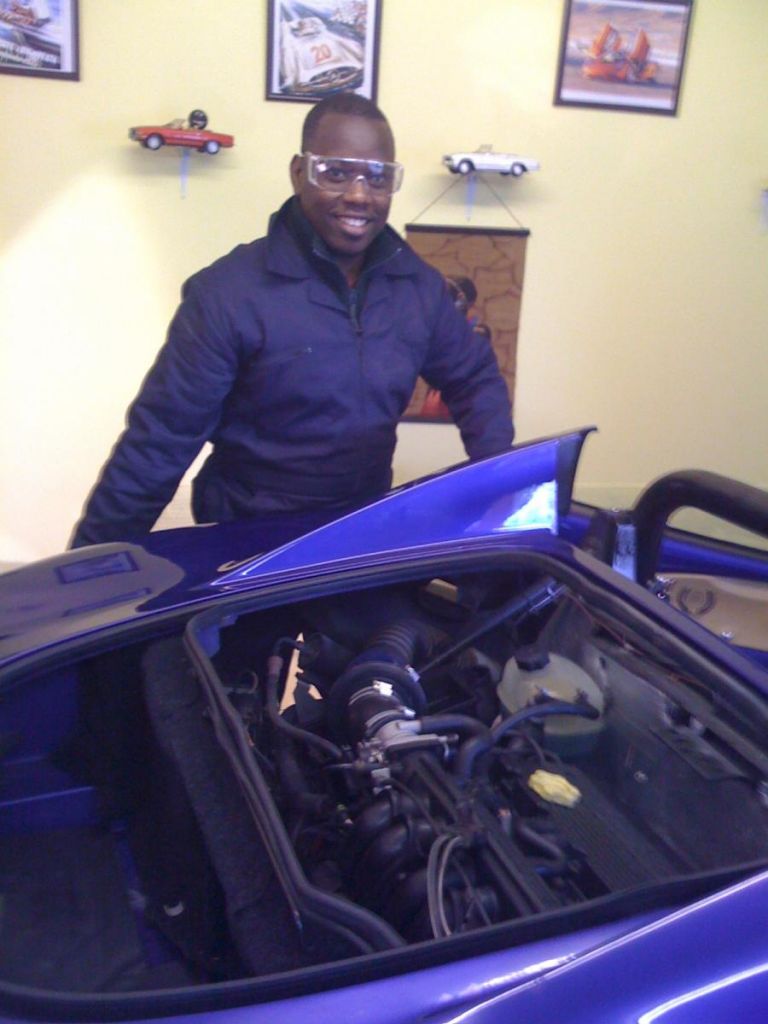
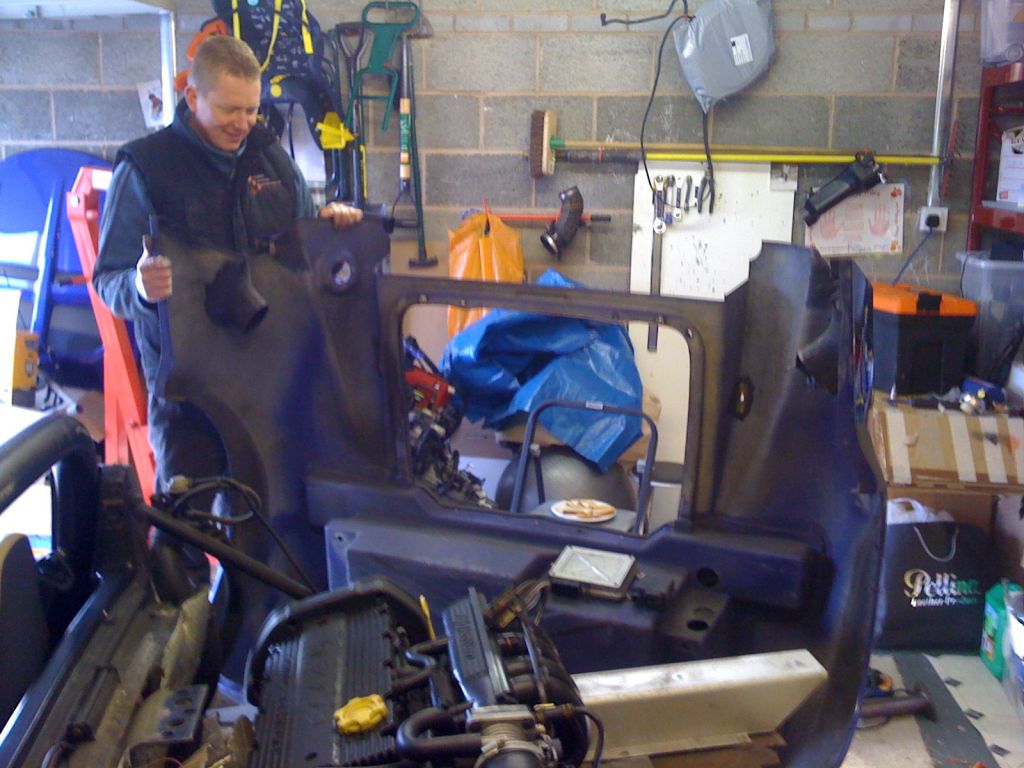
At this point, I would like to extend my thanks to Phil S - of the famous T-Series conversion. A couple of weeks early, he had offered to come a long and lend his expert, first hand experience in engine removal to me and guide me through the work required.
This is he! ![]()
Clam Removal
In removing the rear clam, there are what seems to be endless number of bolts that have to be located and unscrewed.
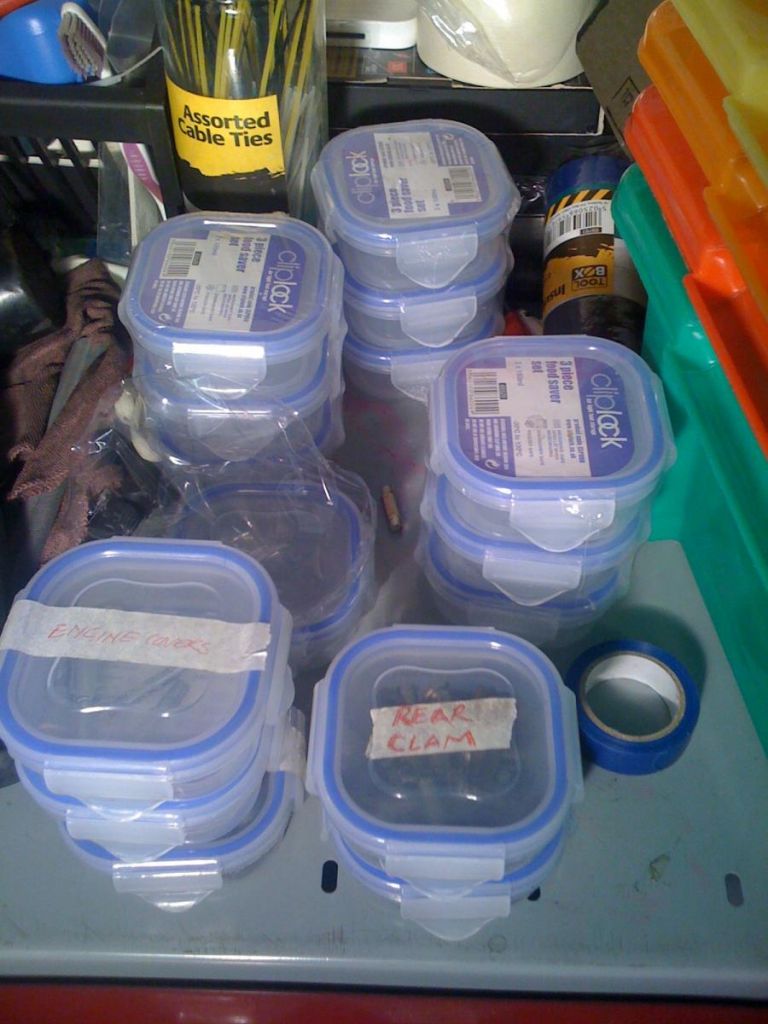
Tip: I bought small plastic containers from pound land (3 for a pound) and I use them to store all the removed fixings, with a label to make it easier when it comes to putting the thing back together again.
I (We), pretty much followed the following sequence...
1. Removed the passenger seat.
The passenger seat is fixed and to give you access to the speakers/ speaker pod, you will need to remove the whole seat. It is possible to do what you need to do on the driver side by moving it forward as far as it will go.
This was a pretty simple job and 10 minutes later, it was out!
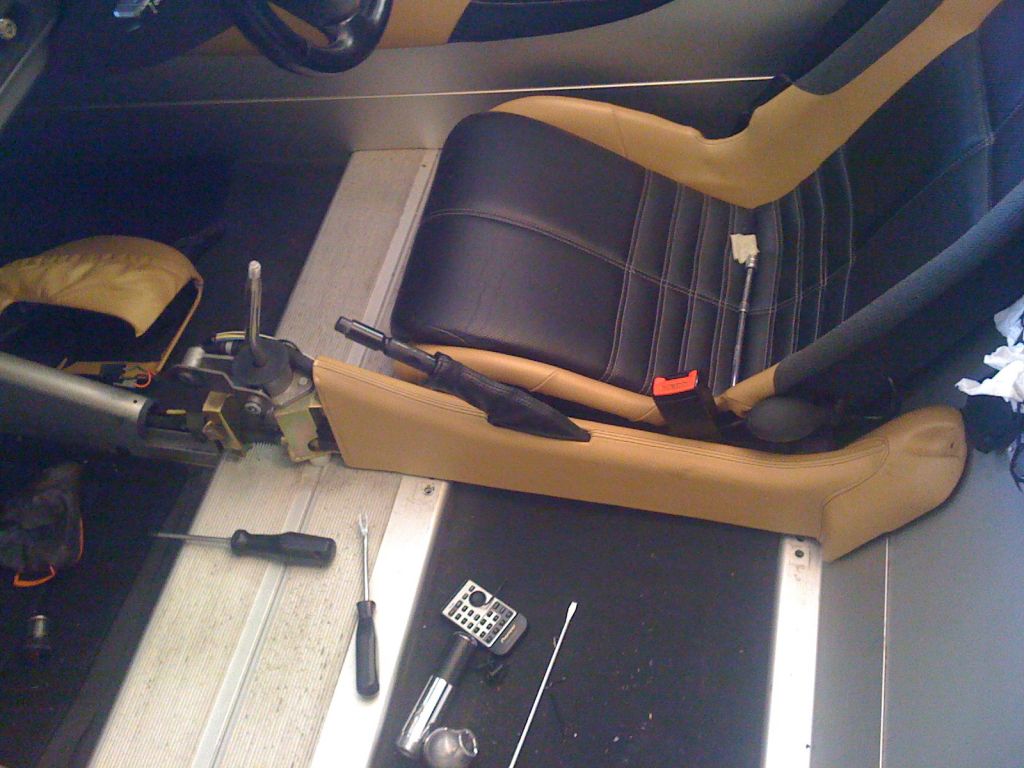
Whilst in there, I removed the centre handbrake covers and the gear surrounds ( after the removal of the hand brake and the gear knob). This is required to provide access for some gearing adjustments at a later stage.
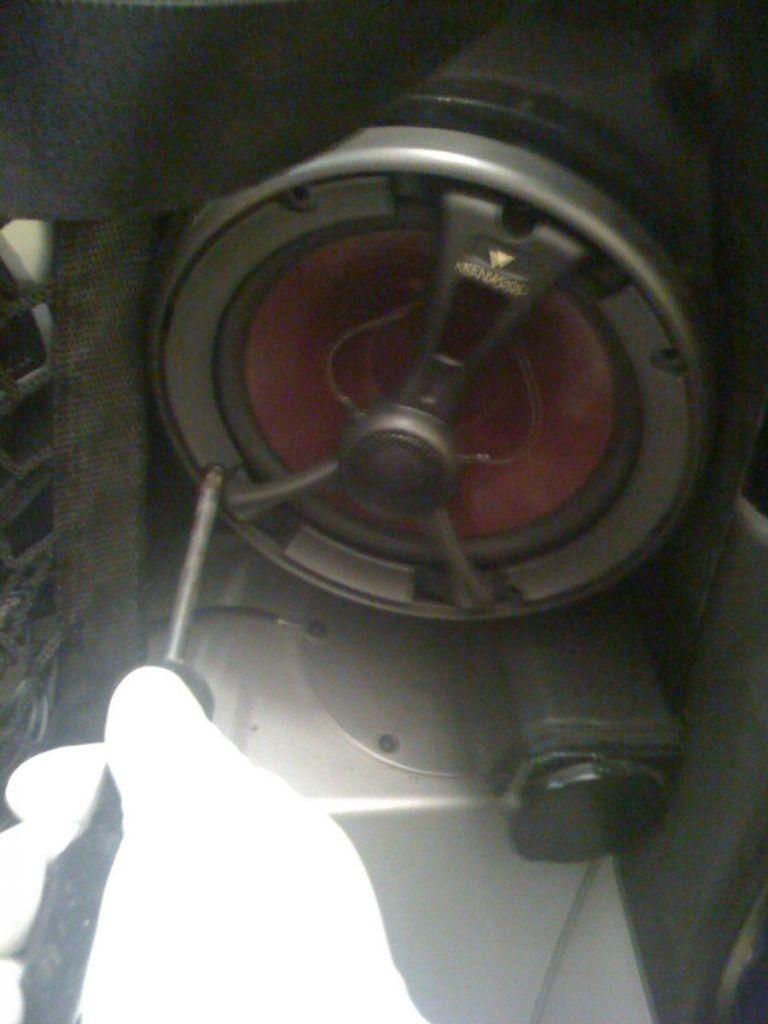
2. Removed the speakers
Once the seats were out, it was then a simple process of removing the two speakers (Hhhhm, Kenwood lightweight, dual mags).
Once out of the way, then it was a matter of removing one bolt from each side holding the side of the clam. Its a little fiddly, but with patience, it straight forward job.
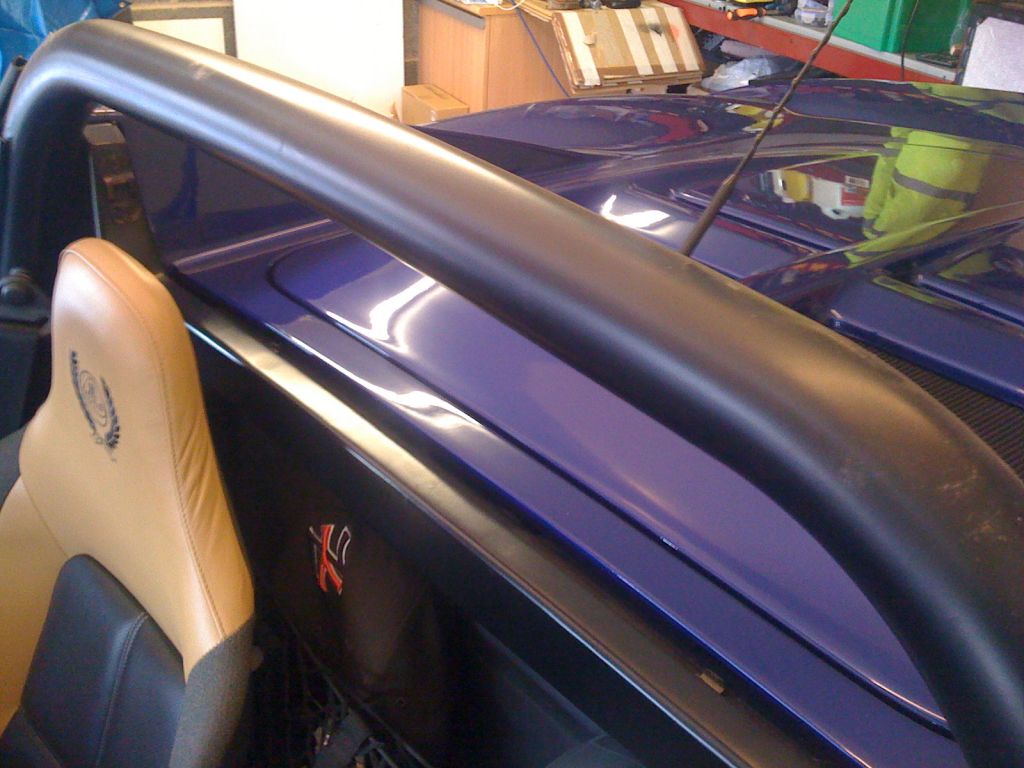
3. Screen Removal
Another simple job. Un-clip the roll bar shroud, remove it, then the glass comes right off. Store safely!!
4. Wheel arch liners
Remove all the bolts holding the wheel arch liners, then carefully remove. This provides access to the remaining fixings. Its actually quite obvious once you see them.
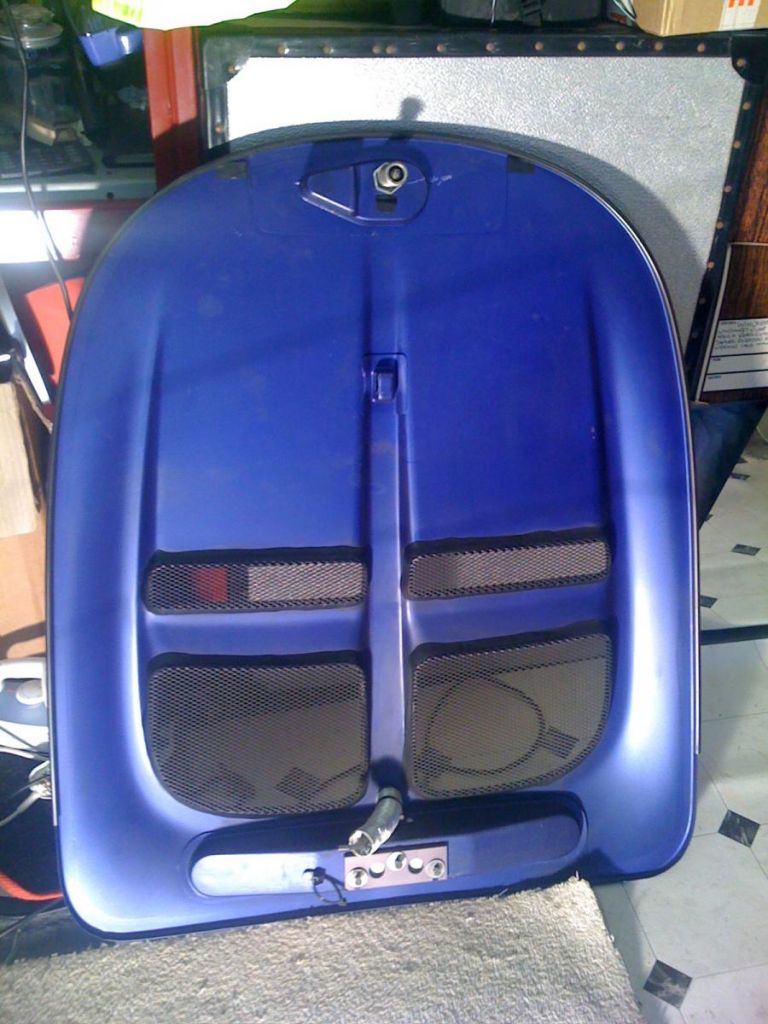
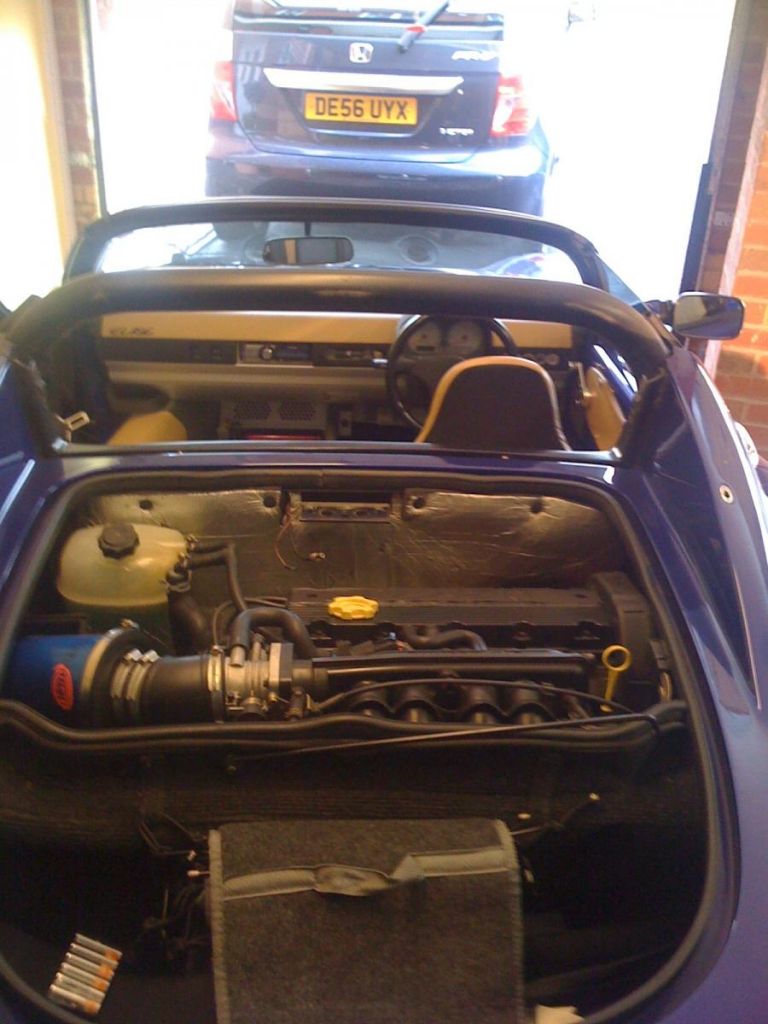
5. Engine Cover Removal
The engine cover is held by 3 bolts and once unscrewed and the cable attached to the aerial unplugged, it just lifts off.
NOTE: There may be few shims used to raise the cover at the hinge. Be careful not to loose these.
Hinge shims...
Good to go...
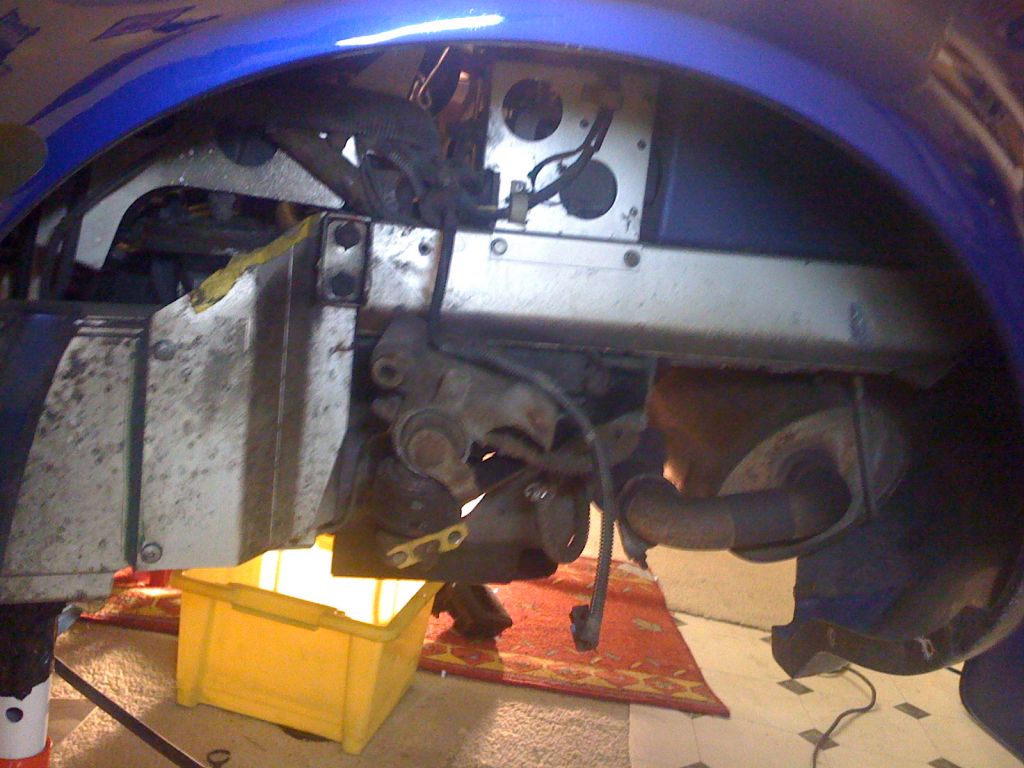
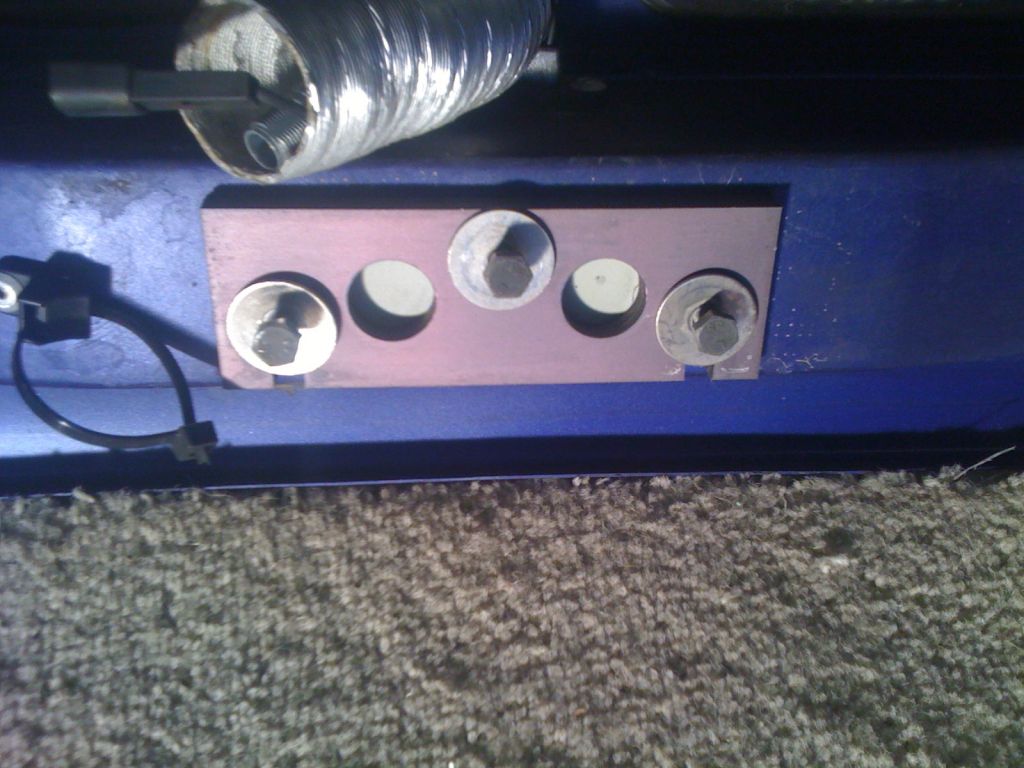
6. I then removed all the exposed bolts...
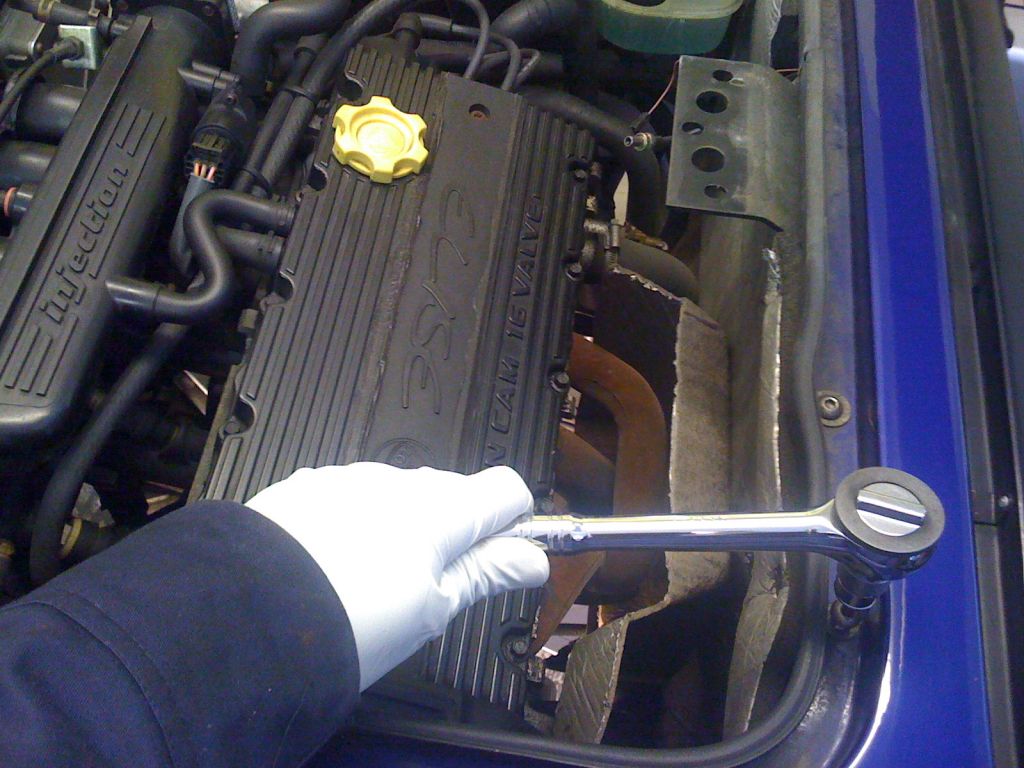
There are a number of bolts around the boot area that need to be located and removed.
I had a problem with one of them that was so badly rusted, that it actually spun the base and therefore made it impossible to remove. A hack saw job on it did the trick ![]()
7. I then removed the bolts around the filler cap.
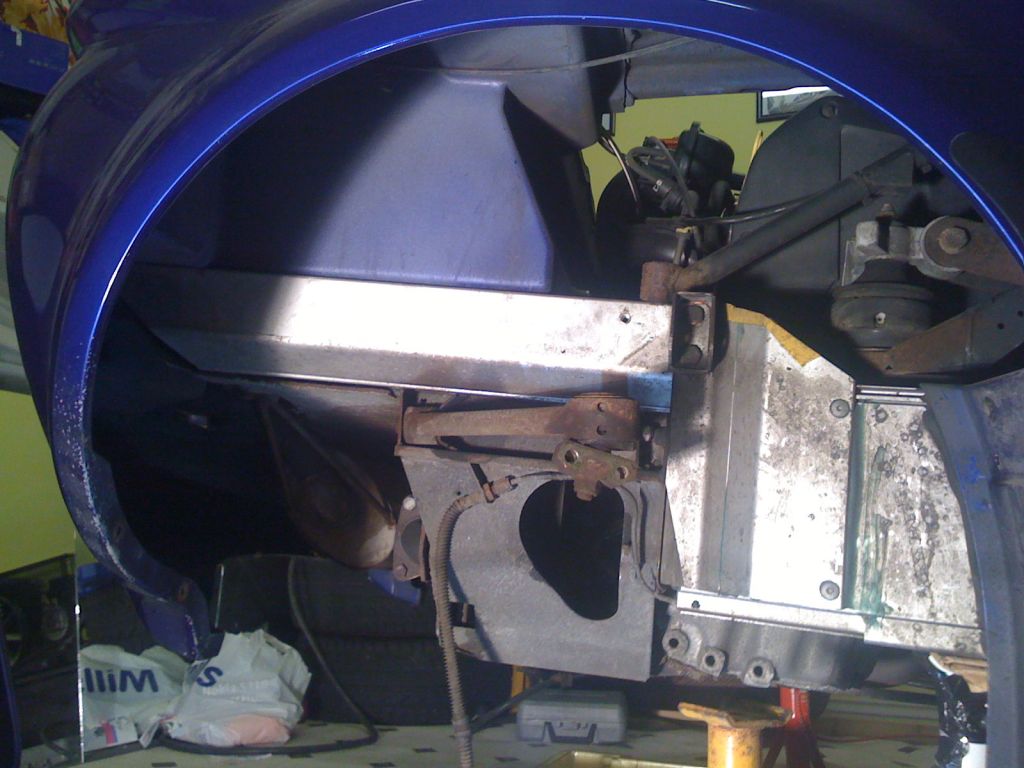
Once Phil arrived, it was a matter of gently pulling the 'wings' of the clam away from the car and lift (and back type of motion) and then it was off!
Note: As it transpires, Phil's car was put together differently to mine. The exhaust on mine was actually attached to the clam and not the sub-frame as it is on his car.
Once the exhaust was out of the way, off she came!
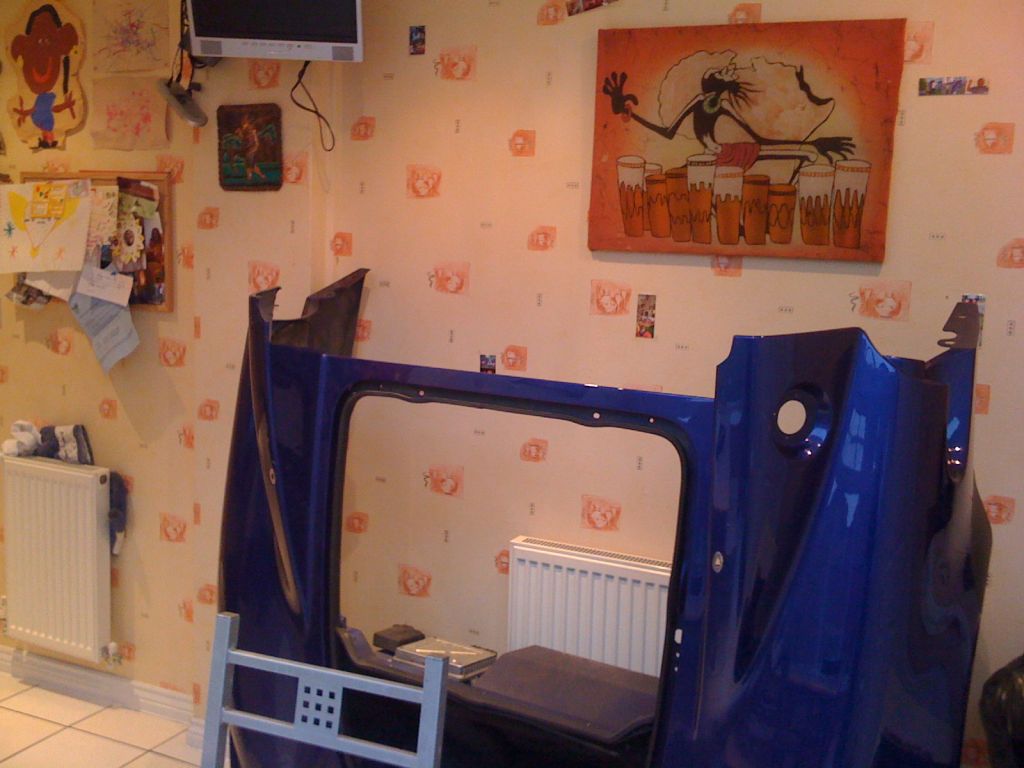
It also helps having an understanding Wife! My clam had to be temperarily stored in the kitchen! ![]()
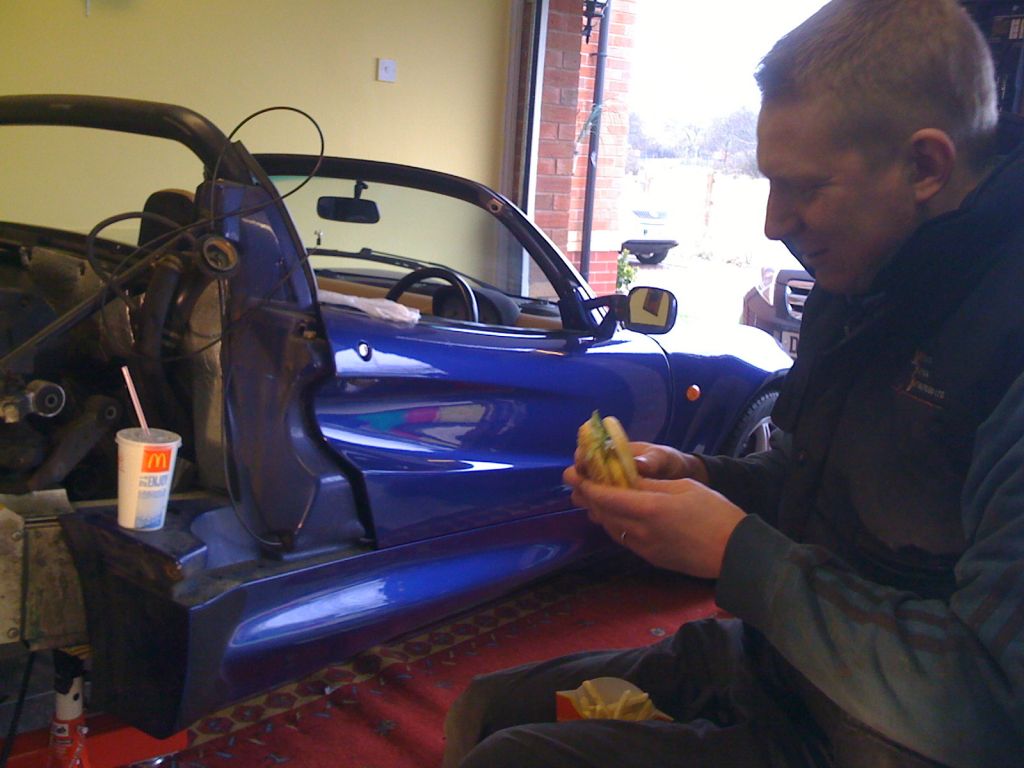
Quick refueling... ![]()
0 Comments
Recommended Comments
There are no comments to display.