


Entry posted by mambosasa
3,103 views
It seems a long time since the engine removal. I was rather hoping that I would receive all the engine mounts, fuel lines etc during the week, to enable the engine installation to commence. Alas, due to some delays by the supplier, the only things I received this week were some bits for the engine and the baffled sump.
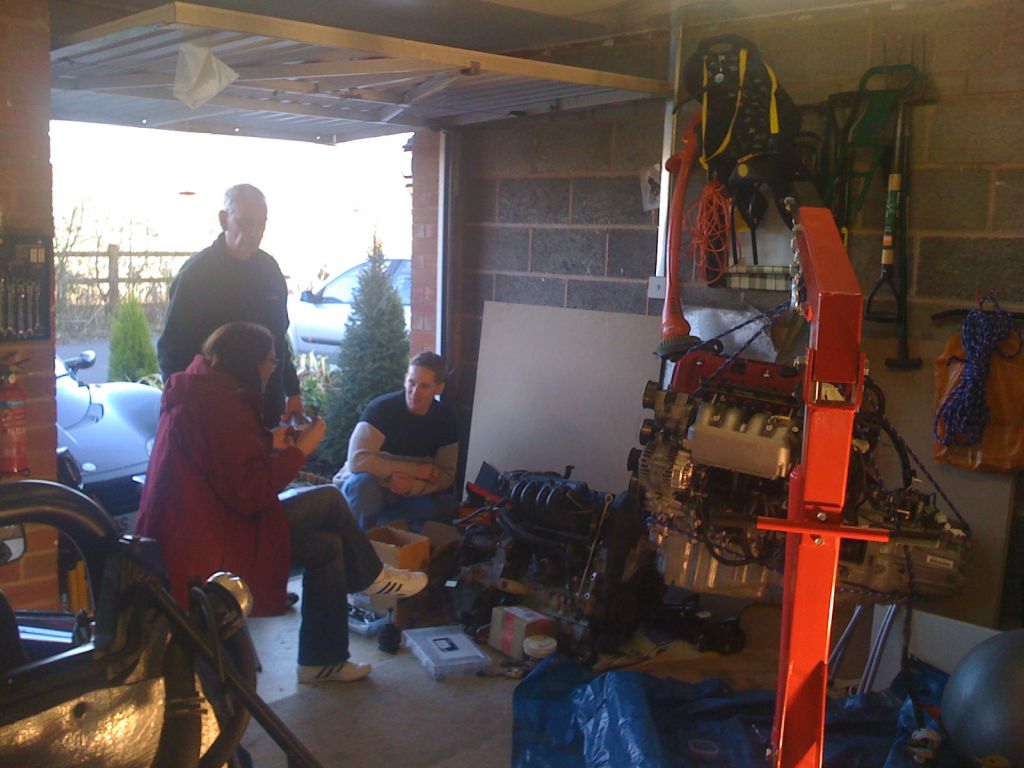
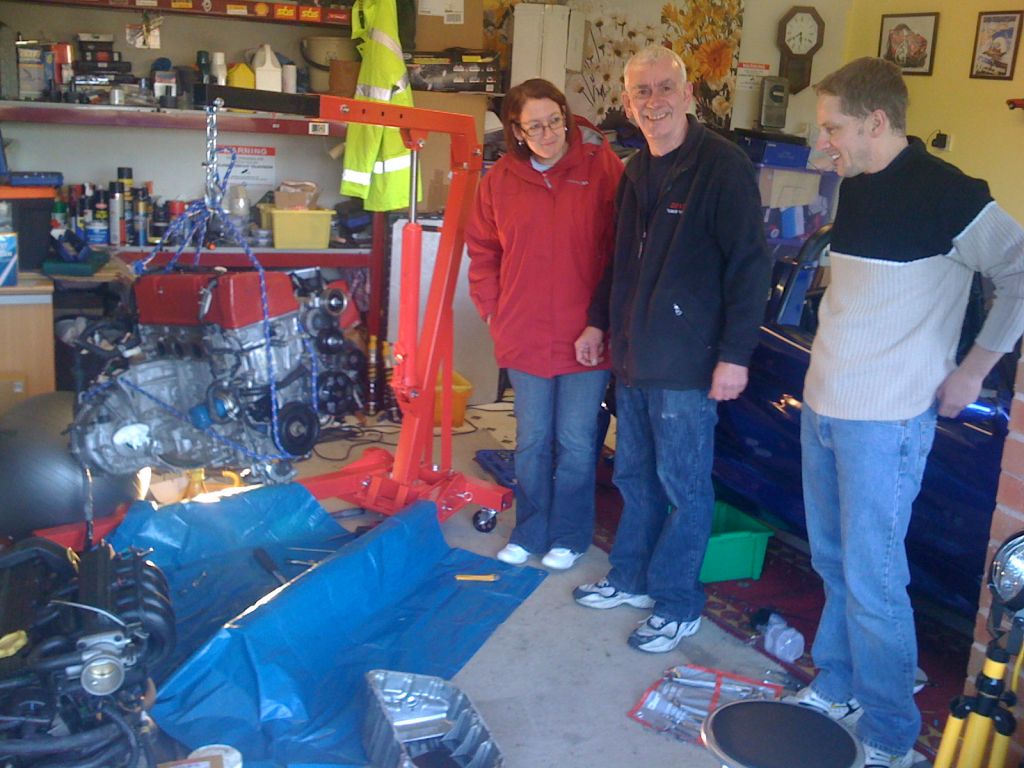
Today I had visits from Martin R and his lovely Wife and Daniel ( the originator of all that I am going through - as he was the first to take me out on a Honda powered Elise!)
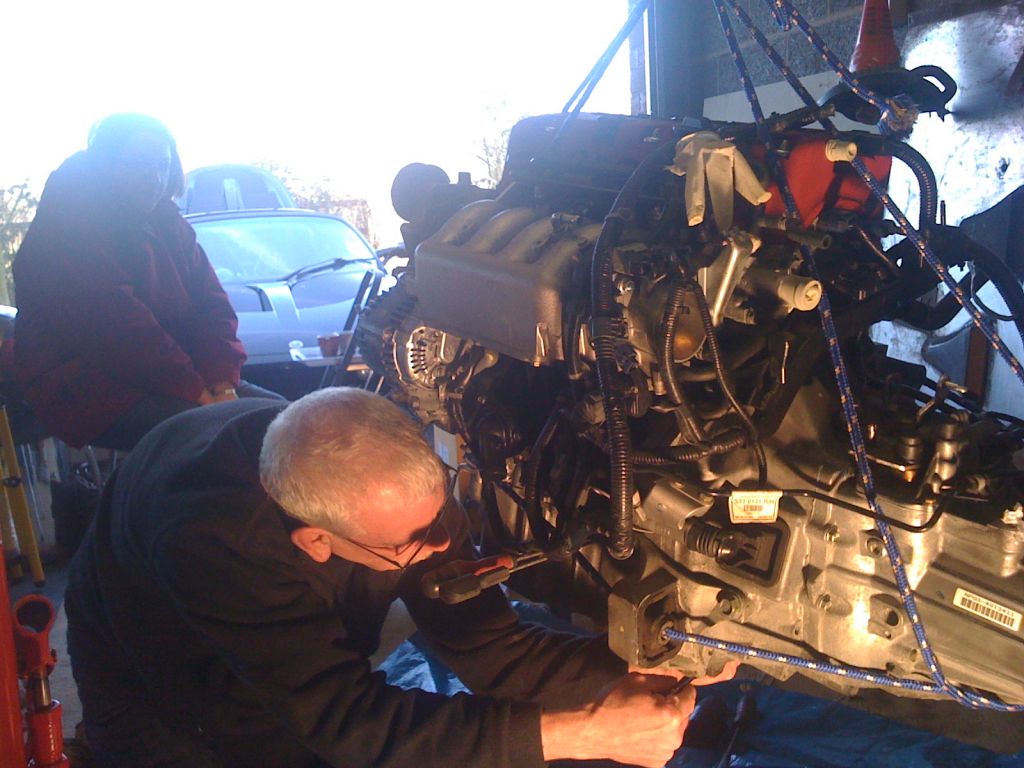
And here they are - ready for some action! ![]()
So down to work.
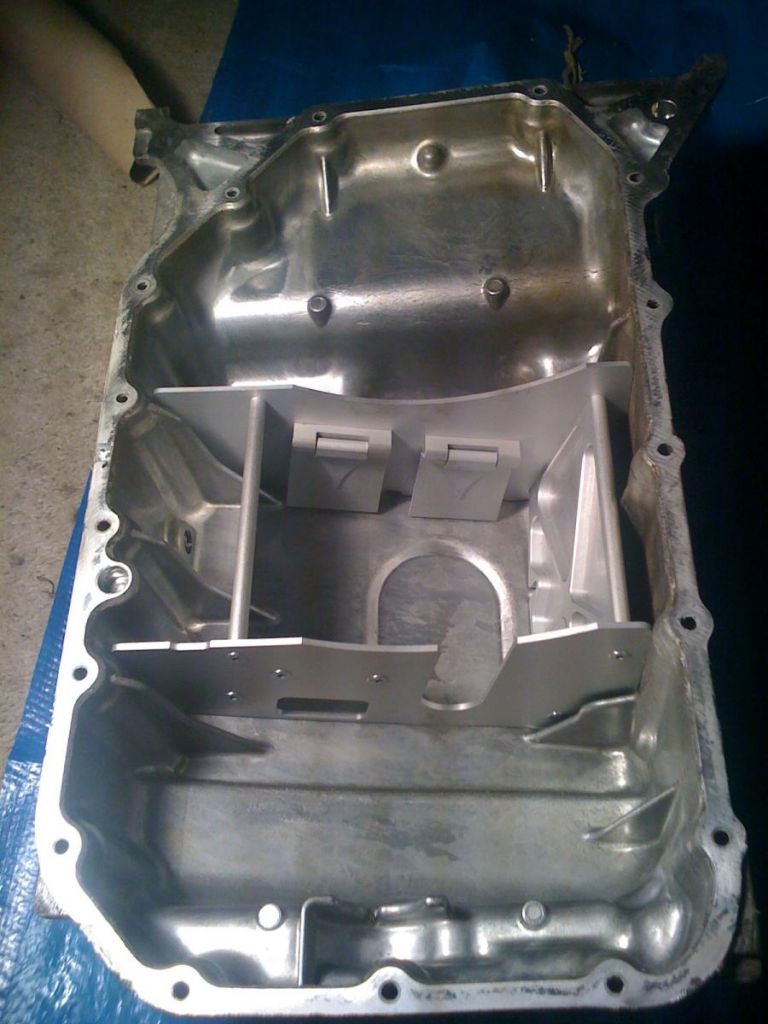
The baffled sump is required to stop the oil surges incurring during high G corners that could result in engine oil starvation - which in turn will destroy the engine.
This particular baffle is pretty simple and does not require any welding or glueing of any description.
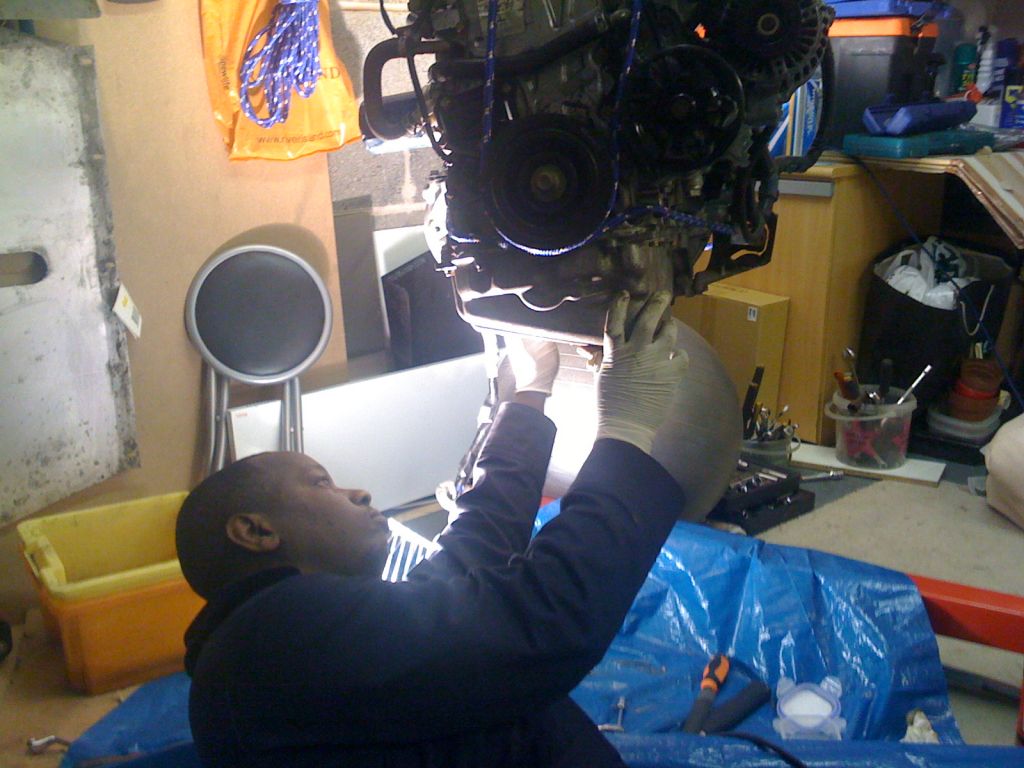
So, the first this we did was to get the engine on the hoist and lift to a manageable hight.
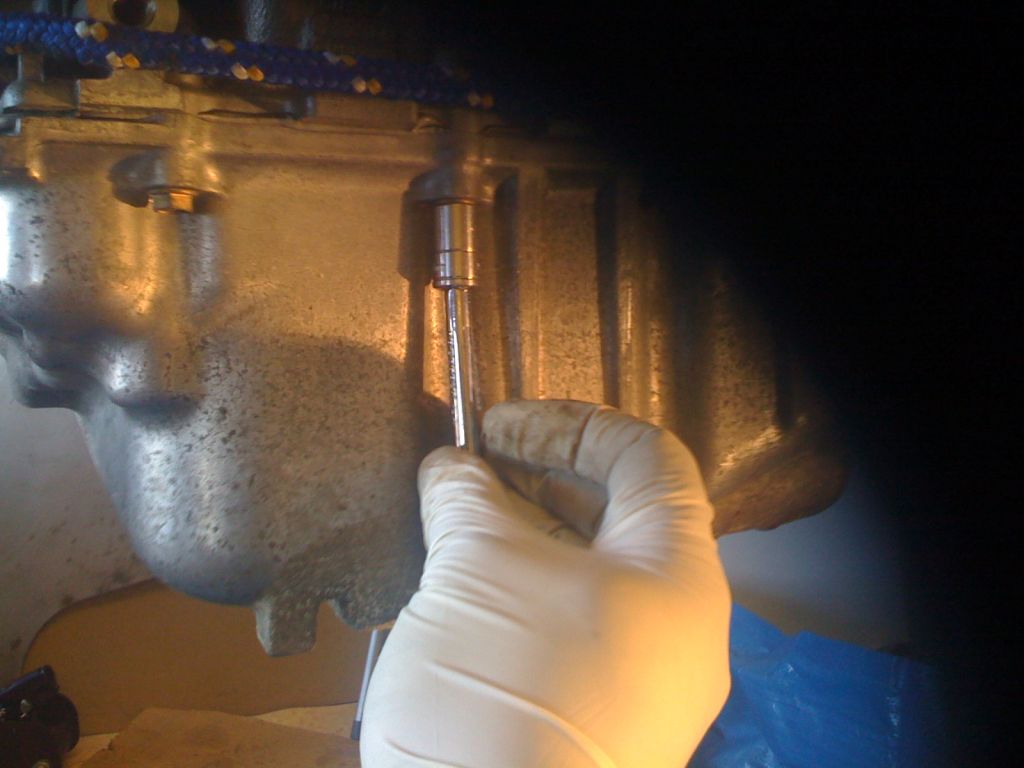
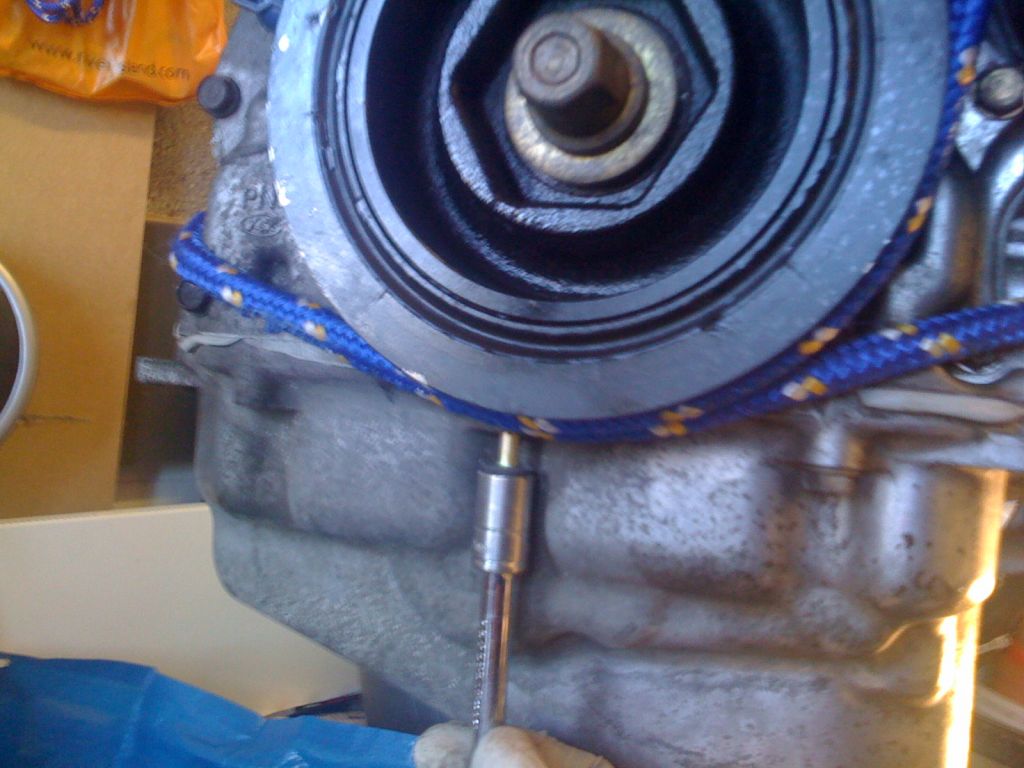
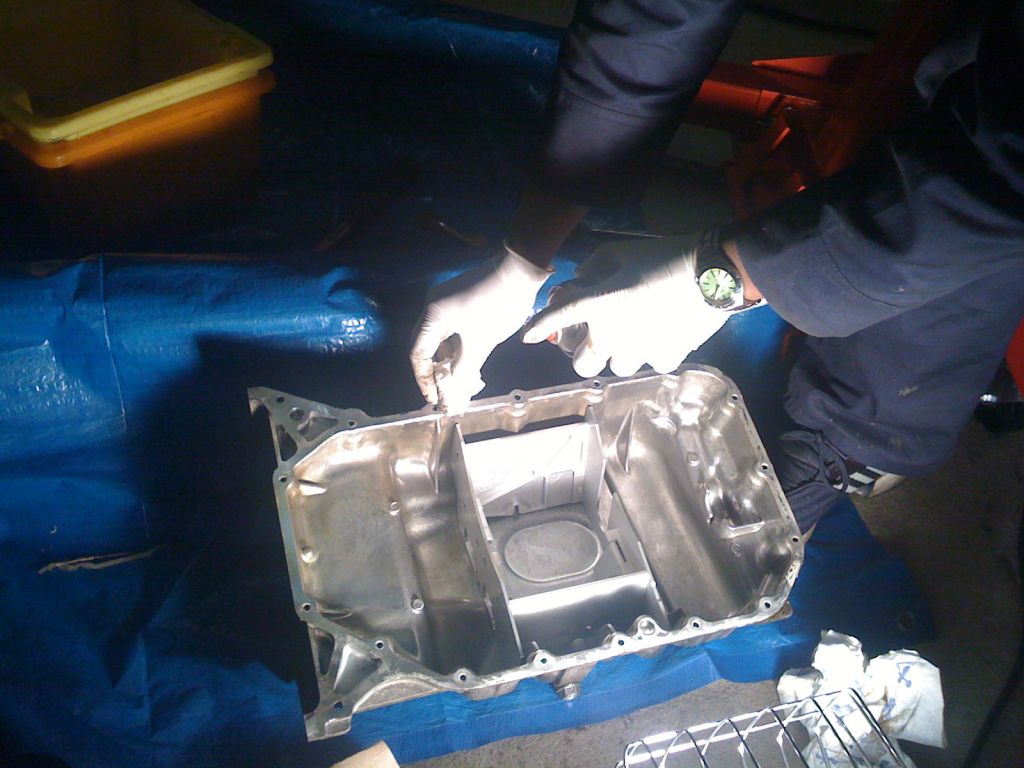
Then removed all the bolts holding the sump to the engine. There are a number of them and patience is required as it will take some time.
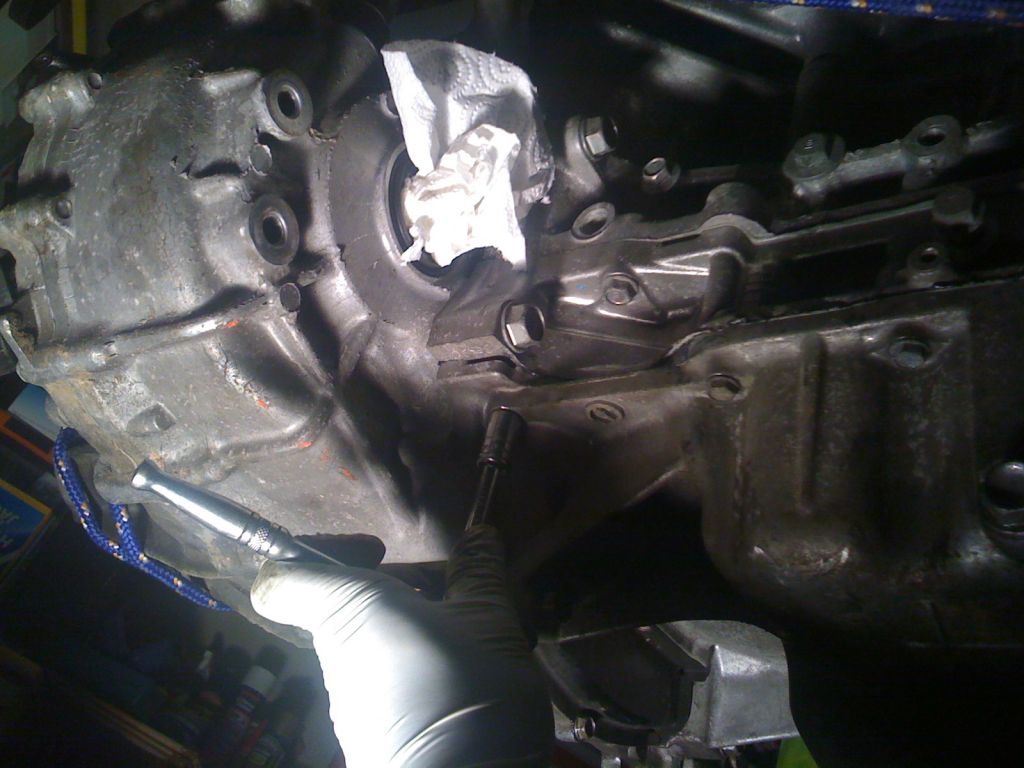
TIP: Please note that there are two deep bolts that we missed completely that also requires removing before the can be released.
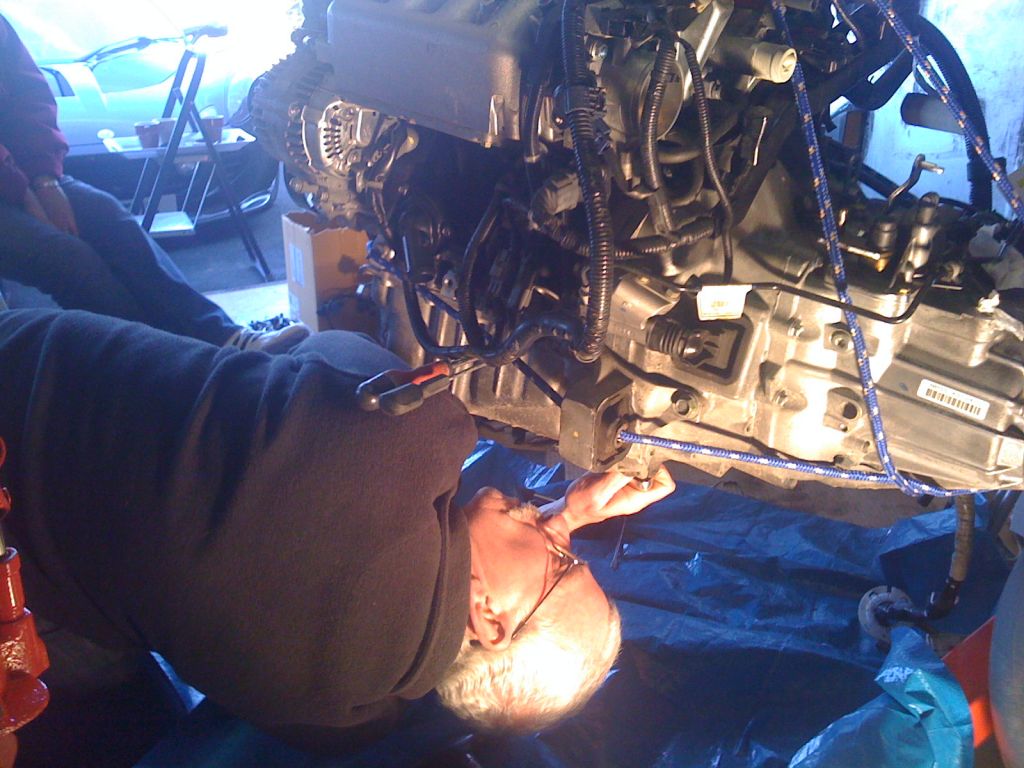
Once all the bolts have been removed, then its a matter of inserting a strong screwdriver into the gap and gently push the sump down whilst using a sharp stanley knife to cut the sealant.
TIP: It is advised that you work your way round slowly and try to avoid damaging the engine internals
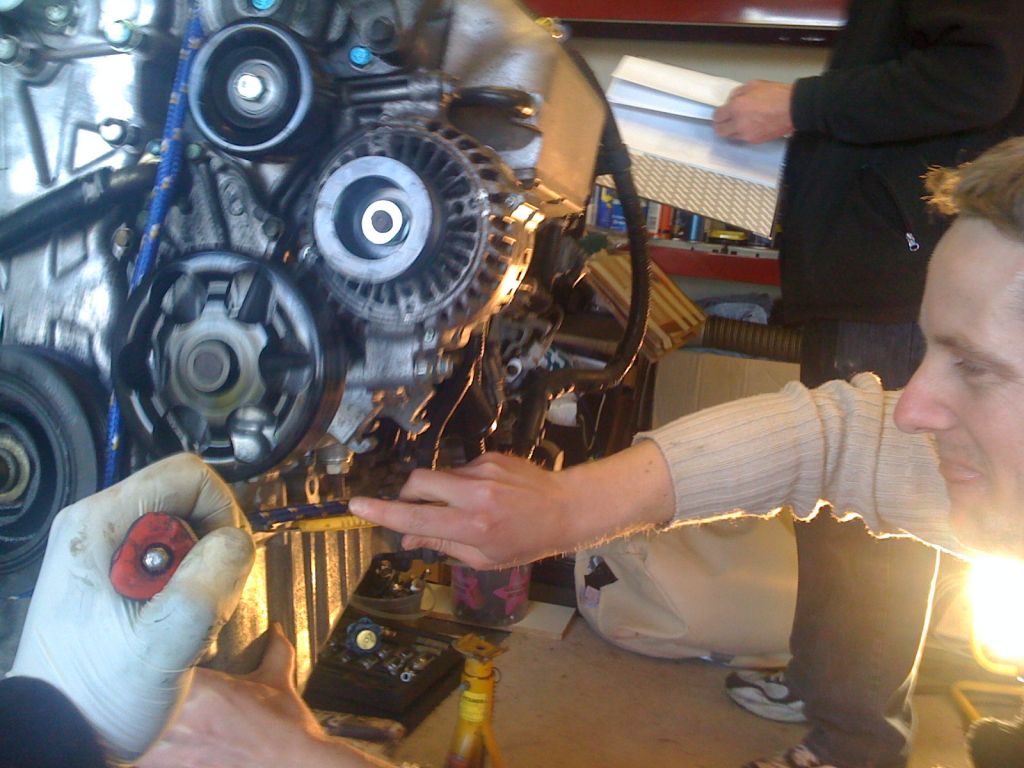
As it can be seen from the photos that even Dan (an idea a minute as he is known by his mates ![]() ) got his hands slightly dirty.
) got his hands slightly dirty.
Everything was going so well at this point until we discovered that the sump just wasn't coming loose, despite all our efforts. Mrs Martin R suggested that there may be some bolts that we (I more to the point) missed. Unfortunately, we should have listened to her a lot sooner and save us the sweat and the head scratching! ![]()
I have already mentioned the said bolts above! Here is Martin 'discovering' the illusive bolts...
Once removed, the sump pretty much fell off with a little tap using a rubber mallet. Job done - well, half done!
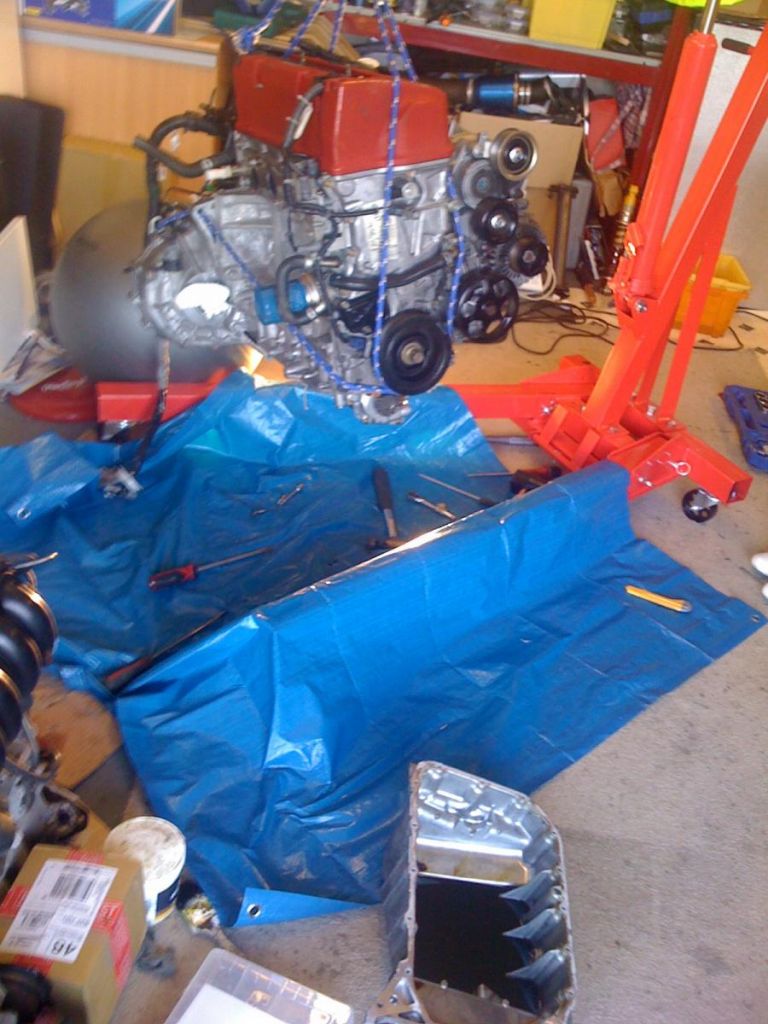
Time to stand back and admire the work...
At this point, the team decamped and said their goodbyes.
Many thanks must be expressed to Dan, Martin R for their support today. Great company, great knowledge. ![]()
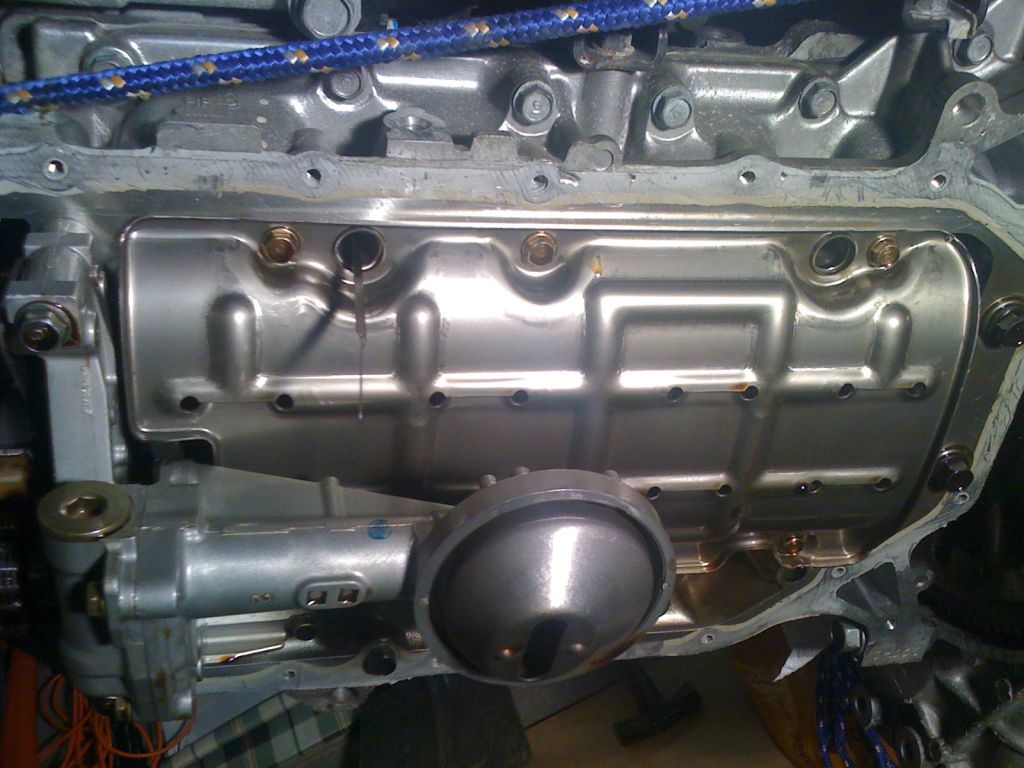
Next, I installed the baffle in the sump. It was just a matter of pushing it into place. I must say, its real nice piece of work.
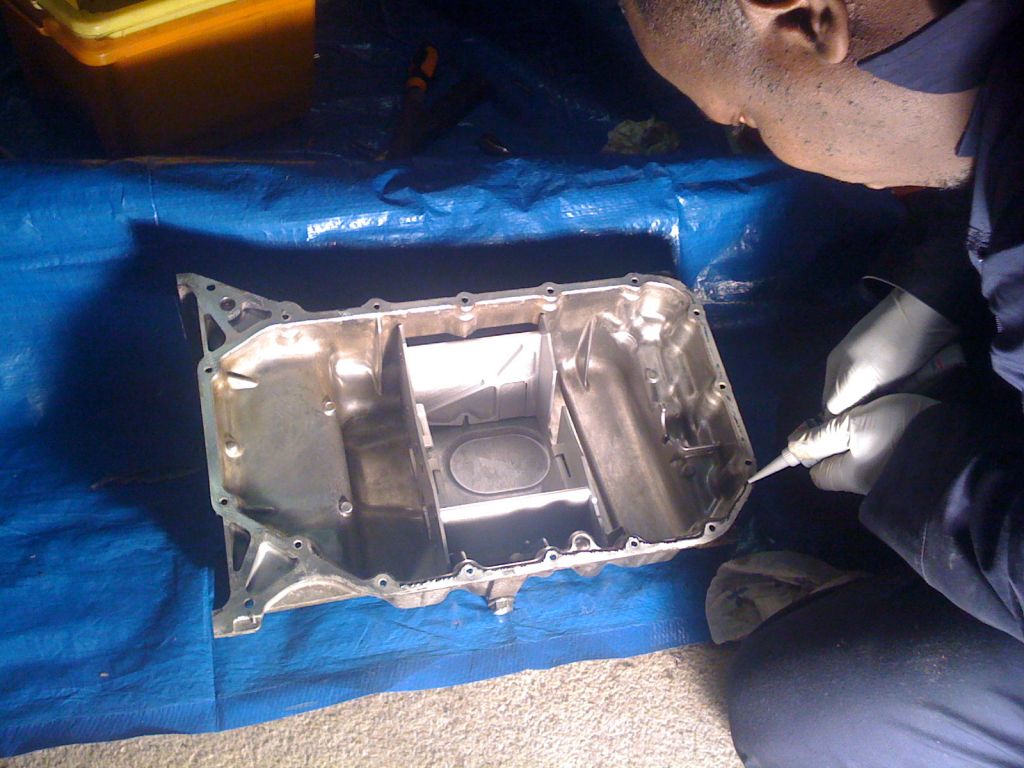
I then cut off all the old sealant and cleaned the joint using brake cleaner.
Then using the recommended sealant, I worked my way round the sump, ensuring that there is a continuous line all the way through.
Then it was just a matter of pushing the sump back on the engine block, and placing the bolts back on.
TIP: Always use a threadlock (or similar) to ensure that the bolts do not work themselves loose with vibrations.
All bolts had to be tightened in a very particular order to ensure that the sump sits in place correctly.
Job Done! ![]()
0 Comments
Recommended Comments
There are no comments to display.