


Entry posted by mambosasa
3,818 views
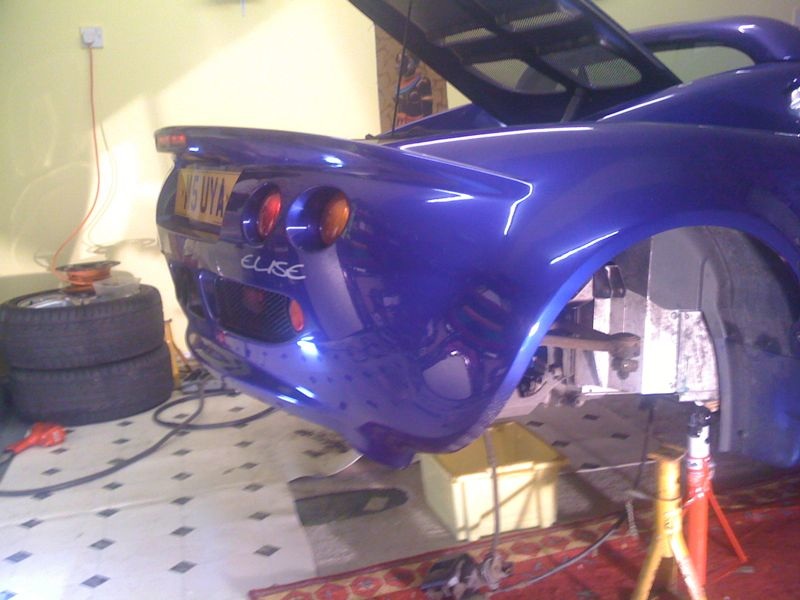
In preparation for the big job of removing the rear clam and the engine, I started work on the complete suspension removal. Apart from the drive shaft removal, the rest of the suspension assembly can actually stay bolted to the sub-frame and it is not necessary to remove for the installation.
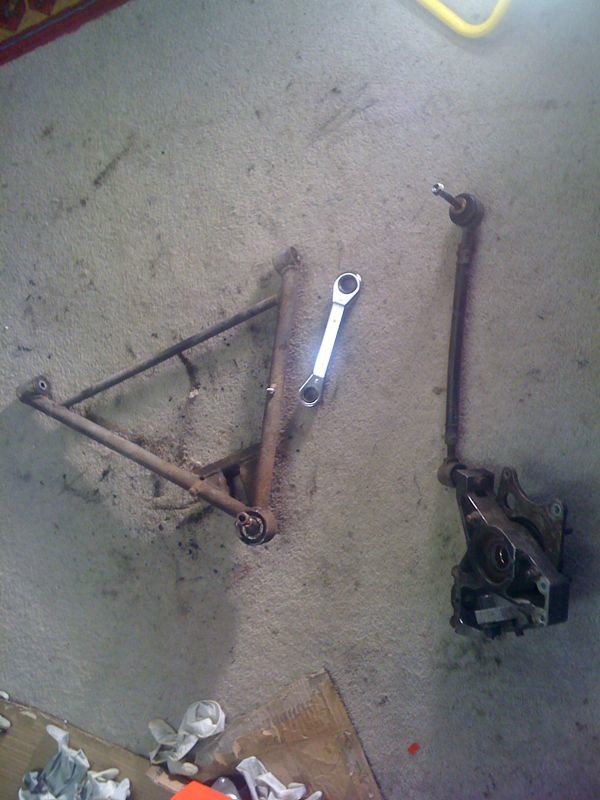
After seeing the state of my wishbone, I decided that this is a good time to remove all rusted out components and get them treated and bushes replaced. Yet more expenses ![]()
At this point, I would like to thank my little Nephew Jason who came and gave me a hand for the most of the day and Charlton X (one of our VX220 Cousins) for coming over and observe. Hopefully next time he would actually turn up with a spanner ![]()
Okay, with that out of the way, lets get down to what I got up to.
First job was to raise the other side of the car and get it on the axle stand. This only took about ten minutes and the car was nice and secured.
Tip: It is always best practice to either jamb chocks or a bit of wood in front of the front tires. This prevents any forward movement that my occur during the jacking up process. Secondly, most axle stands tend to have metal pedestals that can damage your chassis. A bit of flat wood or as I did, I used a bit of cardboard box.
As a side note, I placed the axle stands on either sides of the sub-frame.
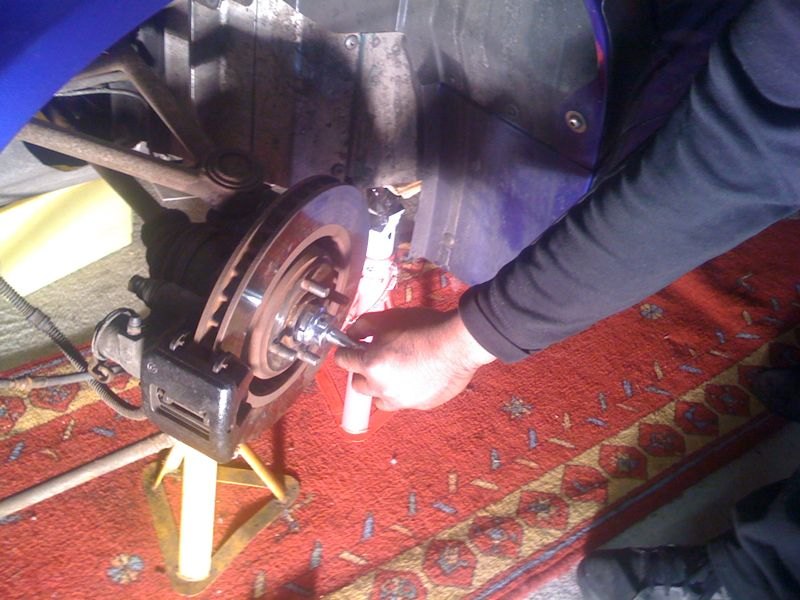
Then we started working on the removal of the hub nut. What a game this was. We firstly knocked the notch out (this pretty much ruined the nuts and replacement ones will have to be bought) then it was a matter of jamming the brakes on and with a long bar lean on it until it cracked! Be warned this was very hard and really required a lot of effort to get it moving.
As a side note, the Elise hub nut can be removed with a 32mm socket.
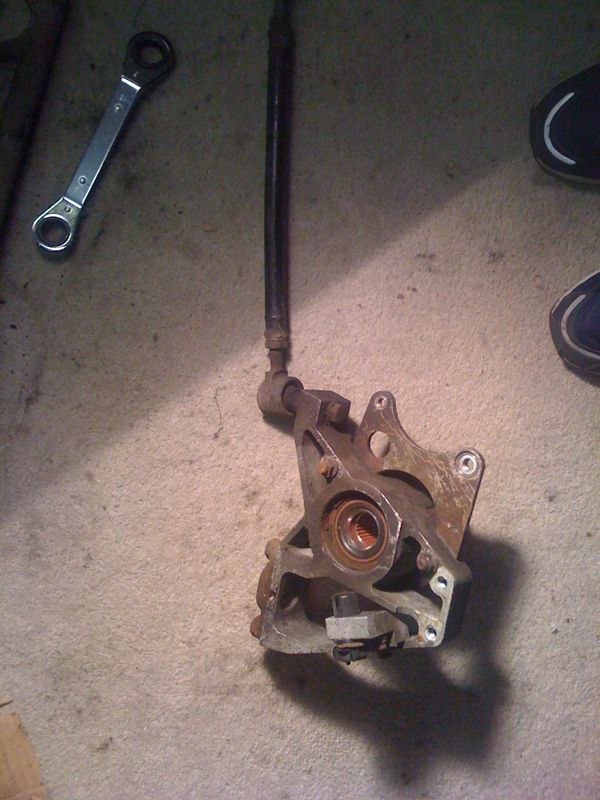
Once we removed the nuts on both sides, the next job was to remove the driveshaft both sides. This was pretty straight forward.
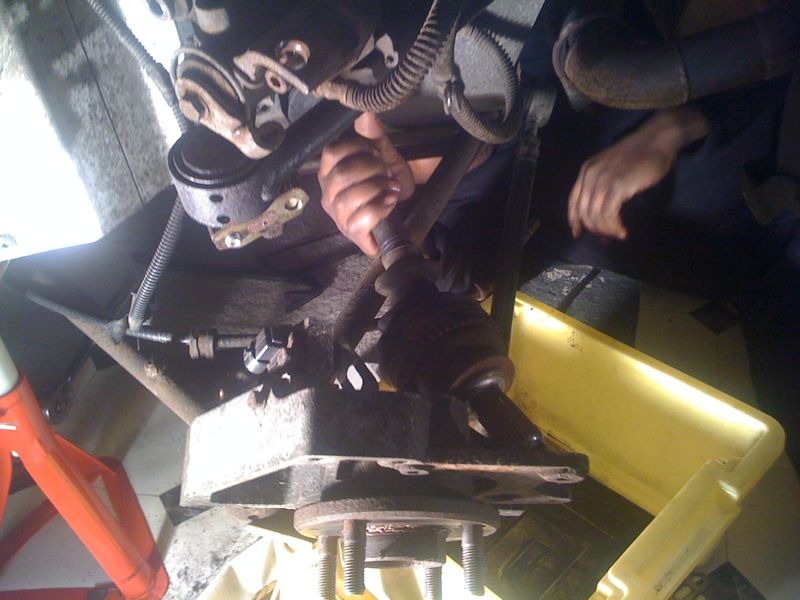
Note that we released the hub carrier from the top wishbone to make it easier to slip the driveshaft off.
We then concentrated on the removal of the rest of the suspension components. Please ensure you make a note of the number of shims used to pack your suspension. It will make it easier when it come to re-assembly at a later date.
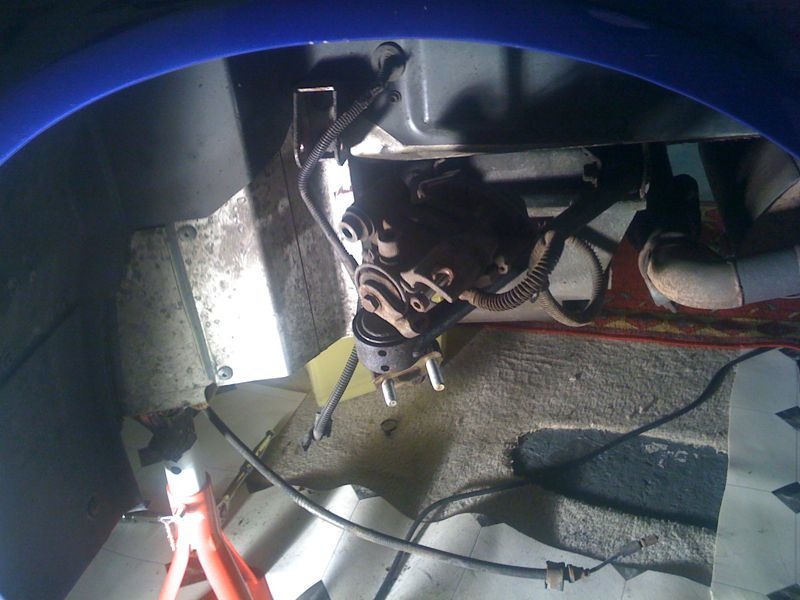
Another wishbone completely rusted and needs renewing. The hubs just need a good clean to get them looking new again.
2 Comments
Recommended Comments