


Entry posted by mambosasa
4,978 views
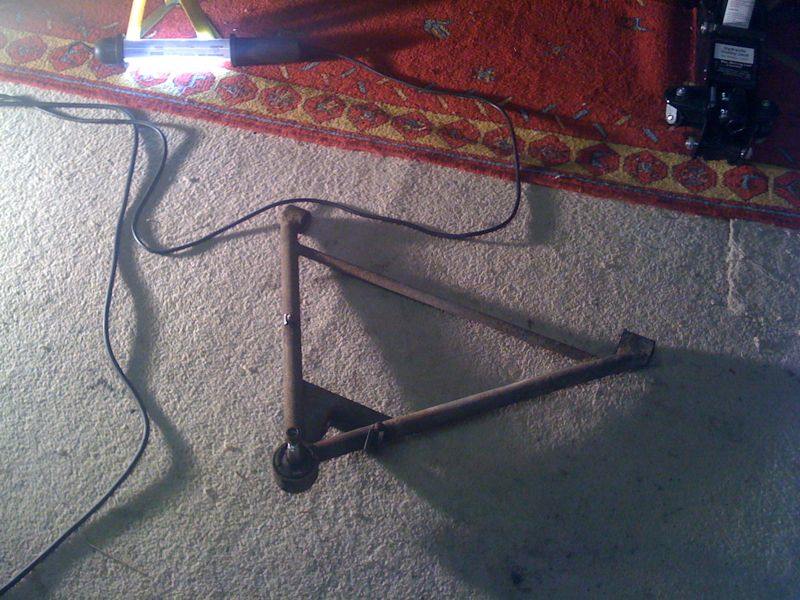
The next job on my list is to remove the rear far side lower wishbone that need to be sent out to Stark for modification.
Its worth mentioning that because this installation is likely to take me 3 months or so, I decided to officially take the car off the road with DVLA and the insurance company. Every penny counts!!
I reversed the car into the garage, placing it in such a way that I have good clearance all round, jacked up the one side and placed an axle stand on the chassis.

I then removed the wheel and started working under the car.
Tip: I have always been paranoid when I work under the car, so I always place the removed wheel in such a way that if the car fell off its stands for any reason, it would provide me with some protection.
I first removed the rear diffuser, then the centre diffuser (this needs to come off to give you access to the gear linkage at a later stage). Easy enough job and only took about 15 minutes to complete.
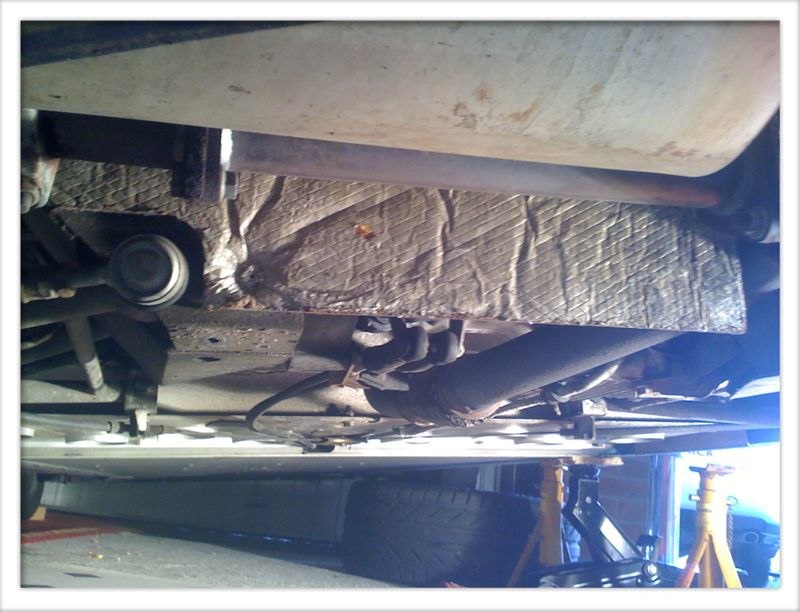
I was amazed how gunky the centre undertray was! Its was caked in layers on layers of oil.
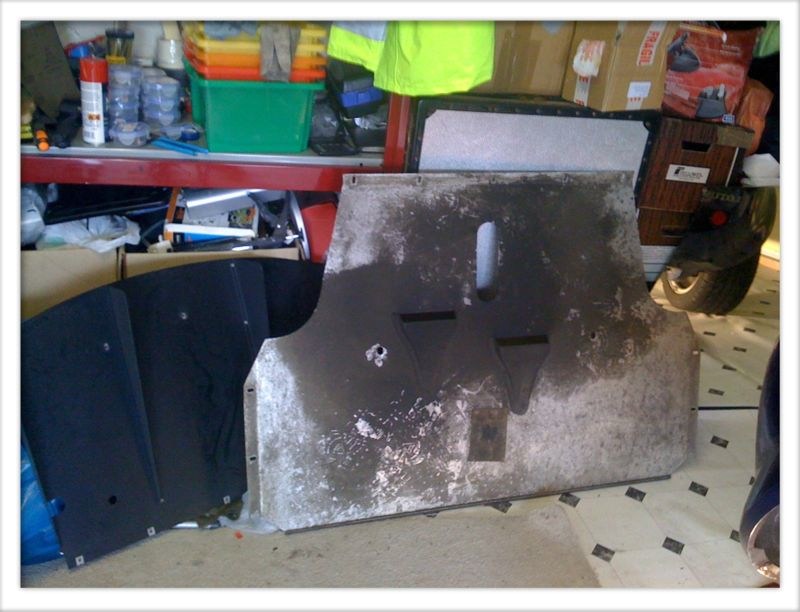
I will get them cleaned up at a later date.
Before attacking the removal of the suspension parts, I prayed all bolts with Gunk liquid wrench. I guess it's penetrating fluid, but whether or not it has any special properties, who knows. The can said it was for rusty bolts - so I bought it! ![]()
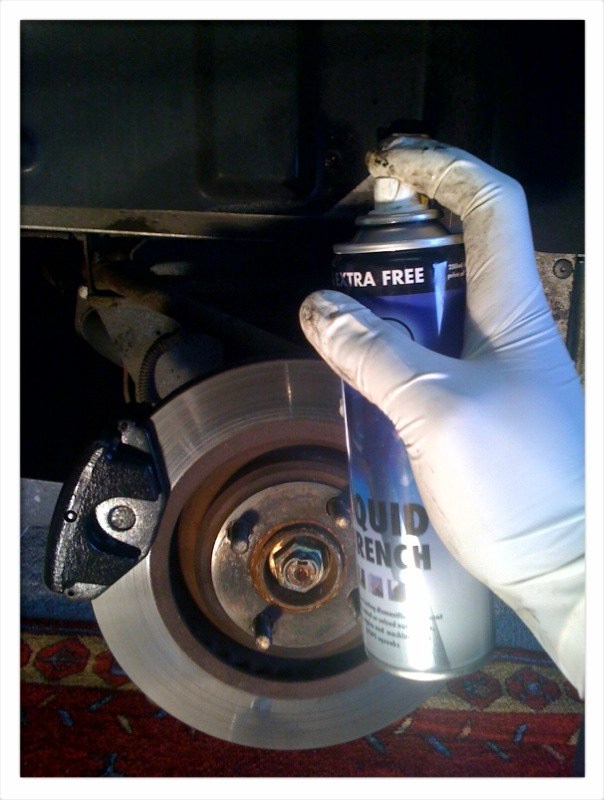
Tip: If I was doing this again, I would have sprayed all bolts the day before. However I did take this opportunity to spray all the bolts in preparation of the Clam removal.
Next up - Lower wishbone removal.
This is where the games began. I must admit, this job took far longer than I anticipated and hurt a little bit more that I anticipated! ![]()
I decided to get the most difficult parts out of the way first and work my way to the more straight forward bits. The removal of the rear bolt is a right ol' game.
Working from under the car, I couldn't find an obvious way of getting the spanner in behind the subframe to remove the bolt.
After long contemplation and help for the MLOC massive, I managed to get to it by:-
- I removed the shocks by undoing the bolt at the top and the bottom.
- Dropped the whole assembly down as far at it goes and supported it with an axle stand.
- Reached in through the drive shaft opening and with a small spanner (ratchet helps), started working on the bolt.
- After 5 minutes - all done
Tip: You may need to hold the toe link bolt in place by placing a spanner on the opposite side of the bolt - by the actual toe link.
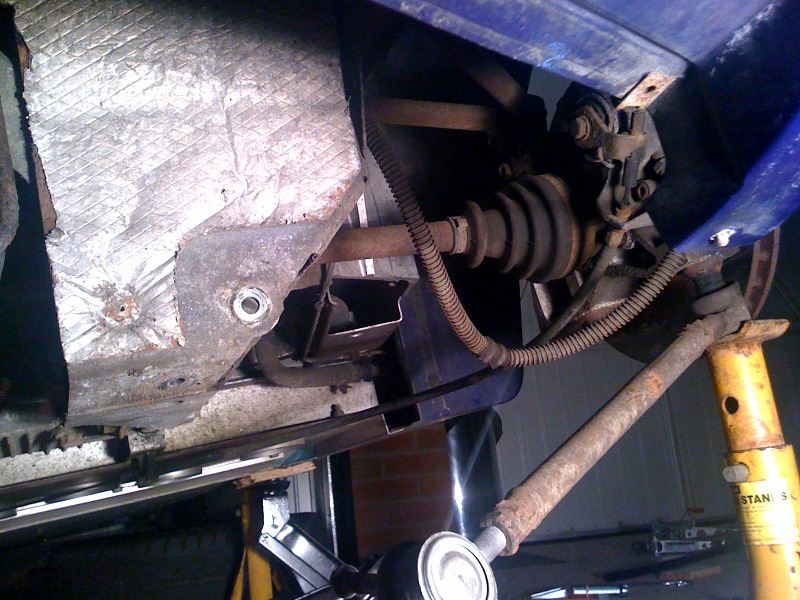
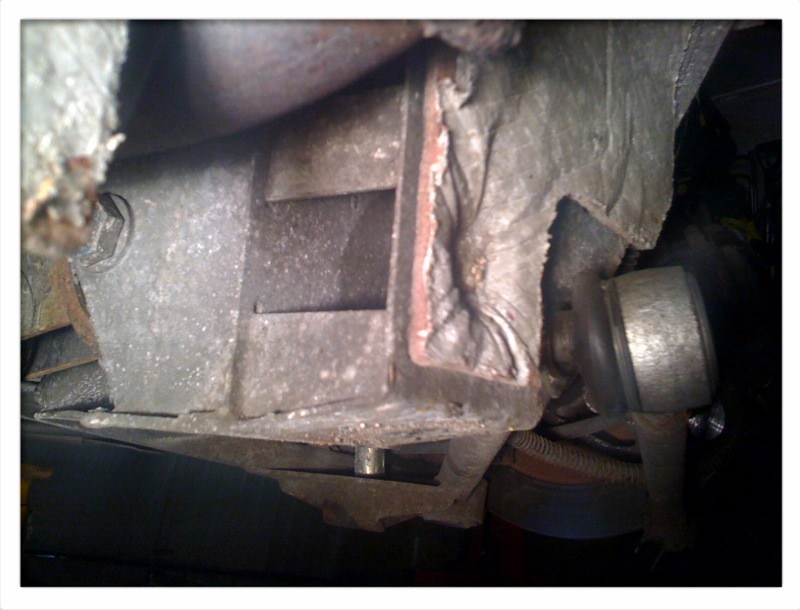
Then it was just a matter of removing the front bolt - 5 minutes tops; The bolt on top of the hub carrier and detaching the brake/ hand brake cables.
I had to cut off one of the cable holders due to rust.
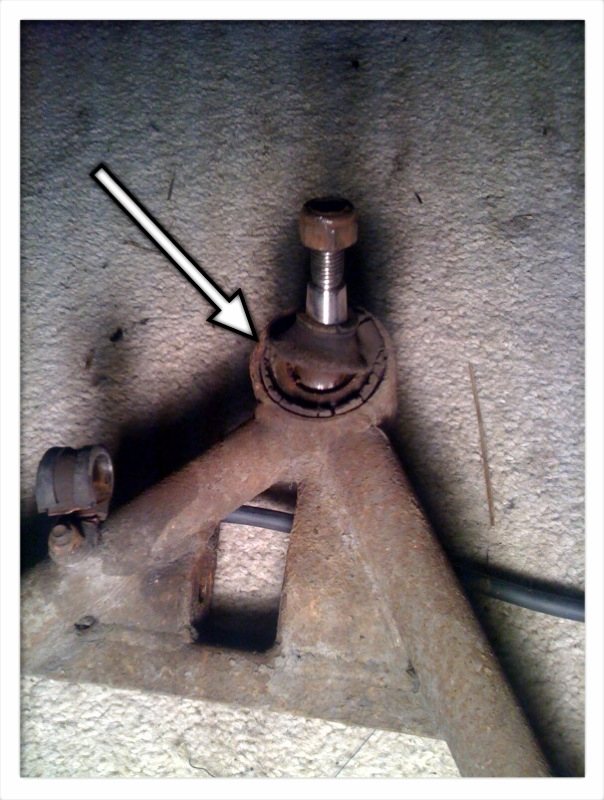
I was a little shocked by how rusty the whole thing was. I inspected the bushes and the ball joint and to be honest, I thing I am going to replace all of them - I mean, its been 10 years now, so I think they are due to be changed.
So the wishbone will be packaged up and sent to Stark for modification. Once they get back, I will get them stripped and overhauled.
Next job - removal of the rest of the suspension assembly on both sides and the clam and engine removal.
0 Comments
Recommended Comments
There are no comments to display.