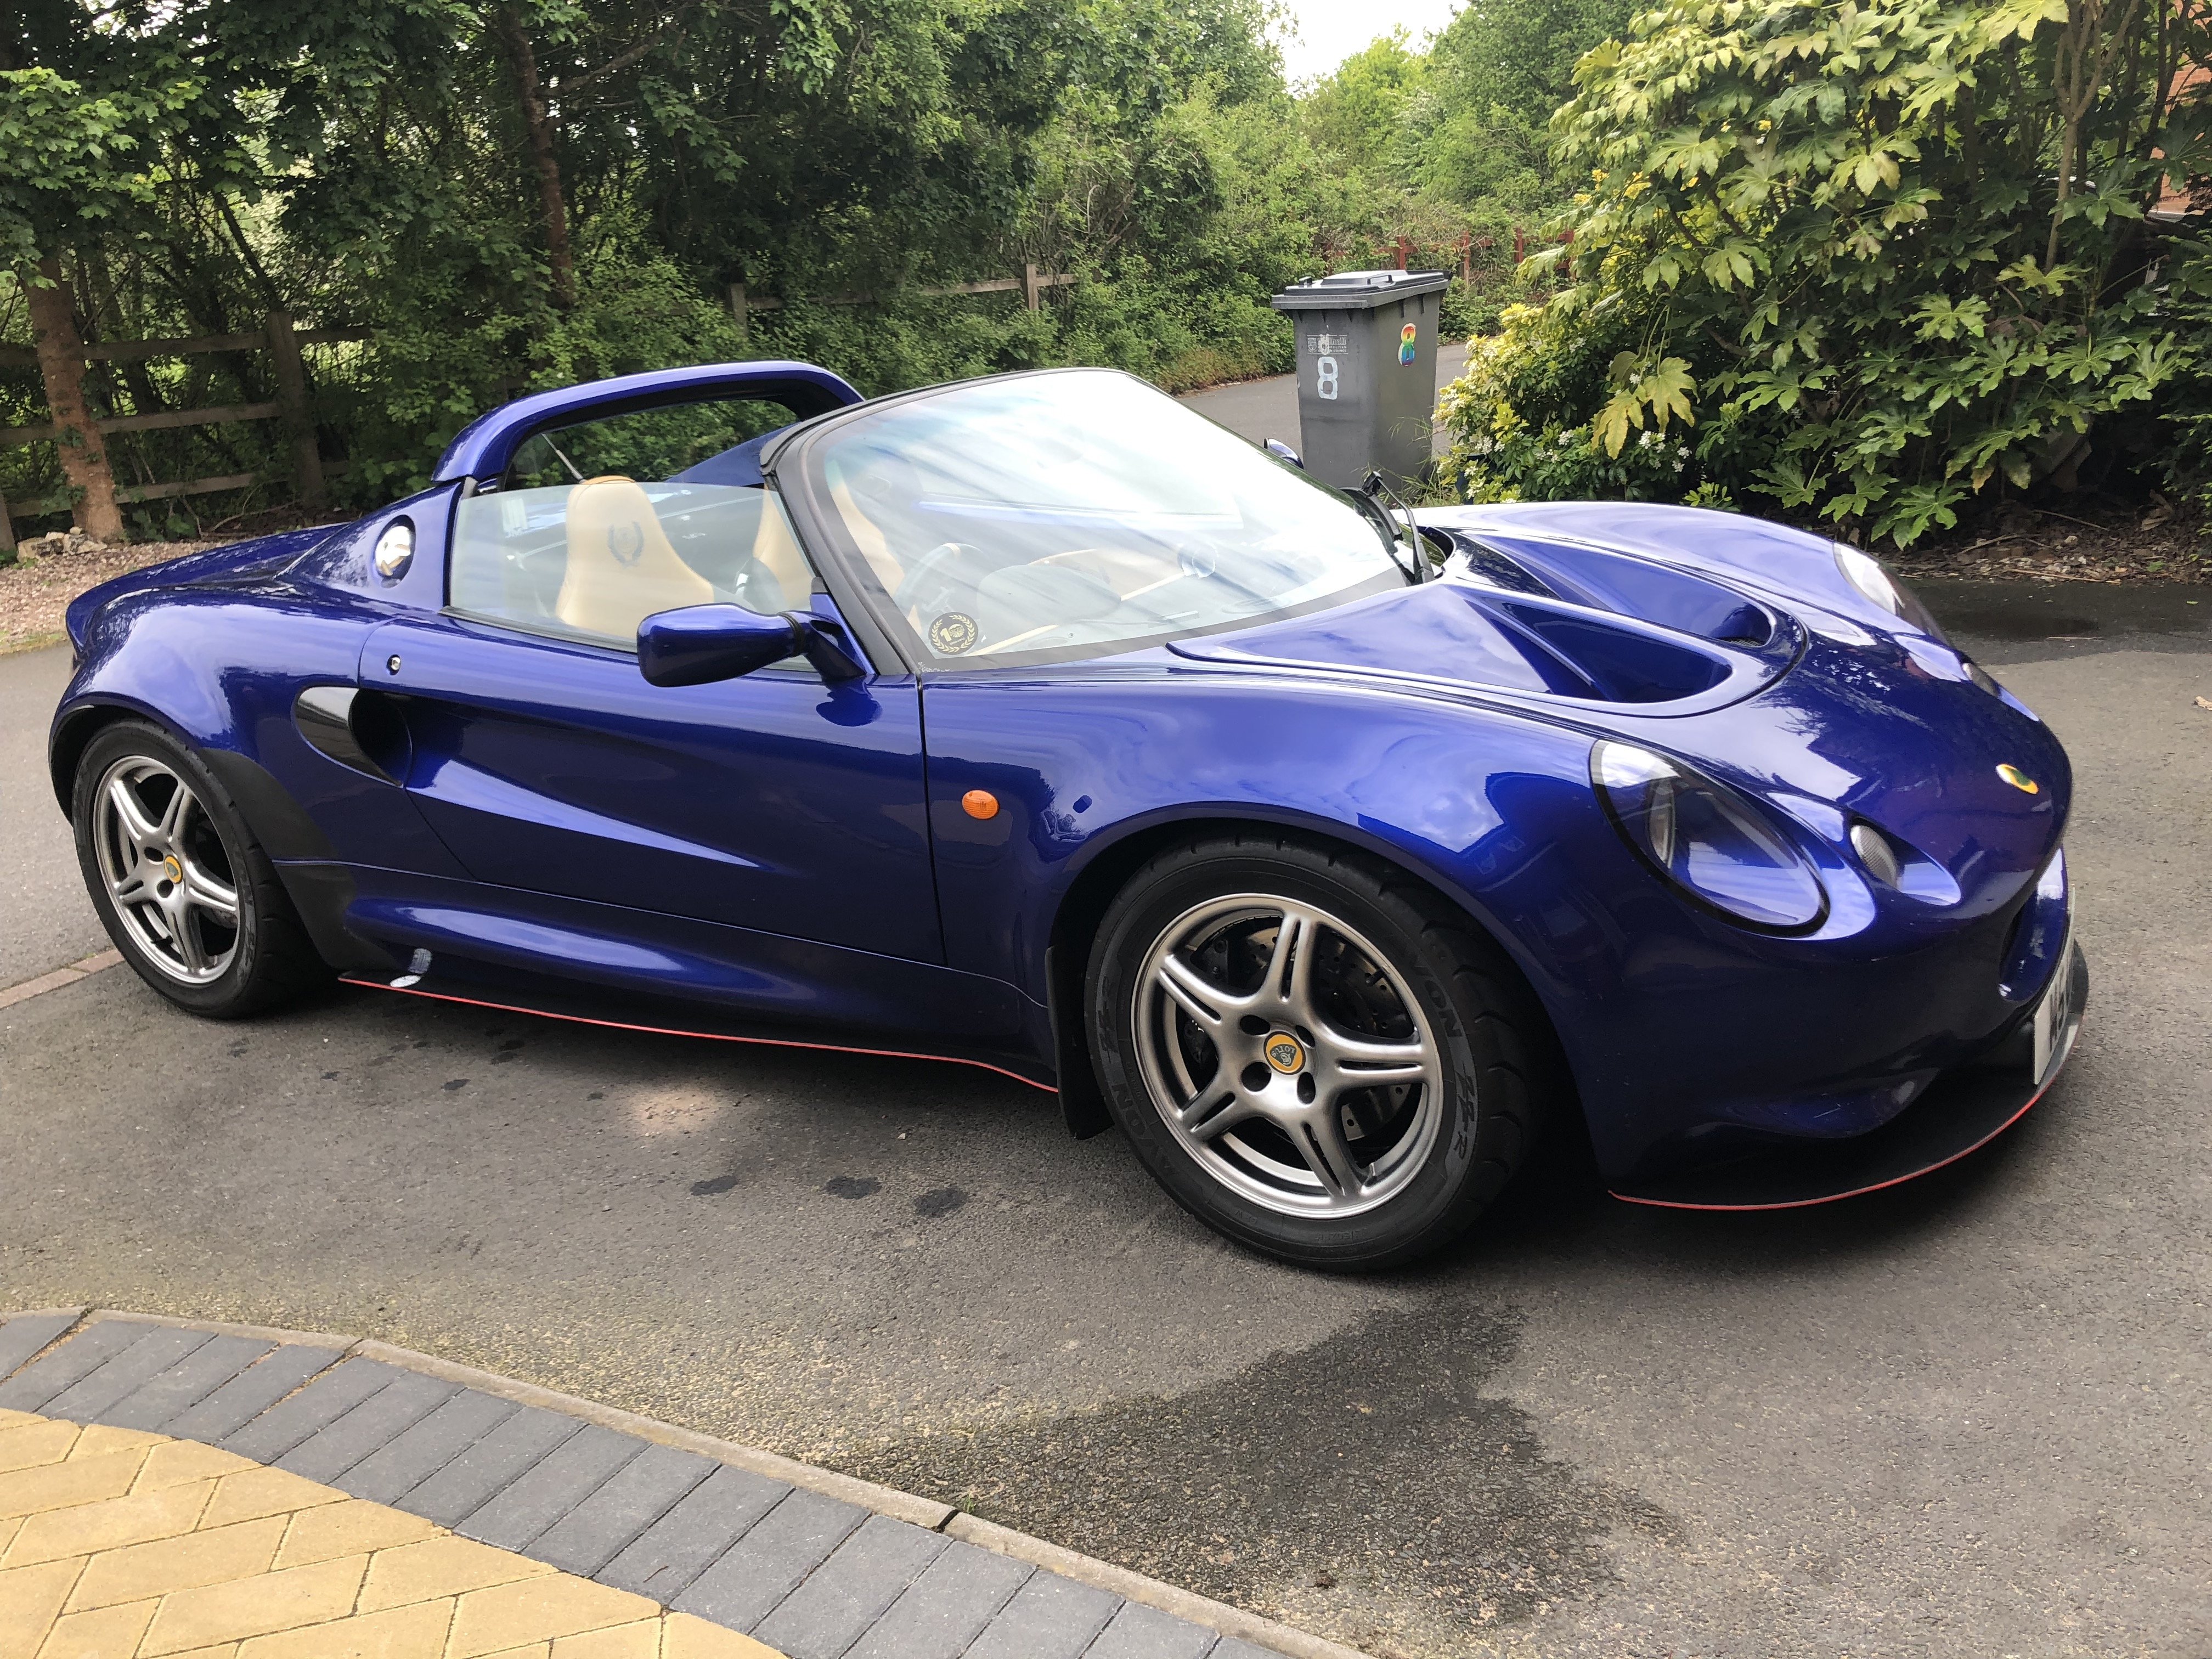
Like most folks who own these little cars, it sometimes ends up sitting in the garage for weeks on end, especially during the winter months. Traditionally, what I tended to do is lift up the front bonnet and connect a trickle charger every time I suspect that I am not going to be driving it for a while.
This method works well, however it is a right pain in the back side as you would then have to pop the bonnet again, remove the terminal before driving the car out. Over the years I have toyed with various options, bought various connectors etc, considered an external port mounted on various places around the car, but none of them really worked - until I came across this.
Before going any further, I must give credit to Matt C (here on MLOC and SELOC) for finding the right type of connector and how best to locate it. All credit goes to him for the idea.
What you need:-
1. Trickle charger - there are so many out there, just make sure its one of the more intelligent ones that can switch between charging and conditioning. I previously had a very basic one and after a year or so, it killed my battery. Be warned - stay away from the cheap ones!
2. External port connector. Matt found this on the web and works well. Its waterproof and the fitting is very good. 12v 24v Male Female Din Accessory Power Plug Socket Connector 16A Hella http://r.ebay.com/8gk7Bi In case the link goes out of date, just search for the description, you should be able to find it. (If anyone finds a better connector, please share by commenting below)
3. Tin cutters or similar. You will need to cut a hole on you front grill
4. Glue gun - I will explain below
5. Waterproof connector. There are many options out there to be honest, but you will need a way of disconnecting the external port to allow you to remove/ mount the front grill. This will have to be a two wire connector.
Well, that's it really.
Preparation
I first removed the grill from the car and decided on where I was going to place the connector. This will have to be your choice, but consider:-
1. Visibility from a person standing in front of the car. I really didn't want the port, although covered with a black cap, to be visible from the front.
2. Ensure that there is enough space around and behind the mounting point to receive the connector assembly. You will need some room behind for sure.
3. Protection from elements. So, as this is going to be at the front, it will get wet if its raining, however my logic is that you will give it some protection, say whilst stationary if you place the port higher up, ie towards the top part of the clam.
Once happy, cut the hole at the chosen location.
Note: Please, please, please note that you will need a hole much smaller than you think. Start small and work your way out. You need it to be pretty tight in fitting as although the connector has a binding nut that goes in from the back, you really don't want to just rely on that. Vibrations etc may work it loose at some point.
Once cut, push the connector though the hole and place the nut from the rear.
Wire up the back - this will be the run back to the battery.
Note: Make sure that the centre of the connector is positive (+) and the the outer case is negative (-). This way you don't end up with grill being live!
Make a note of which wire is which as you will need to know this once you complete the run from the battery to the connector.
So, the glue. I providing the connectors at the back of the assembly with better protection from the elements and vibrations, I used hot glue gun to hold everything in place and ziptied a bicycle tube to cover the whole thing. Again, if you find a better way of achieving the same thing, please comment below for everyone's benefit.
Then all that I did was run the positive and negative feeds from the battery, round the nearside wheel arch and fished it though the bottom of the clam to the vent hole at the front. You may find it easier to use a wire pushed down from the vent opening and then pulled towards the wheel (you can reach in through the liner - no need to remove the wheel) then tape the wires together and pull back through to the front. I hope I explained that well.
I then terminated the wires into a waterproof connector and then connected it all together.
Job done.
I must say, it works really well and now, I just pull in, lift the cap up and connect - job done.
Enjoy - again any comments, contributions etc, please comment and share.
![]()
![]()
-
 1
1


1 Comment
Recommended Comments