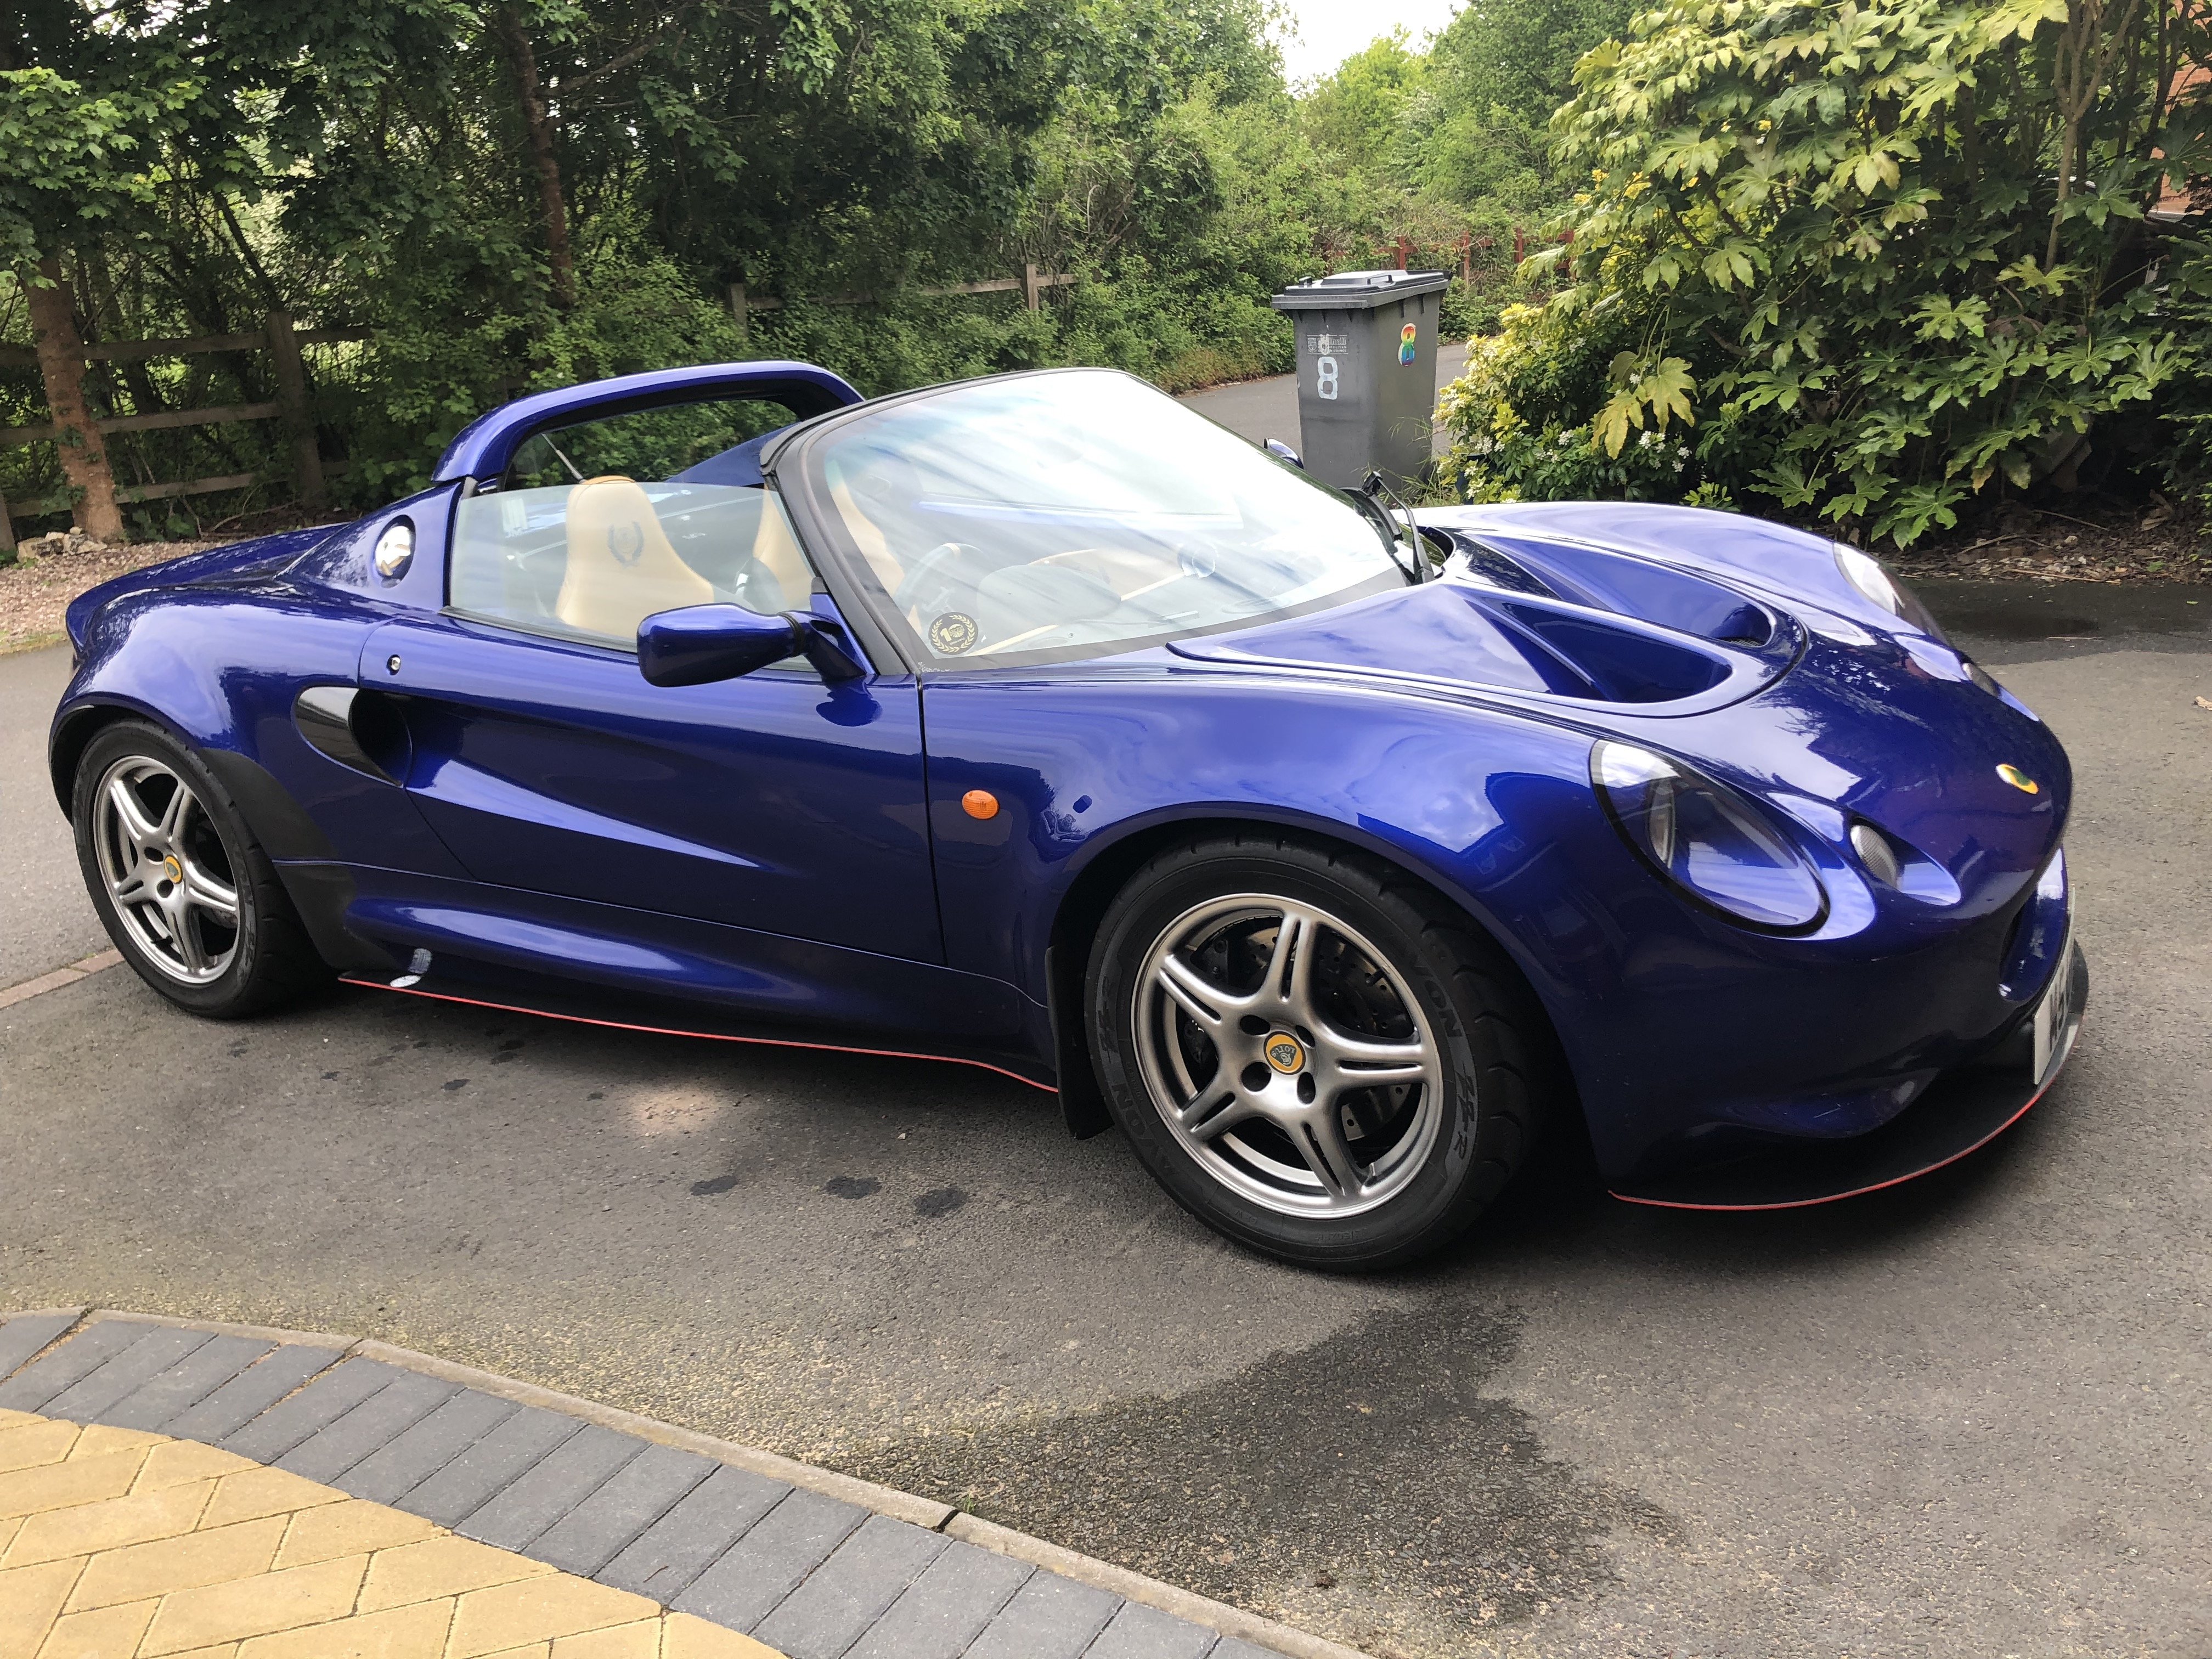
I can't believe that it's already time for a service. It really feels like only yesterday that the car was finished and back on the road.
Now, I always anticipated that my first service will take a bit longer than normal, mainly due to the fact that the location of the oil filter is not easily accessible and I would have to work out the best way of getting to it.
So, the ingredients.
Silkoline Pro S 5-40
Fram Oil Filter (PH4998)
A couple of jacks
Ramps
A selection of tools for the removal of the undertray and a plug remover.
Undertray Removal
So, first thing is first as they say. With this particular Honda conversion, the oil filter is located to the right of the engine bay and just under the subframe. Although this removed the need to cut the sub-frame, as required by some other conversions, it does present a bit of access issue.
The only other feasible way of getting to the oil filter would be from under the car.
So, the first job is to get the car backed up onto the ramps. I must admit, I have done this several times, but I just can't get used to it.
Well, after lining up the ramps, I had my 'little' Bro backing me up and place the car on the ramps.
Then it was a matter of removing the rear diffuser and the centre undertray section. This gave me ample access to the whole of the engine from under the car.
Prep work
To gain better access to the oil filter, I removed the bolts for the two underside steady arms to allow me to rock the engine to give a little bit more access room.
Once the bolts were out, I was able to move the engine by about half an inch. It doesn't sound a lot, but this game me enough room to stick my hands through either side of the far side drive shaft subframe holes and just about get hold of the oil filter.
After a bit of strength work, I was able to twist the oil filter loose by hand.
TIP:- Drain the oil first before undoing the oil filter. This will prevent you receiving a face full of aged Pro S ![]() . Note that the only reason for me taking this approach this time round was that I was unsure as to whether or not I was going to be able to remove the oil filter. I needed the option of aborting the whole thing if I failed.
. Note that the only reason for me taking this approach this time round was that I was unsure as to whether or not I was going to be able to remove the oil filter. I needed the option of aborting the whole thing if I failed.
After the oil filter was out of the way, I then removed the filler cap and the drain plug. Be careful where you place the collection pan. I was surprised just how far out the oil shot out and it almost missed the pan.
After a bit of research, it turned out that there a number of viable options when it comes to oil filters. I wanted something that was shorter than what I had previously, so I went for this...
Once the engine was completely drained, it was a very simple exercise to hand tight the new oil filter in place (don't forget to oil the rubber seal on the filter) and put everything back in place.
Once it the engine received a container full of golden Pro S, I checked all the plugs ( always give them a quick clean), then the car was back to her good self.
The engine sounded even sweater than ever!!
Next time, I think I would be able to get the work done a lot faster and perhaps get away without having to remove the steady arms. I will keep you posted.
For now though, it's job done! ![]()
My 'little' Bro helping out (visiting from States)


0 Comments
Recommended Comments
There are no comments to display.