


Entry posted by mambosasa
3,071 views
As part of the kit, you get two new gear linkage cables and gear selection assembly that is bolted onto the gearbox. Although I managed to get this work done by myself, ideally two people should do this to ease the pain.
I had a cap imposed on me this weekend by the 'trouble and strife', so could only really get this done before I had to down tools for the remainder of the day.
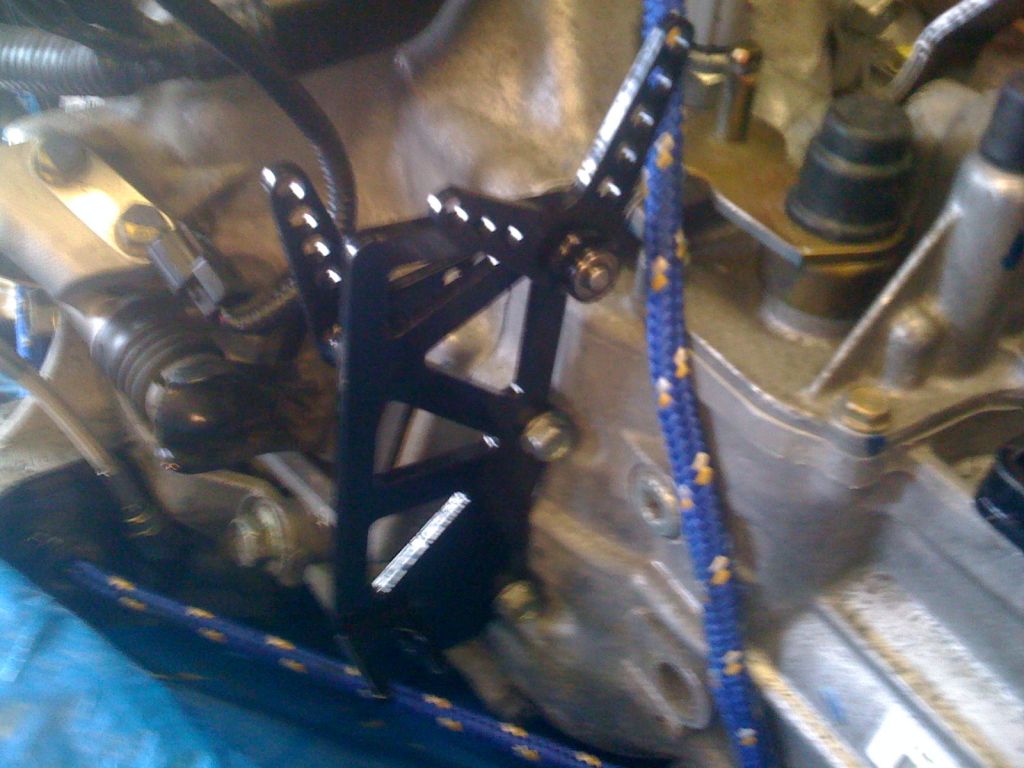
Gear Linkage Assembly
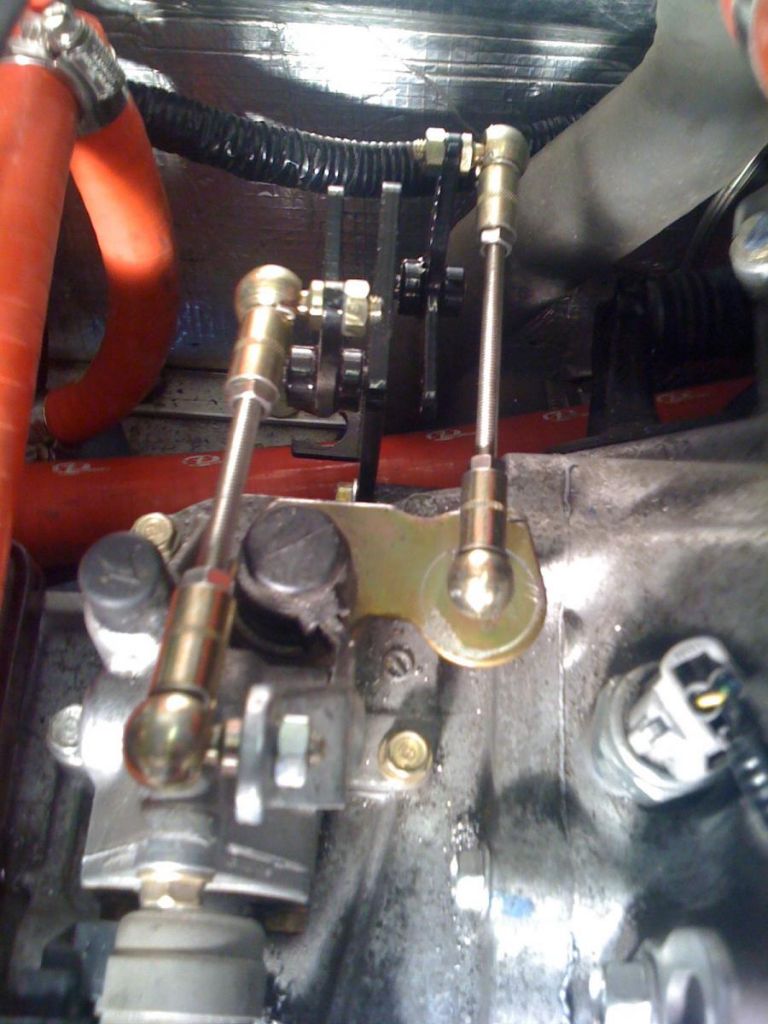
The assembly sent, simply bolts on to the gearbox, with a couple of spacers. Its worth pointing out again at this point that it is essential that you use locktite or equivalent for all bolts to stop them working themselves loose.
This is the assembly.
BTW, this photo shows the installation without the required spacers that push the whole installation to the correct location - this was my mistake at the time, but corrected at a later date.
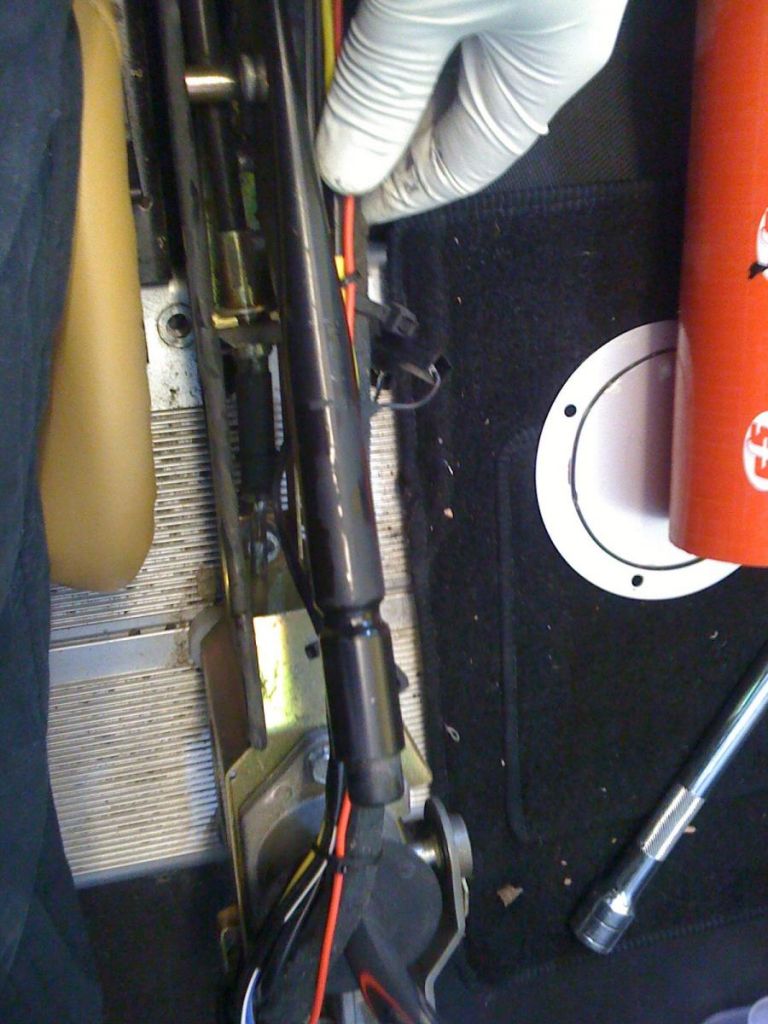
Once in place, I worked on the removal of the gear selector pins
TIP: It is advisable that this is done prior to the installation of the engine. Unfortunately for me, the engine was already in place. This added to the difficulty as I had to use small saw as opposed to an angle grinder.
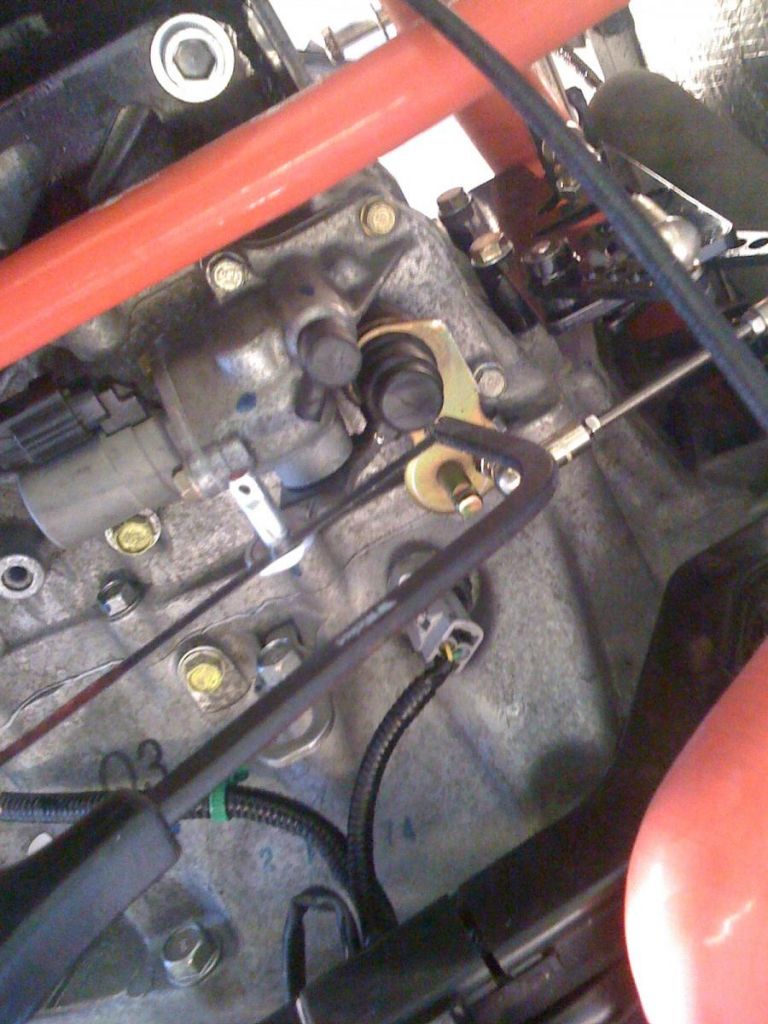
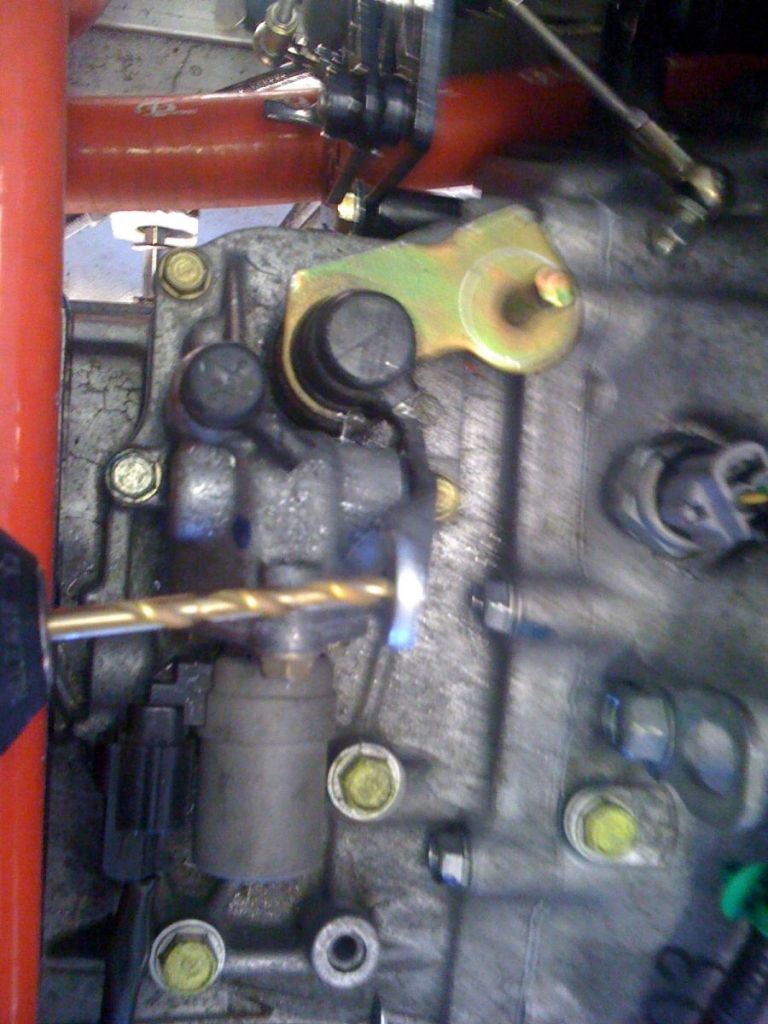
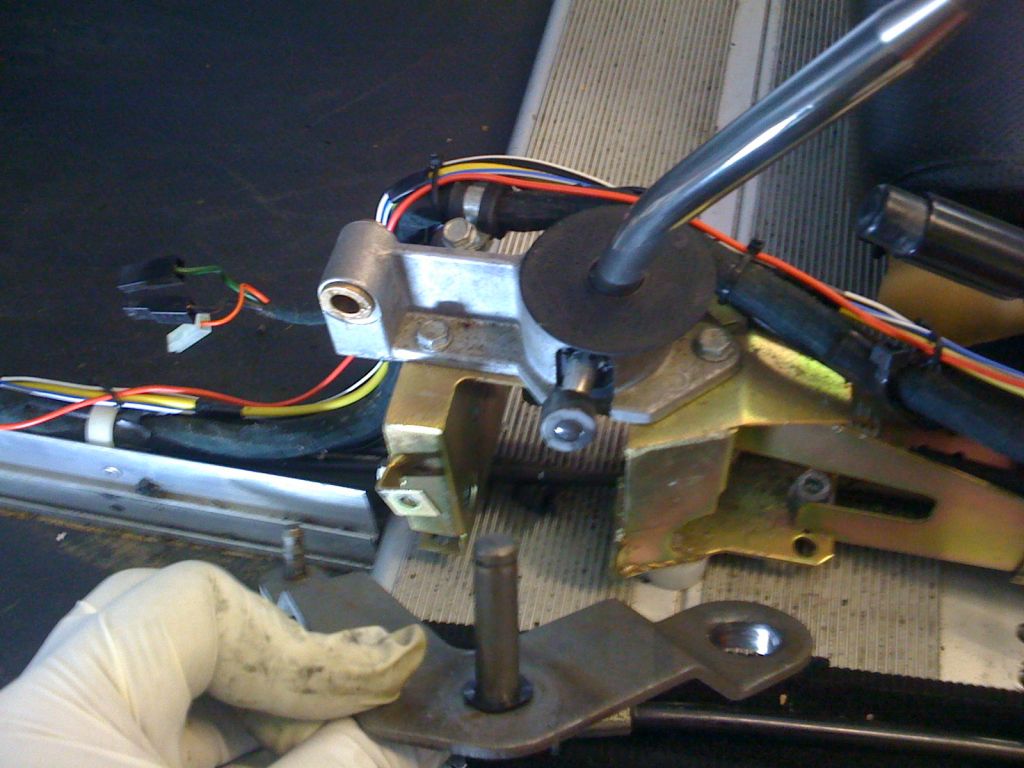
Then drilled the holes...
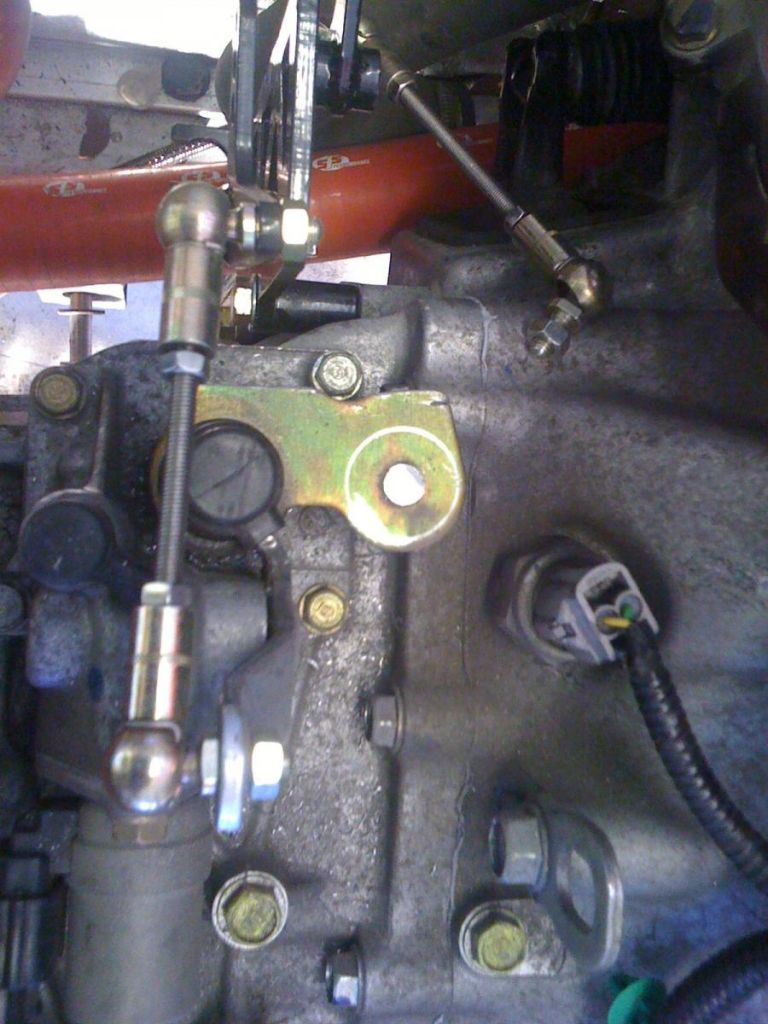
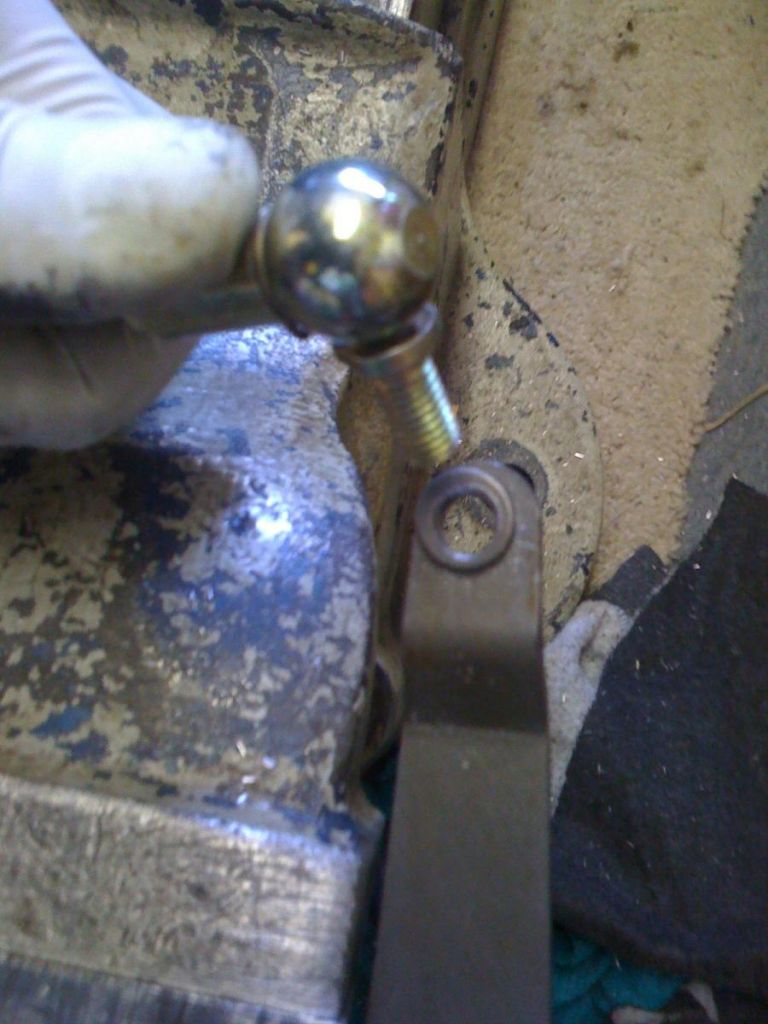
After filing down the surfaces, it was then a matter of just bolting on the linkage rods. These will have to be adjusted later on, so no need to completely bolt them down at this point.
Linkage cables
As I said before, this part of the job is ideally done by two people to ease the pain of fishing the cables through the channels to the in and out of the car.
First job was to remove the old linkage installation. This is quite straight forward and requires a methodical approach, removing a fixing at at time until both cables are completely free and removed from the car.
First job is to unbolt and release the cables running down the centre of the car to give more space to work from. There is a single bolt by the gear stick, then cut any cable ties holding the loom to the car and move out of the way.
After the removal of cross-gate gear linkage cable (the one to the left as you sit in the car), its then a matter of removing the clips and remove the selector arm.
I then placed it on a vice (kindly supplied by Martin R ![]() ) and hack saw through the pin...
) and hack saw through the pin...
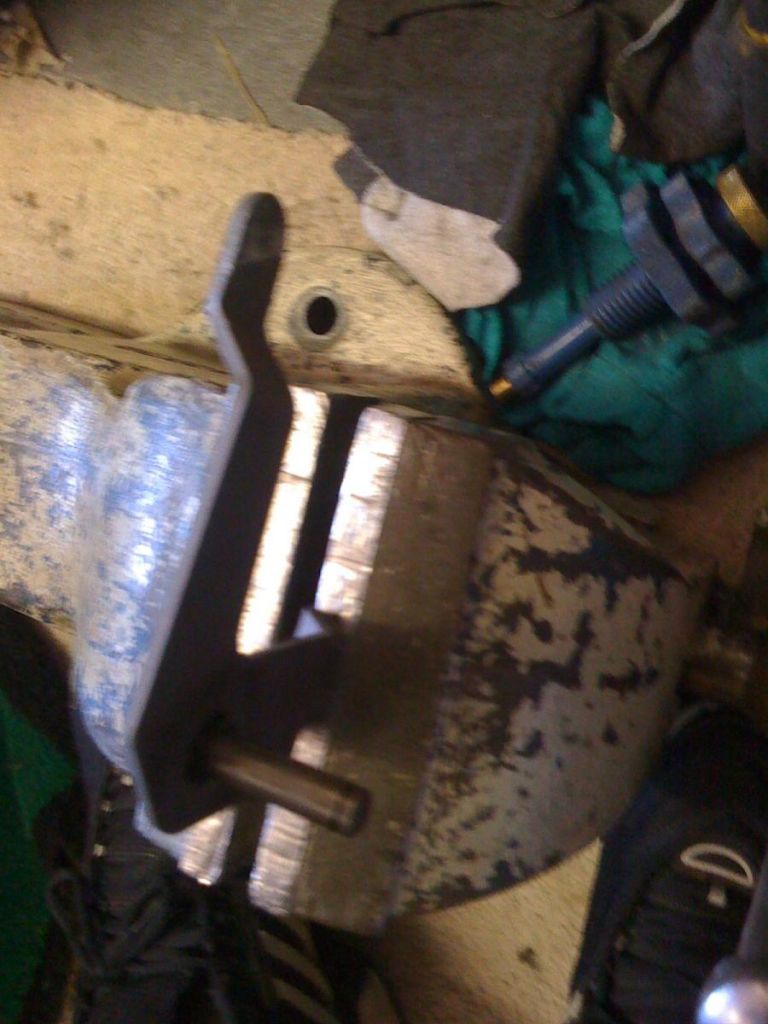
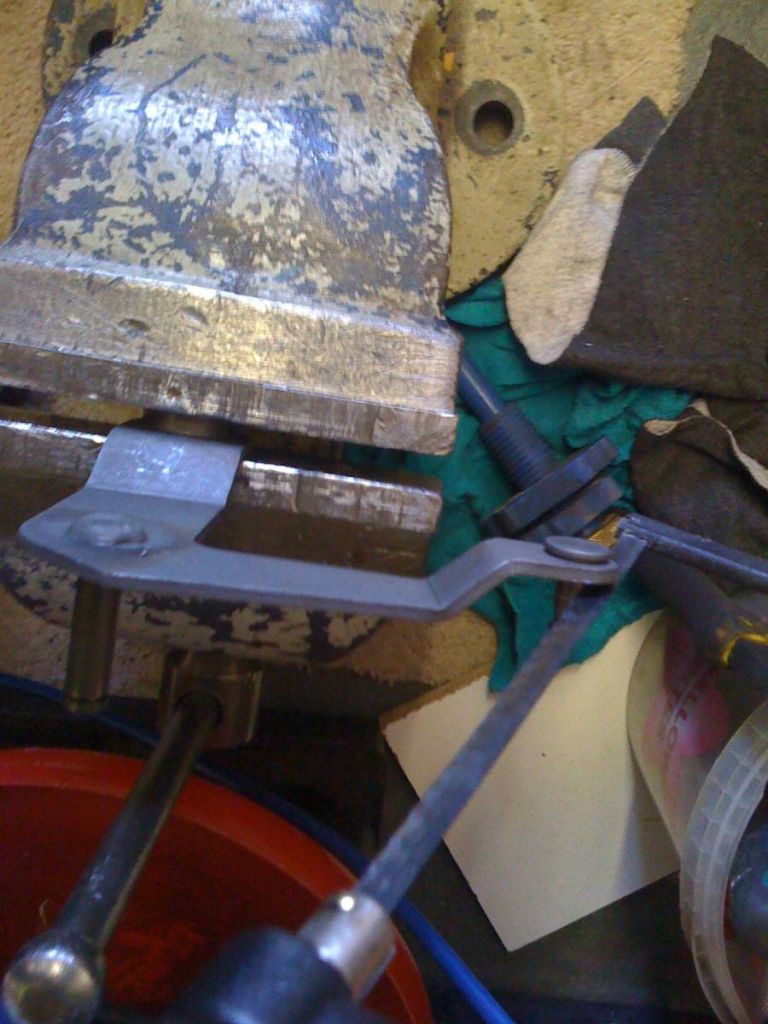
Then drilled the hole to receive new gear linkage bolt...
(I made a mistake here and drilled a larger hole than required. This was because I somehow looked at the wrong linkage cable and drilled to match. I corrected it by inserting an insert tube)
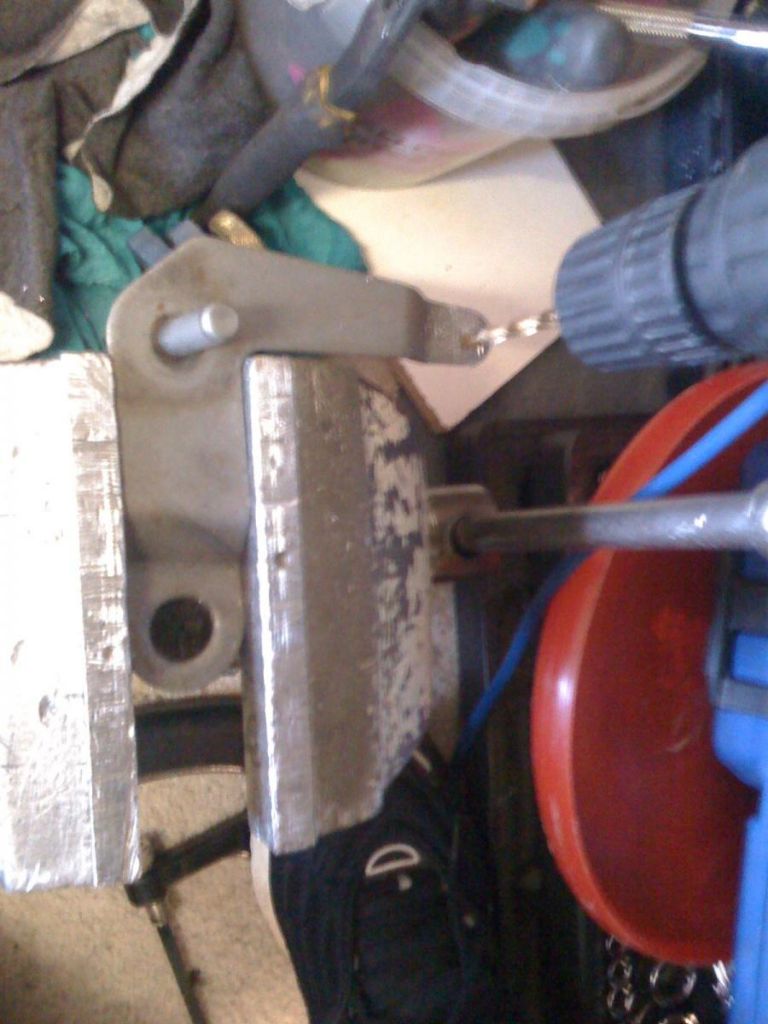
The said mistake... ![]()
0 Comments
Recommended Comments
There are no comments to display.