Jump to content
  • entries
    72
  • comments
    68
  • views
    856,226

Lotus Elise S1 Headlight Covers


I have been toying with the idea of adding the headlight covers to the headlights for some years now. To be honest, the S1 looks really good both with and without the headlight covers, so it has never been something that I felt strongly about.


Anyway, I finally decided to give it a go.


The Covers


I bought the headlight covers from a chap selling them on eBay. These were originally purchased from Eliseparts and the chap never got round to fitting them on his car.


gallery_590_1048_20358.jpg


First step


As these covers tend to trap moisture, I decided to first clean the inside with rain-X. Now, I am no expert, but I thought that this would reduce condensation. Time will tell.


gallery_590_1048_61092.jpg


gallery_590_1048_25668.jpg


I then cleaned up area around the headlights, ensured that all the bugs and dirt is removed.


gallery_590_1048_81676.jpg


gallery_590_1048_108041.jpg


Glueing...


It is my understanding that the headlight covers can be fixed to the clam in various ways.


1. Rivited - I have seen this in various cars (mainly racing cars) but looks pretty ugly I would say, but effective.


2. Eliseparts supply with some 'goo' that can be used to fix the covers in place


3. Various 'super' adhesives - such as tigerseal. Not a fan as they tend to damage the paintwork if you ever decide to remove them.


But, I decided to go down the clear sealant route. This provides very strong adhesive, that is flexiable and is very good at sealing the covers in place.


gallery_590_1048_115946.jpg


After cleaning the area, I pushed out a thin, consistant bead all the way round the area...


gallery_590_1048_90585.jpg


gallery_590_1048_124284.jpg


gallery_590_1048_52321.jpg


Then carefully placed the light covers over the area and pressed to spread the sealant...


gallery_590_1048_84969.jpg


Looking good!


gallery_590_1048_8196.jpg


I approached the other side in exactly the same way.


Conclusion


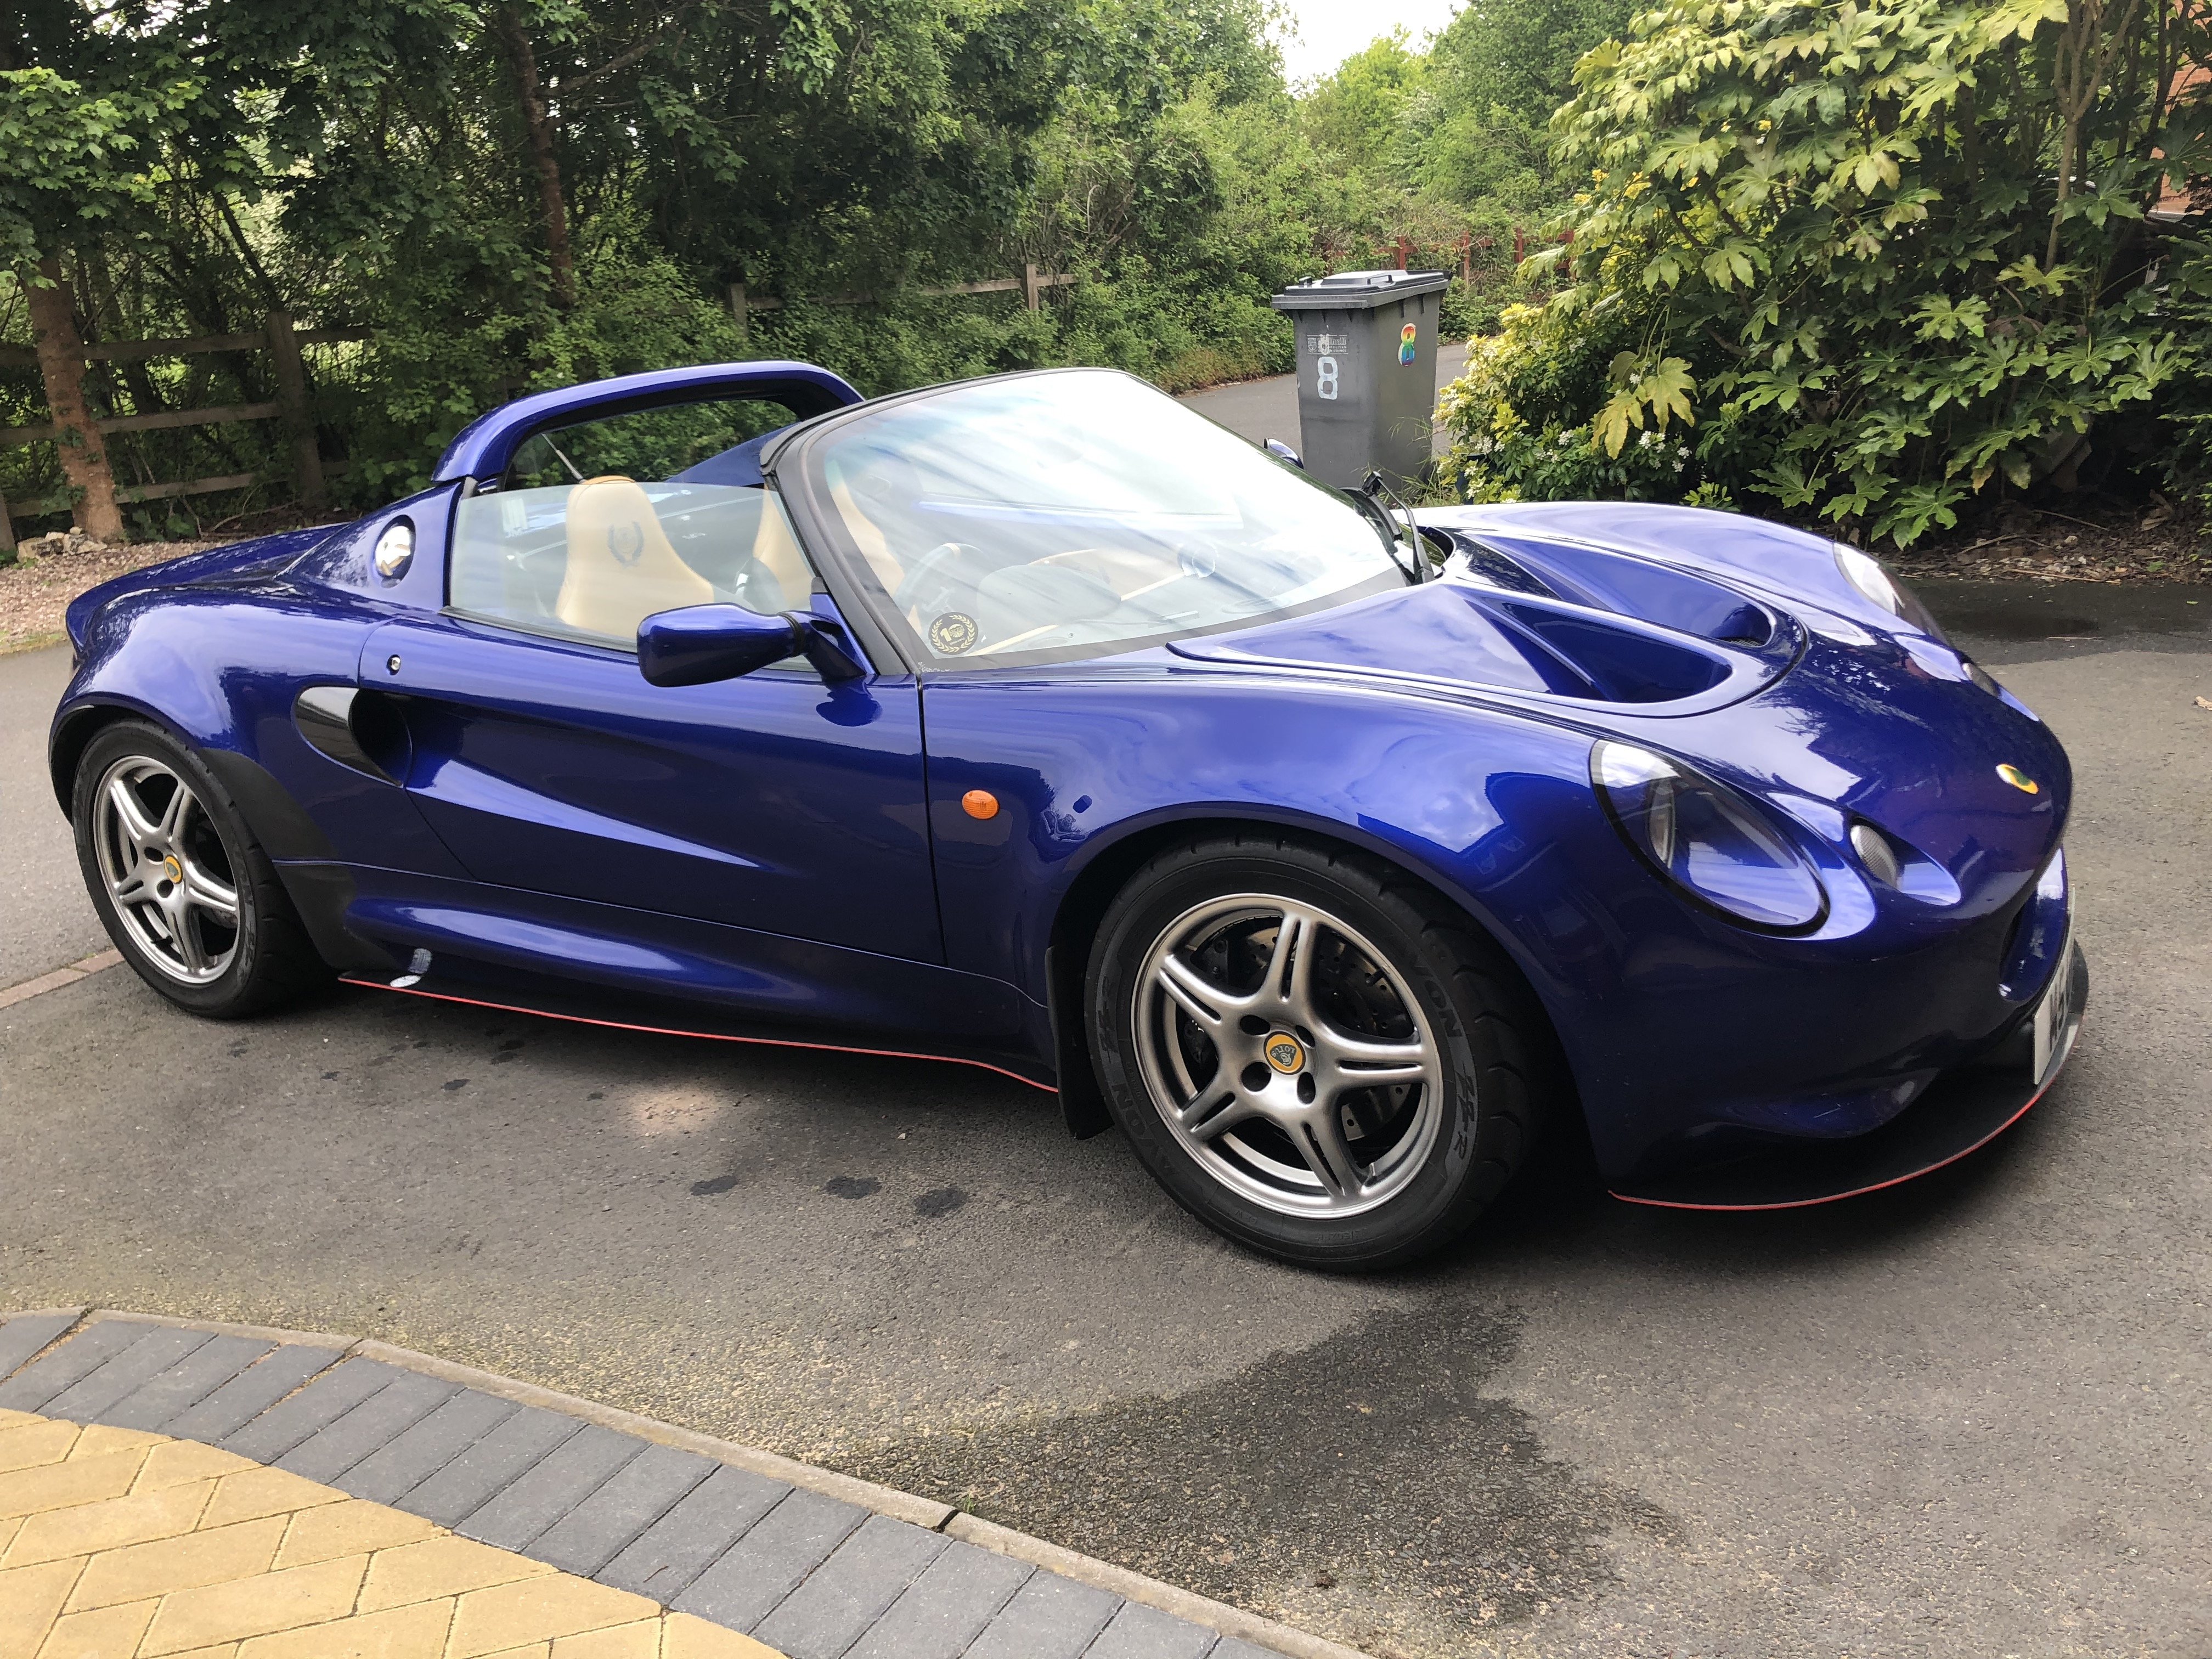
In conclusion, I really like the look and I think it will keep on growing on me. As I said before, I think the S1 looks good with or without the covers.


gallery_590_1048_169376.jpg


As for now, this is another job done!

5 Comments


Recommended Comments

lummo

Posted

I like the idea of the rain-x on the inside. I'll be interested to see how that goes.

mambosasa

Posted

Indeed. I have found that Halfords sell anti fog spray for biker's visors. That may be a better solution. I will update on outcome.

mambosasa

Posted

Rain-x worked pretty well in ensuring that any steaming just runs to the bottom and eventually draining off. However, we shall see how long it remains effective.

JimF

Posted

On 12/02/2014 at 10:50, mambosasa said:

Rain-x worked pretty well in ensuring that any steaming just runs to the bottom and eventually draining off. However, we shall see how long it remains effective.

Appreciate this an old entry- I am considering doing exactly the same. How did the clear sealant hold up?

mambosasa

Posted

All these years on, its still on!.  I will have to remove them soon, give them a good clean and refresh it.  I suspect that they are close to flying off at any point now.

But a few years, no issues.  Even with some brisk driving.

  • Thanks 1
Guest
Add a comment...

×   Pasted as rich text.   Paste as plain text instead

  Only 75 emoji are allowed.

×   Your link has been automatically embedded.   Display as a link instead

×   Your previous content has been restored.   Clear editor

×   You cannot paste images directly. Upload or insert images from URL.

×
×
  • Create New...

Important Information

We have placed cookies on your device to help make this website better. You can adjust your cookie settings, otherwise we'll assume you're okay to continue. Terms of Use