


Entry posted by mambosasa
6,162 views
Time for more installations.
As you may have noticed reading through the installation, I opted not to install an oil cooler and upgrade the standard radiator as part of the original installation.
Apart from time, I really wanted to see whether or not the charger installation would work effectively without having the need to install these two elements - partly from a tech's point of view and cost.
Thoughts on the installation
After running the car for some months now and covering over 1,000 miles, it is now clear that the supercharger adds considerable amount of heat to the engine. The engines gets so hot that you pretty much feel it through the bulkhead.
This resulted in enormous amount of heat soak, especially pulling off the motorway after a prolonged drive.
So, would a supercharger installation require an oil cooler and uprated radiator? Absolutely! Especially if you are going to drive the car hard on the road, let alone on the track.
So, I had to dig deep and get spending.
Kit List
I bought all that I need for the water to oil cooler, including the remote oil filter mounts from ThinkAutomotive. Those chaps know their onions and if you discuss with them what you need, they will get the list sorted out for you.
The uprated Aluminium radiator came from Eliseparts, including the twin fan mounts and an additional fan (to run in tandem with the OEM one.
Acknowledgements
So, before I detail the installation, I need to confess that, for once, I did not do the installation. I currently far too much going on at home that it was far easier for me to get someone to do it.
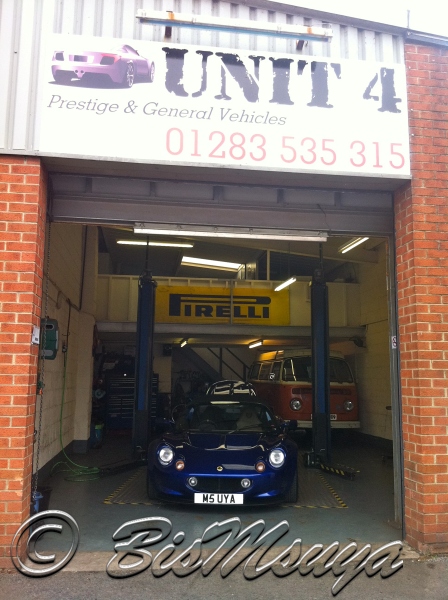
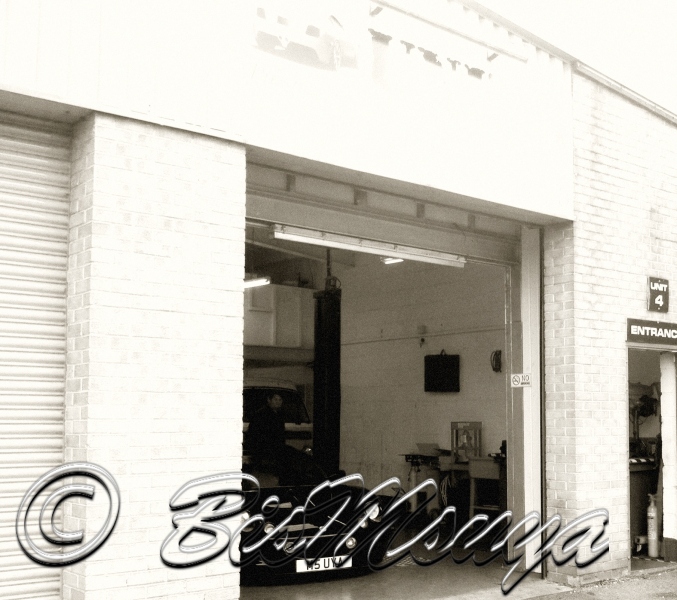
After some investigation, I ended up taking the car to Unit 4 garage, in Burton-on-trent (http://www.unit4vehicleservices.co.uk/). Gavin is one of those guys who is completely dedicated to his work and his attention to detail is absolutely amazing. He pretty much looked after my car as if it was his own.
I would recommend him with no hesitation.
So, to the installation...
Arrival
I dropped the car off at Unit 4 and explained the required work...
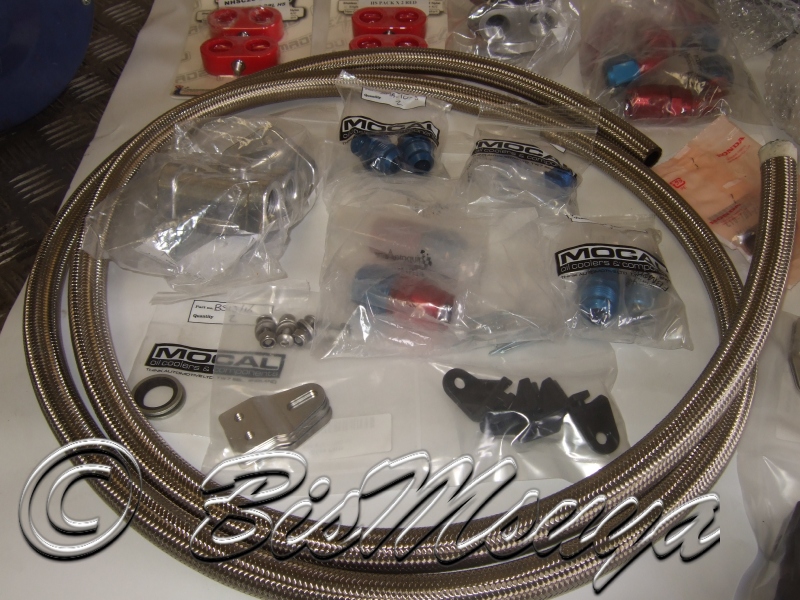
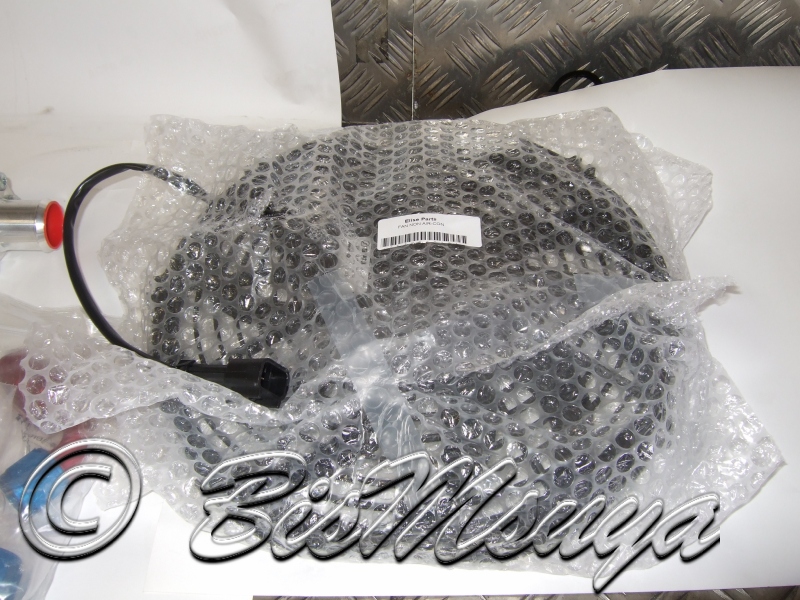
The bits to be installed....

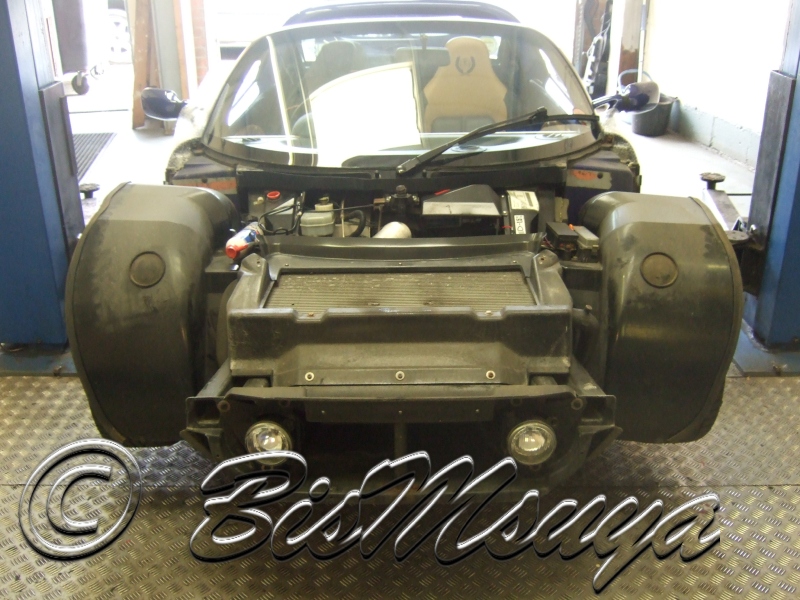
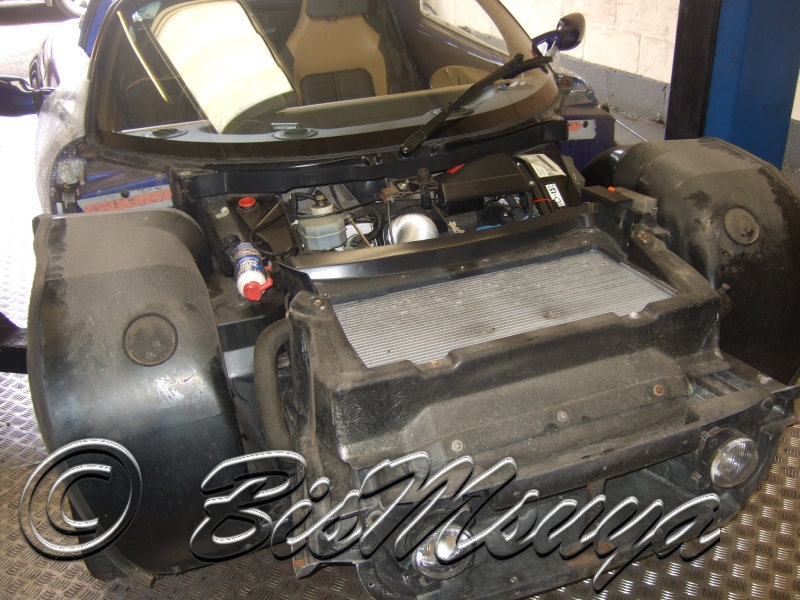
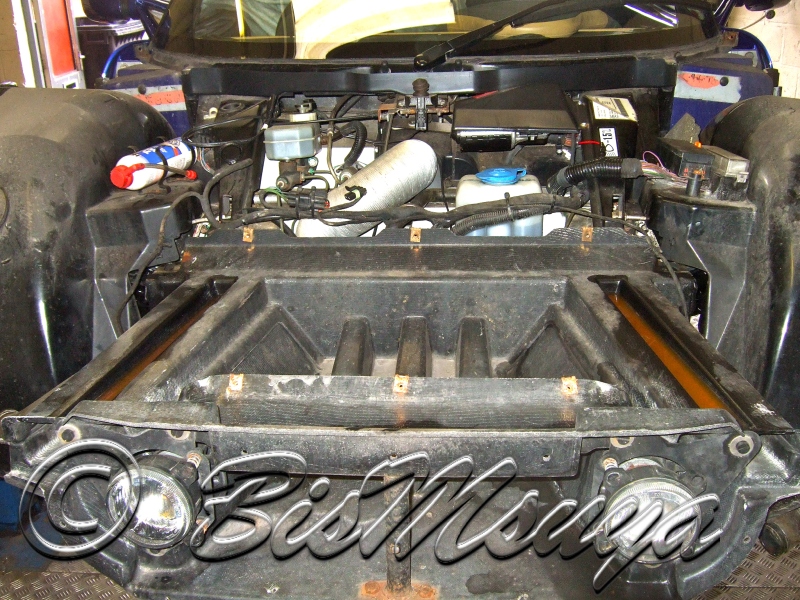
Firstly, Gavin removed both clams for ease of access...
Oil Cooler
As described in the introduction, I purchased all the bits I needed for the installation from Thinkautomotive. I went for the largest Mocal water to oil cooler, braided hoses, remote oil filter housing and all the connectors.
Note:
It is recommended that when you install up-rated oil cooler, you remove the OEM one. To do this, you need to purchase a shorter bolt from Honda - HONDA part 90015-PH1-013. They retail about £5.00
Challenges:
Challenge number one:
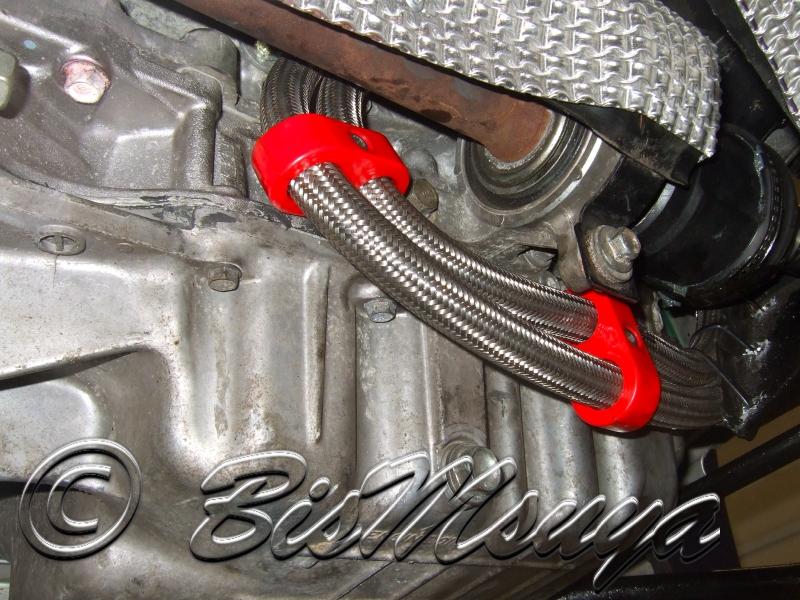
Is the routing of the new braided oil hoses from the original oil filter position to the remote oil filter mount.
This has been done several ways before.
1. Hose to run across the engine, towards the left of the engine bay to a location above the gearbox.
2. Up, then to the right side of the engine bay. This has one draw back - it requires the manifold corner webbing to be removed. This is not ideal at all.
3. Run towards the left, then down behind the intermediate drive-shaft, curl over to the right and into the area above the right hand wheelarch liner.
Gavin played around with various options and found the best one to be option 3. This requires that the braided hoses to be very flexible as the radius required are very tight.
Challenge number two:
Where to mount the remote oil filter housing.
Once again, this has been done several ways in the past. These include:-
1. Mounting it on the gearbox. Using one of the bolt holes
2. Mounting it on the clam divider between the engine bay and the boot.
3. Mounting on the chassis, ie drilled directly onto the aluminium chassis in the cavity on the right hand side of the engine bay.
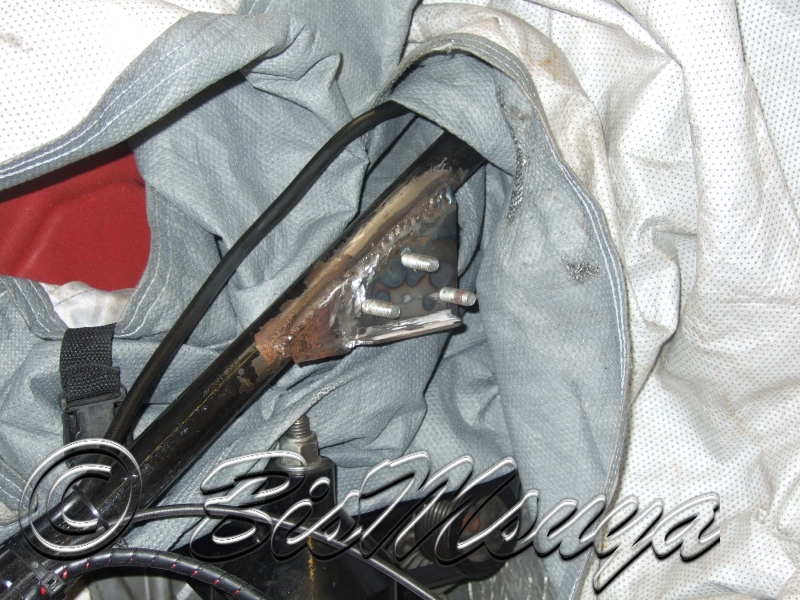
4. Mounted on the right hand side brace.
Gavin went for option 4. This location has several advantages. Firstly, it is independent to the rear clam and avoids damaging the chassis in any way. And secondly, it has a slight advantage in the fact that the oil filter will be placed directly in front of the side scoop, that may aid in cooling.
The oil take off plate at the original oil filter position...

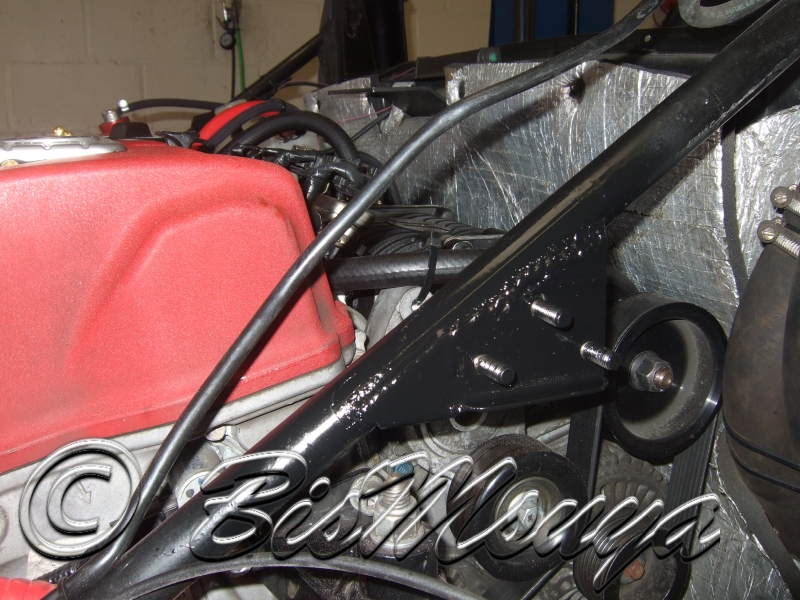
Brace rubbed down and new bracket welded into place...
Bracket painted black and oil filter mount placed in position...
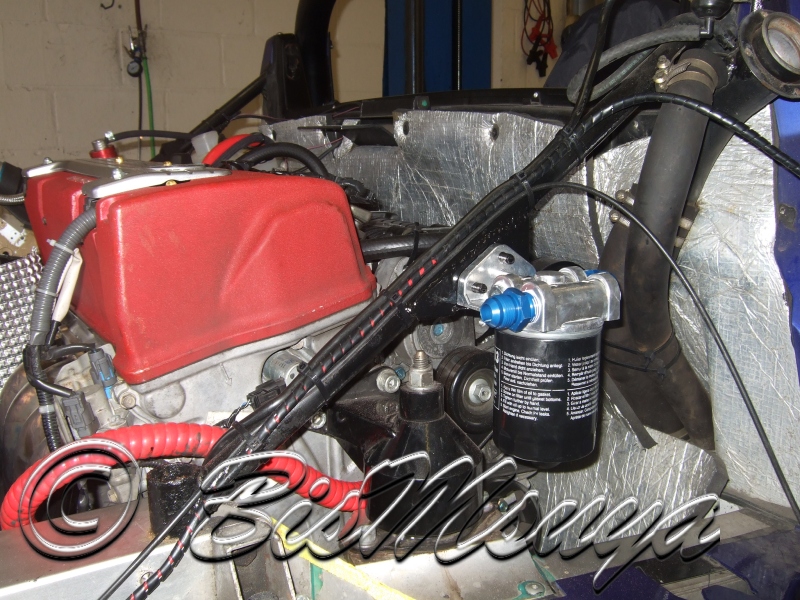
All plumbed in and looking good so far.
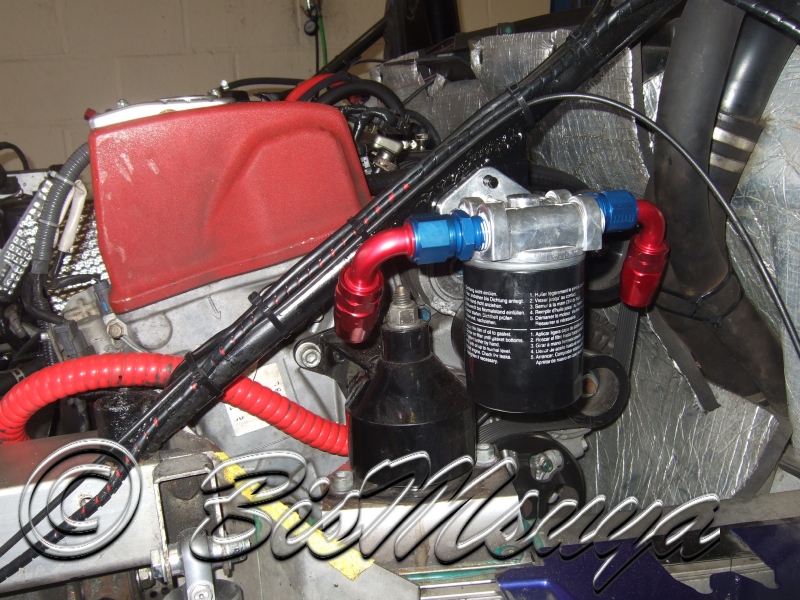
Routing under the engine, through behind the intermediate drive shaft...
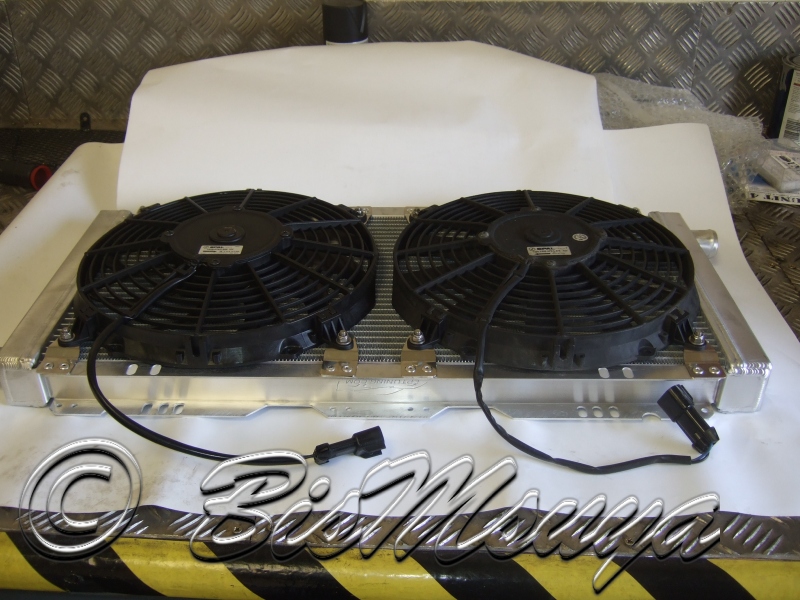
Aluminium Radiator
With the additional heat loads from the engine and the oil cooler, I decided to get the radiator upgraded. I opted for the largest Aluminium radiator available, with a twin fans setup. This should be enough to keep the temperatures at sensible levels even after hard track use.
All the bits...

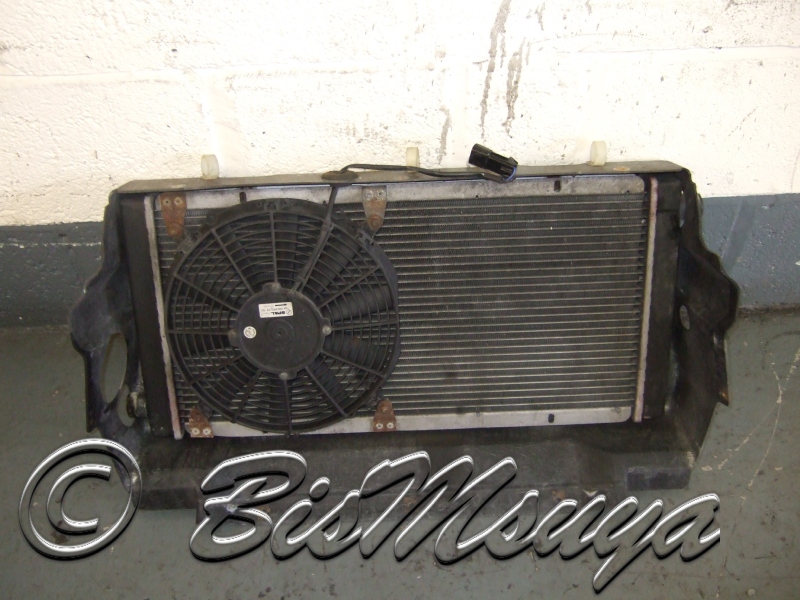
Old radiator exposed...
Old radiator removed...Oh, it was leaking and it was only a matter of time before it completely failed!!
Twin fans installed. Note the OEM one on the right. The new fan is a lot more powerful than the original, but I am not sure whether or not there is any science in deciding which one goes first...
Note:
The new fan comes with a connector, however the best way of providing power to it is by removing the plug and splicing the wires to the original power supply.
New radiator installed...

After coolant top-up, the car was run to temperature and checked for leaks.
Finally
After collecting the car back from Unit 4, I went out for drive and the temperature remained in the low 80s in all conditions. I then let the temperature rise to 87 (on stand-still) and the fans kicked in. The air flow through the radiator is immense and reduced the heat pretty quickly.
So, am I happy with the work carried out by Gavin at Unit 4? YES! Was the upgrade worth while and the investment? Hell yeah!!
Another job done! 

-
 1
1
0 Comments
Recommended Comments
There are no comments to display.