


Entry posted by mambosasa
2,629 views
Introduction
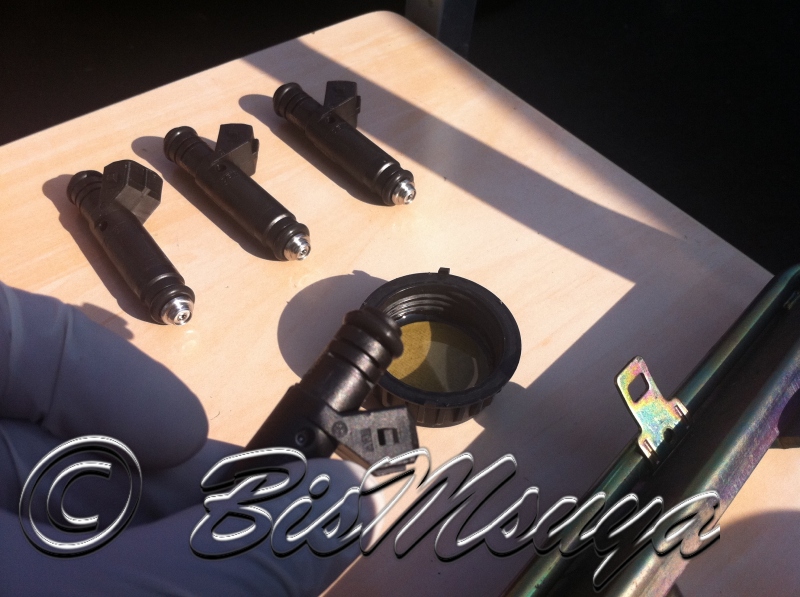
The standard Honda injectors are not large enough to deliver the required amount of fuel once the supercharger is installed. As such, they will need to be replaced with larger sized ones.
Now, I know there may be some complex calculation that one could go into, however after some research, it seems that people have gone for:-
600cc - Seems normal low boost operations
630cc - Seems to be the mean
700cc+ - For extreme application
As for me, due to my setup and standard exhaust manifold, I have chosen to go with the average - ie 630cc injectors.
Strip down
The installation starts off with the stripping down of the bits and bobs connected to the manifold.
1. Engine cover,
2. Engine cover mounts

3. Earthing bolts
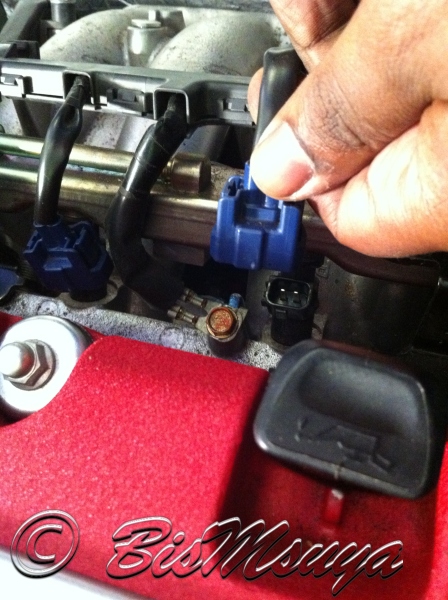
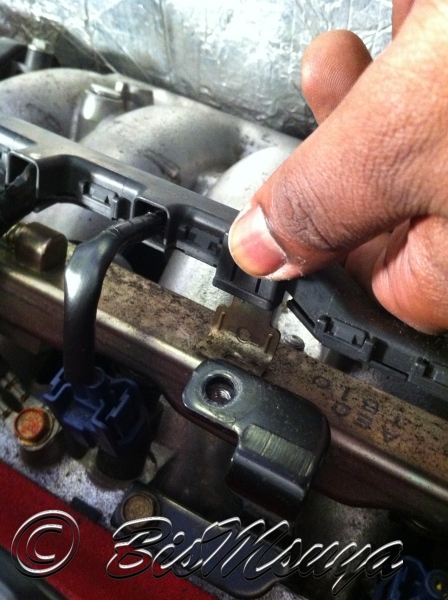
4. Then un-clip the wiring harness connectors from the injectors. Make sure that you pull out the retaining clips first before pulling free.
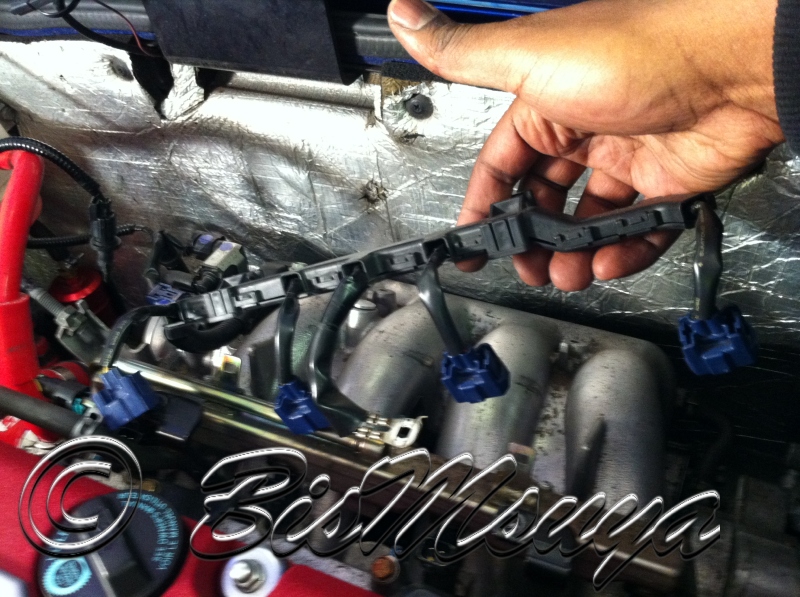
5. Un-clip the wiring harness channel off the manifold mounts
6. Unbolt and remove the bolts holding down the fuel rail
Fuel Rail Removal
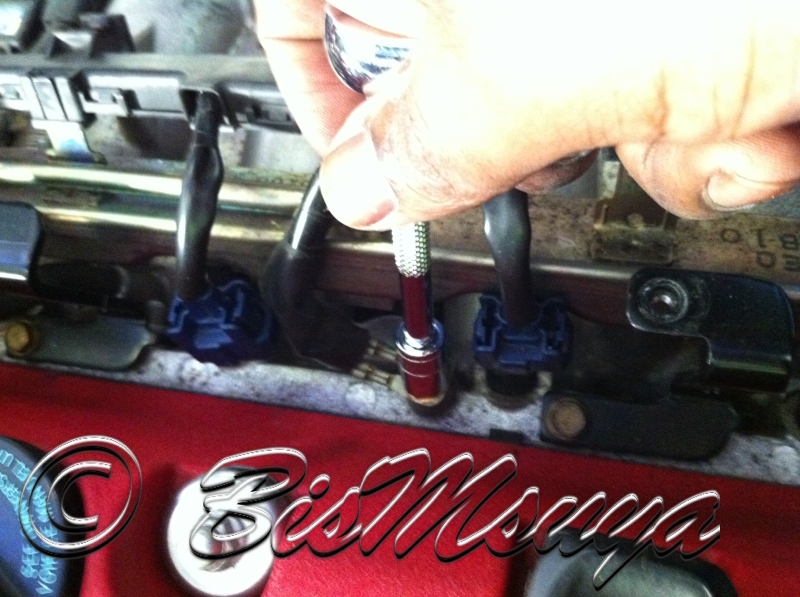
Before attempting to remove the fuel rail and the injectors, you will need to ensure that the pressure on the system has been released.
Firstly, open the fuel cap to allow air into the tank and remove/ unclip the fuel hose connected to the fuel rail.
Note: There will be a lot of fuel in the fuel rail and as such make sure you have a lot of rags about. It could get everywhere if not careful.
Once the fuel drips stop, you are now ready to remove the fuel rail.
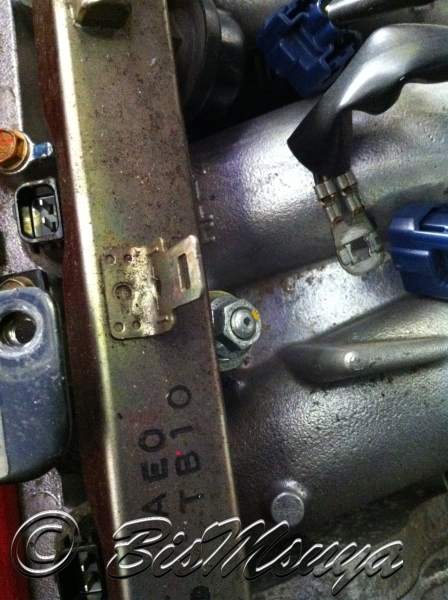
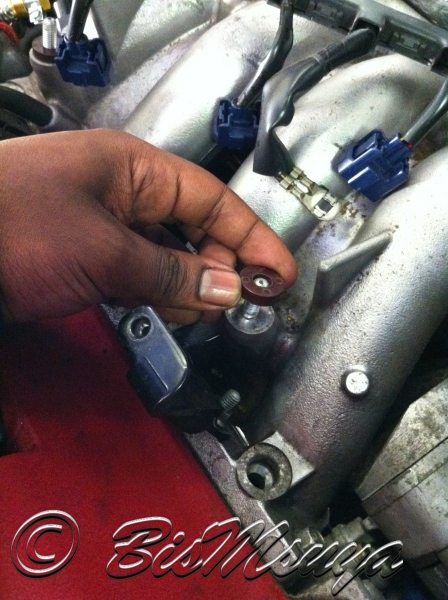
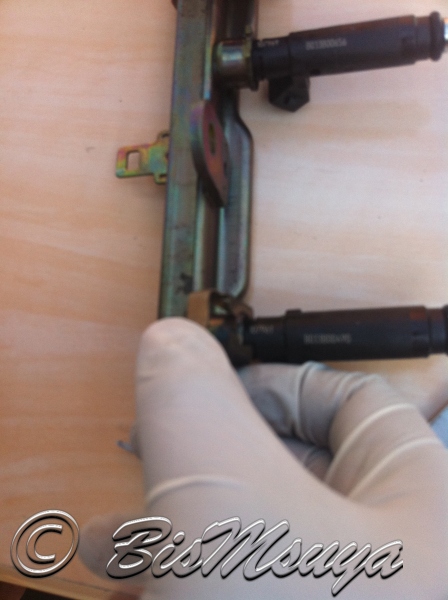
1. Remove the spacers and retain them for later use.
2. Carefully lift the fuel rail off, slowly and gently ensuring that you do not force anything or break the injectors.
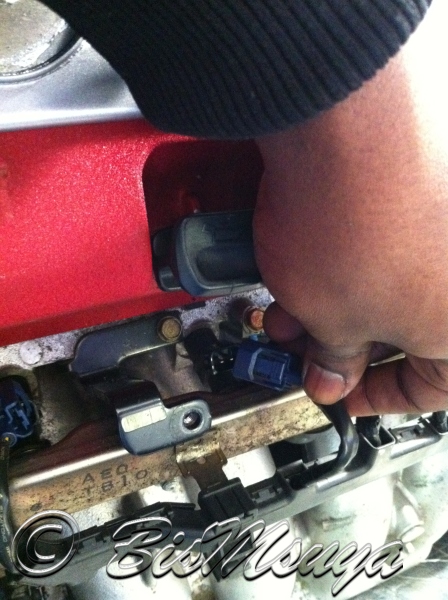
3. Once free, you will note that each injector has a retaining clip that can be pulled of to free the injectors from the fuel rail.
4. Once again, it is necessary to point out that you will need to be careful and gentle during this part otherwise you run the risk of damaging the injectors - especially if you plan to sell them on.
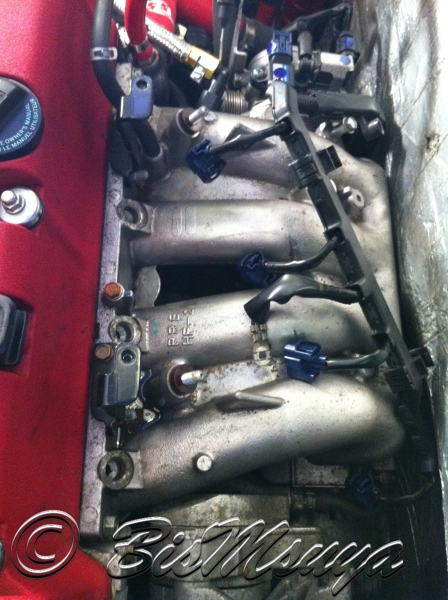
5. Once all the injectors are removed, you can set the fuel rail aside - covered to keep it from dust.
Fuel rail removed...
Installation
The installation is pretty much the reverse of the removal, however there are some considerations.
1. You will need to ensure that the seals are a good fit, so use a bit of engine oil on them. Just a coating is more than adequate.
2. Re-use the spacers when bolting down the fuel rail
3. Once gain, gently does it or it could end up being very expensive for you!
Injector connectors
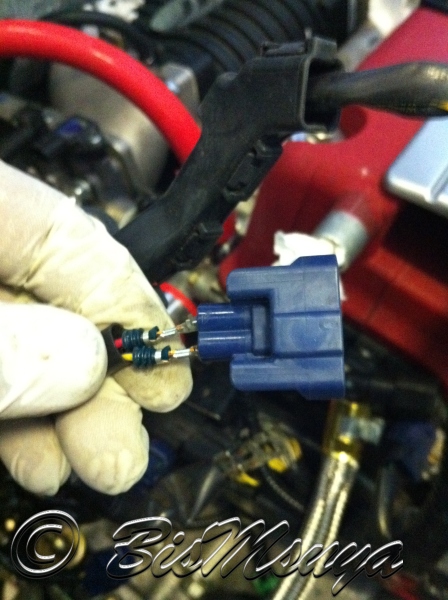
As the larger injectors do not share the connectors with with the Honda OEM ones, you will need to get the appropriate connectors and swap out the ends.
I am sure that there may be other short cut way of getting them replaced, however, I chose to completely remove the original items, including the pins and replace them with the new ends.
The approach...
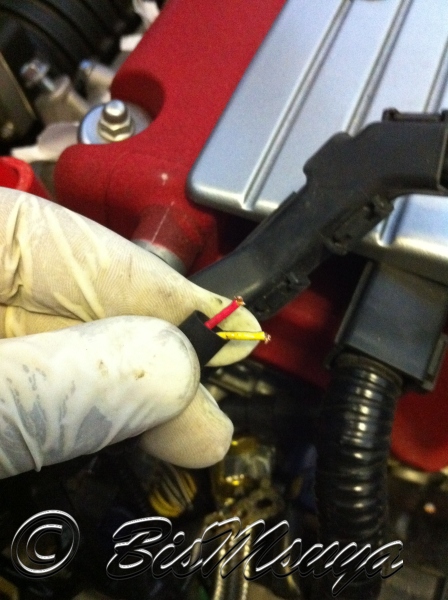
1. To get to the pins on the OEM connectors, you will need to first remove the centre cap. I used a small screw driver to prise the cap off.
2. Once removed, by using a small screw driver, press down on the pin and gently pull the wire out at the back. The wire should come free.
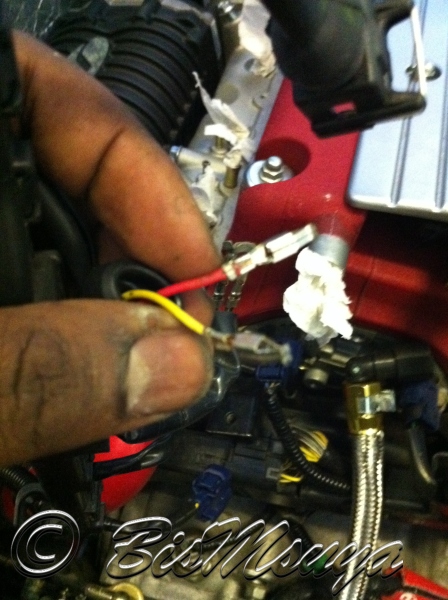
3. Remove the pins by cutting them off the ends of the wire. At this point, you may chose to remember which order the wires lined up. Looking at the diagram, the injectors are wired in series, so the order does not seem to matter.
4. Connect the new pins and grip in place
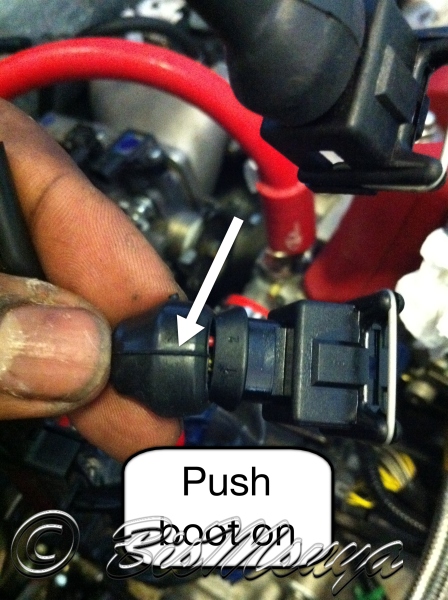
5. Place the boot over the wire. This will then cover the ends of the connectors and keep dust and rubbish out.
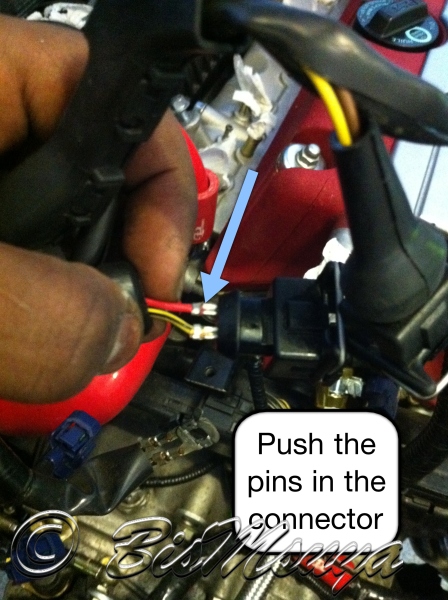
6. Push the pins into the new connectors. You should hear a click sound once in place.
7. Pull the boot over the connector and tape the bottom end with electrical tape
Once all 4 are done, clip them on top of the injectors and job done!
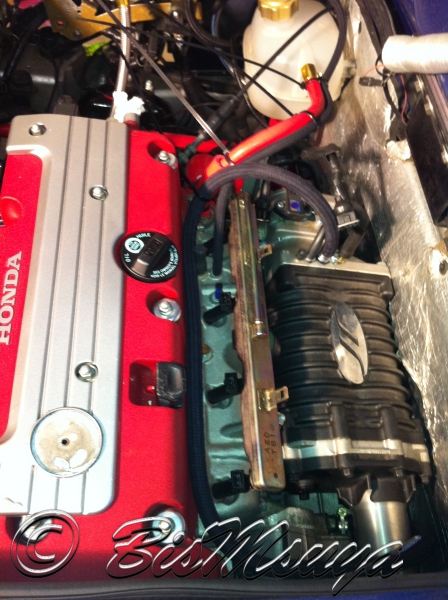
Looking good! 
![]()
0 Comments
Recommended Comments
There are no comments to display.