


Entry posted by mambosasa
6,522 views
One element of this build that I did not look forward to was the electrics. Unfortunately there is no way round it and the car harness has to be modified to receive the Honda engine's loom.
At this point, I would like to give thanks to Alan Gourlay, who is currently doing the same conversion (posts on Seloc) who help me immensely in guiding me through the wiring loom modifications. To be even more precise, he provided me with his schematic drawings that I then used to create the 'new' loom. Alan is ex-Honda so his knowlege is exceptional.
The approach to modifying the wiring loom has to be read the wiring diagrams, understand them, read them again then start modifying one wire at a time. I can honestly say that over the three days that it took me to do this work, I had a headache from hell! ![]() But I got there in the end.
But I got there in the end.
Original Loom
The first this to do is remove the original engine wiring loom from the Rover lump. At this point, its worth excepting that you will butcher it completely and it would never be used as it was originally intended again.
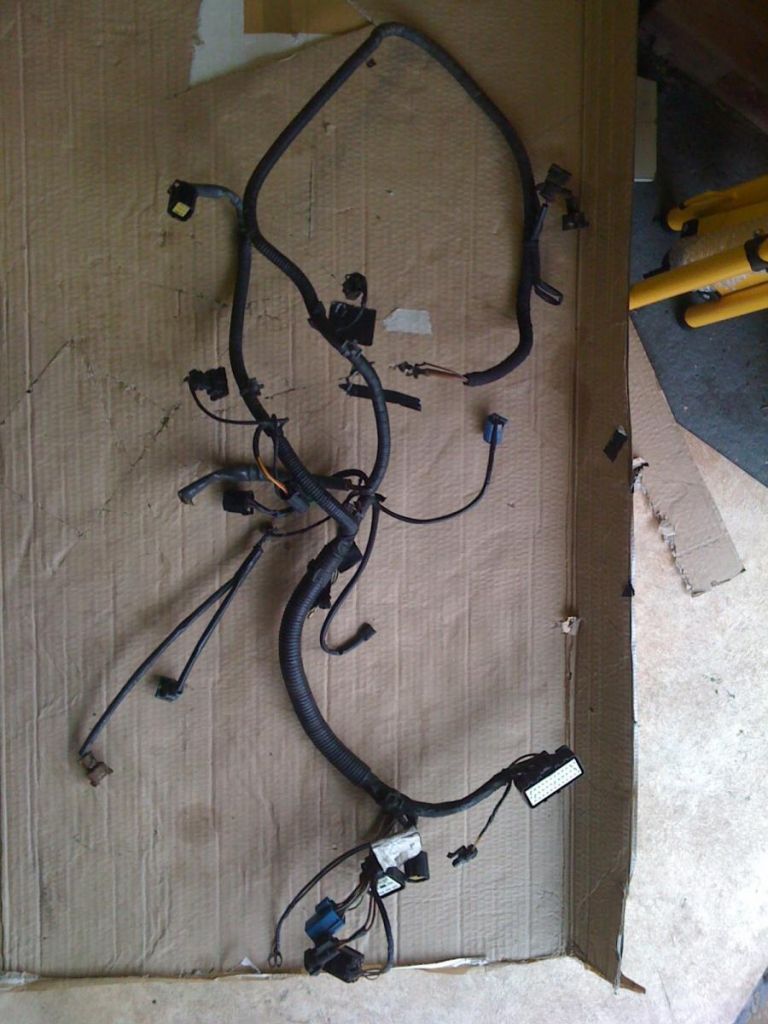
Once removed, the first thing to do is to remove the large connector that used to plug into the Rover ECU. This is just a matter of snipping off all the wires.
You should then be left with something like this.

Modifications
In essence, the idea here is to splice the loom just prepared into the connectors going into the Honda ECU. This includes the C101 (Large harnesss connector) and the E Connector going into the Honda ECU
Unfortunately, I do not currently have permission to post Alan's wiring diagram, if I do so in the future, I will post it up.
So, I spend three evenings working through the diagram step by step. Once I started at 7:30pm and did not leave the desk until 1:00 in the morning!
I work away, so I decided to spend my otherwise uninteresting evening at the Hotel making progress with the wiring...
All set to start

Hhhmmm! This is going to be a bit of a challenge... ![]()

The end result
After hours and hours, this is what I ended up with. Now, it should be noted at this point that although I am not completely clueless, I am not in any way an electrical engineer. So, if you are an experienced Electrician, then this work should be pretty straight forward for you.
This is what I got...
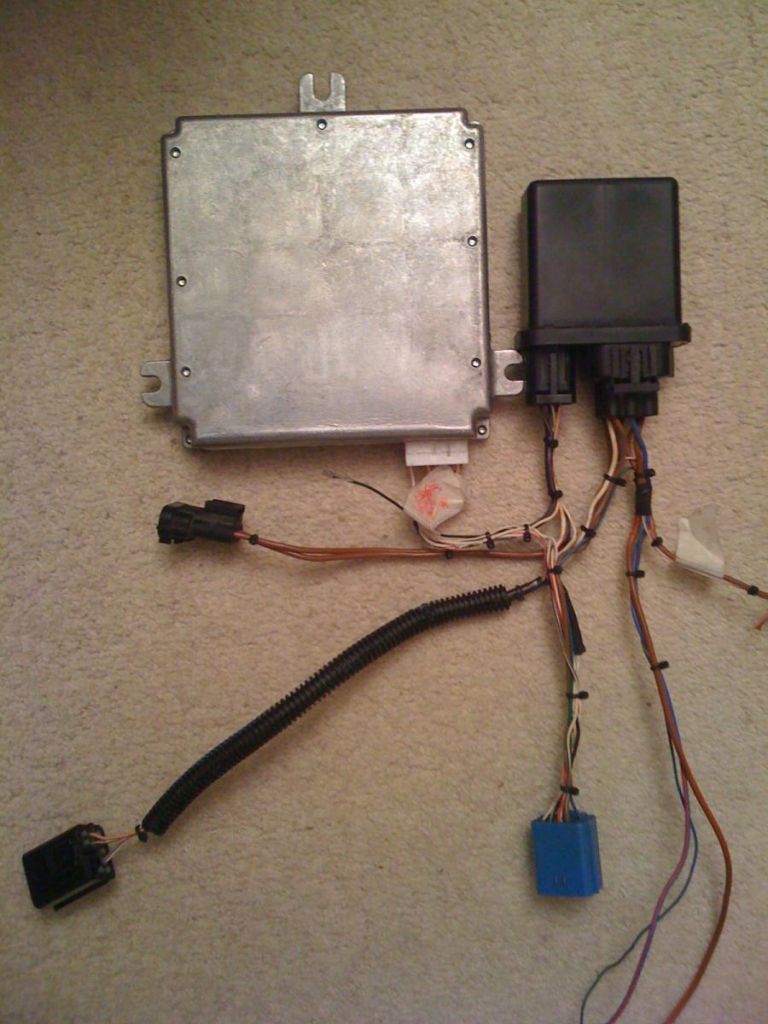
The main car harness plugs that would link the new Engine to the wiring loom to the front of the car.

Then it was just a matter of pluging everything back in and job done.
TIP: How well the wiring comes out will be done to your approach and time taken. Mine is okay, however I know full well if I cared a bit more, I could have done a better job of it. This would be by ensuring that all the wires are cut to length, all unused pins removed from the blugs and insulating all cables from potential heat damage. I would give mine 6 out of 10 ![]()
But for what it is and for now, I can call this job done! ![]()
-
 1
1
0 Comments
Recommended Comments
There are no comments to display.