


Entry posted by mambosasa
7,050 views
At this point, the car is pretty much prep'd and ready for the installation of the actual supercharger.
To re-cap, we have in place:-
1. All fuel lines
2. Swirl Pot
3. In-line fuel pump
4. Uprated pressure regulator
5. Secured the fuel filter in place
6. Changed the injector harness/ connectors
Left to do:-
1. Remove the original intake manifold
2. Make modifications to the bulkhead
3. Drop the charger in place
4. Drive belt
5. Go for a drive!!
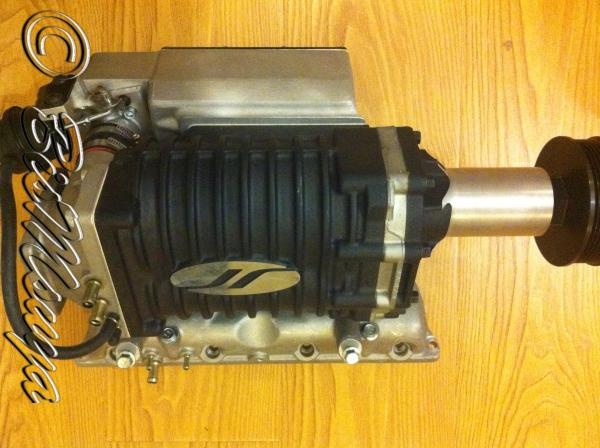
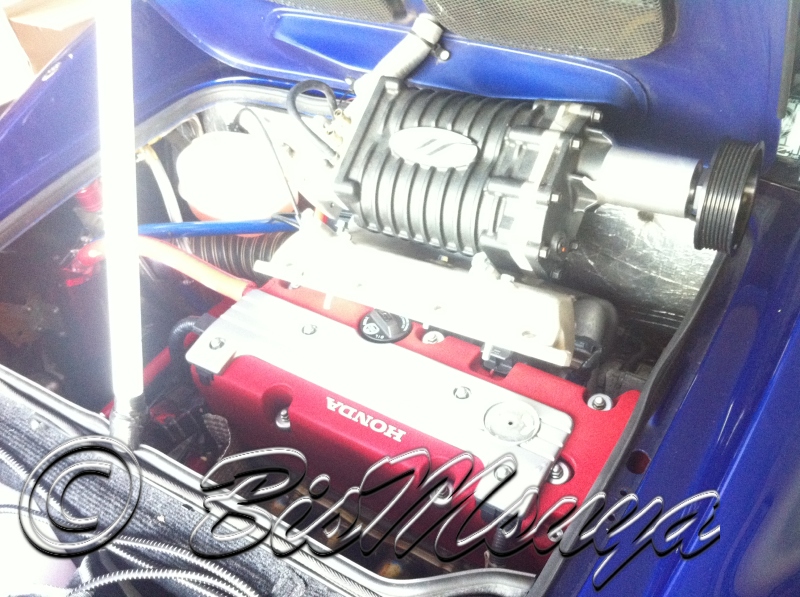
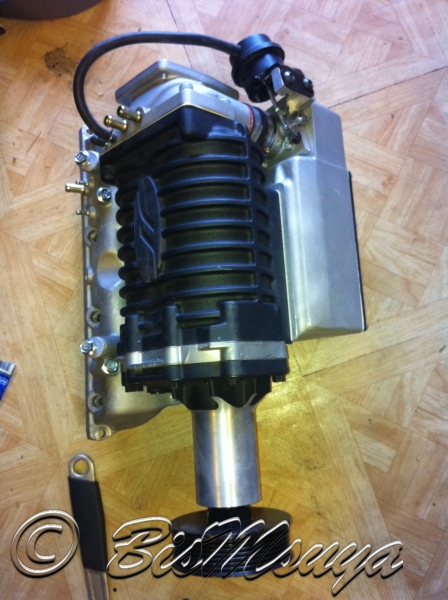
The Charger
So, as explained, I went for the Jackson Racing supercharger with the DC5 manifold. I had the option of going with the EP3, which would have fit onto the car a lot easier due to its orientation. So, I have just set myself a bigger task for greater power gains - I hope.
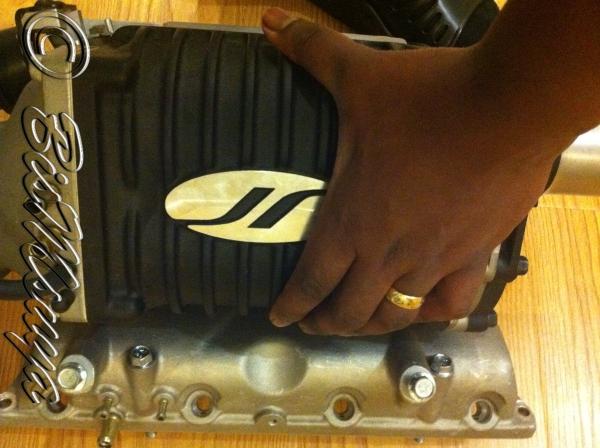
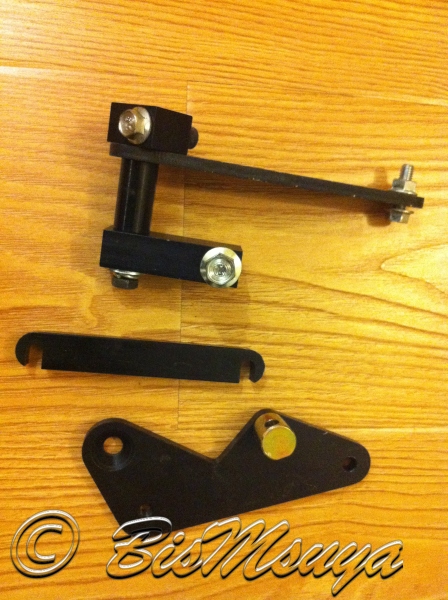
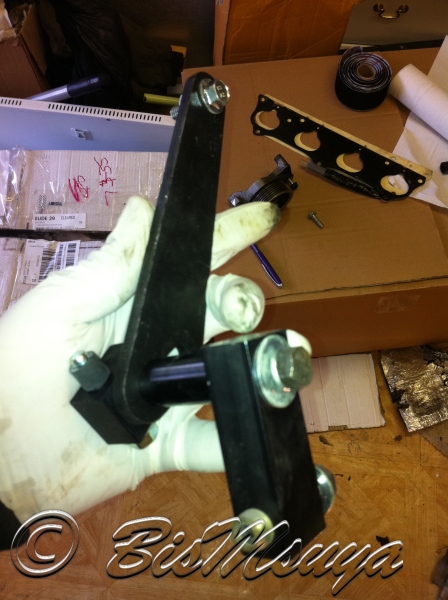
Brackets - more of which to come...
And this is how not to install it. On the serious note, I did this for some sanity really. I needed to check that the measurements gave me some hope that the thing would fit on the car.
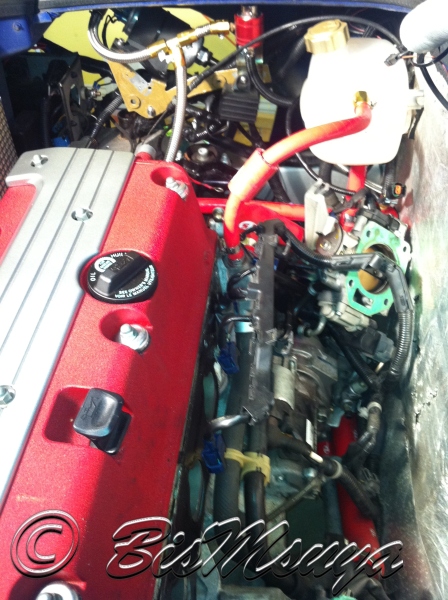
Manifold removal
Now that the fuel rail and the injectors are out of the way, we can start working on removing the old manifold...
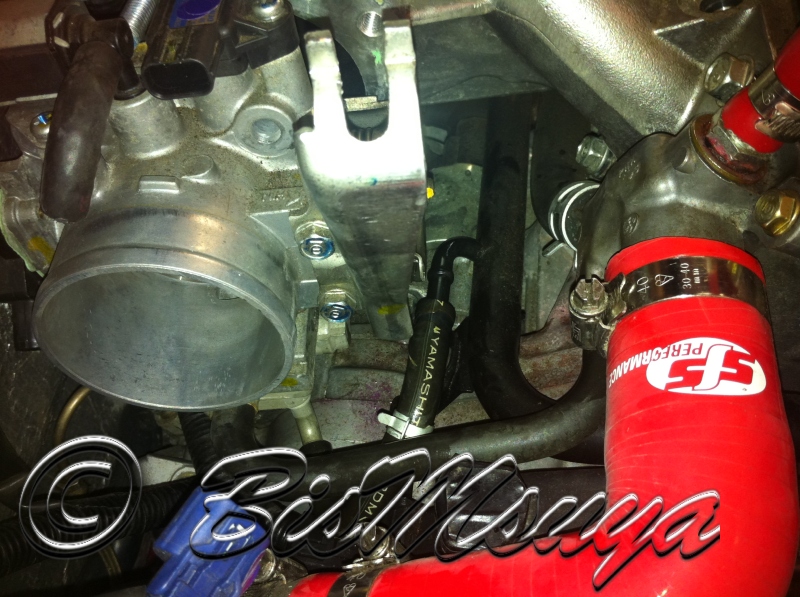
Remove all the connectors from the throttle body, marking them if you wish. The throttle body is held in place with two bolts and two nuts. Once removed, you can gently tap it free using a small screw driver. The gasket tends to hold the TB in place.
Note: The IACV heater coolant circuit will have to be disconnected and in doing so, you will get the coolant running all over the place. I used an old pipe to re-direct the flow into a bottle.
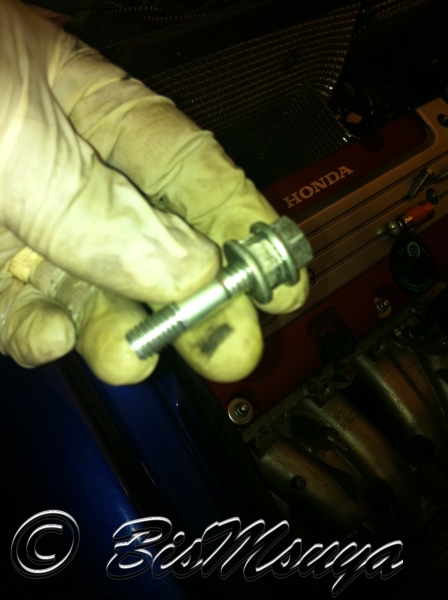
The manifold is held in place with a combination of bolts and nuts. Due to space restrictions, I opted to remove the studs instead of unbolting the bolts. For this, its easy to use the two bolts method, whereby you tighten two bolts together and un-do the bolt that is behind ( the reverse is also true when it comes to bolting the stud on.
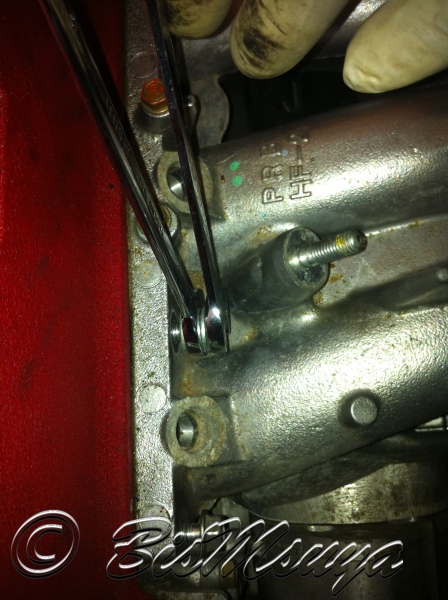
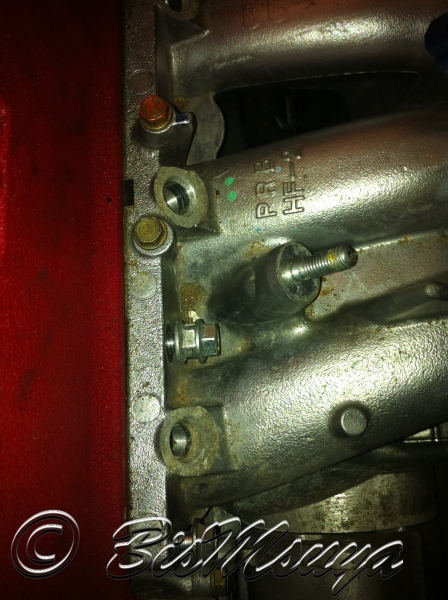
Easy as...
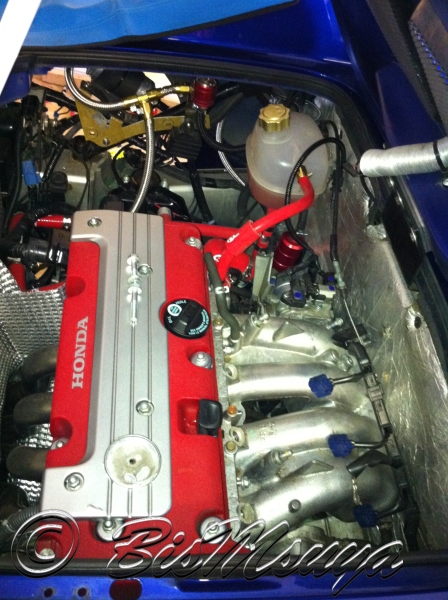
After 30 minutes of unbolting, away it came! I must say, the manifold turned out to be a lot lighter than I thought.
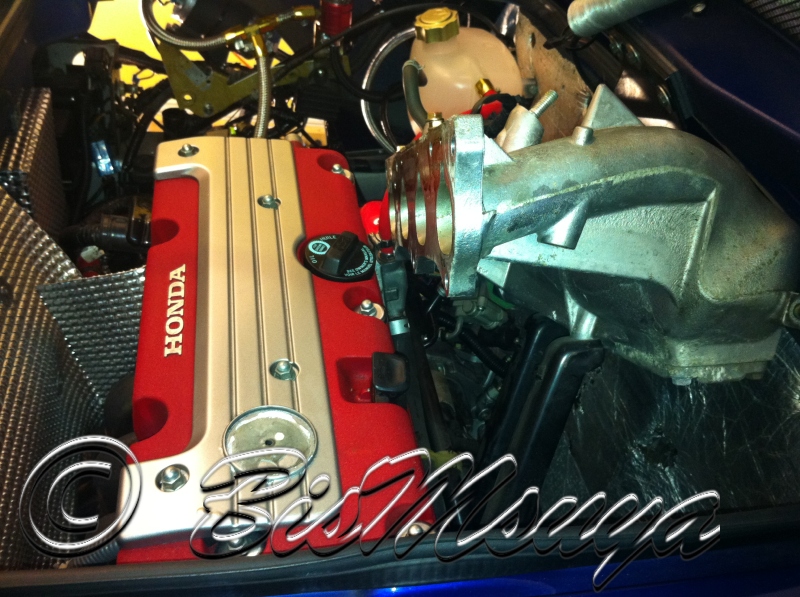
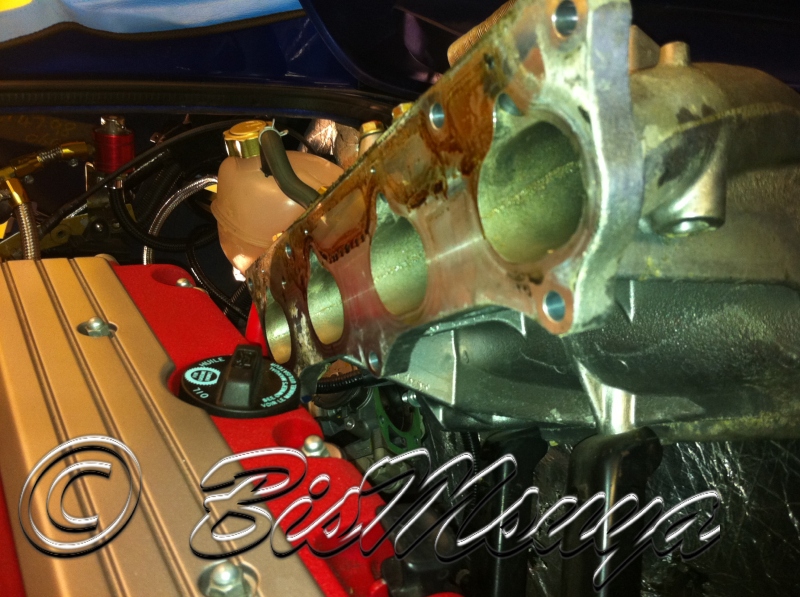
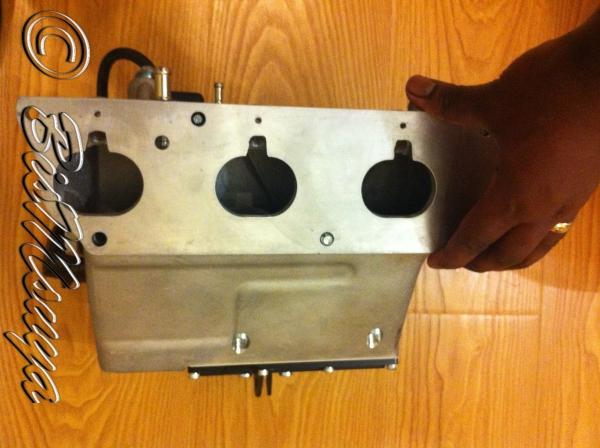
The location all ready to receive the new parts!!
Supercharger Prep
It is advisable that you check and correctly tighten all the bolts and if you feel appropriate, check the oil levels. Now, I didn't check the oil level on mine and I really wished I had. Lesson learned!
The first this I did was to change the HUGE standard pulley with a smaller 3.4 inch one. Once you un-do the main bolt, make sure that you take care to remove the pulley - DO NOT bash it with a hammer!
Out it comes...
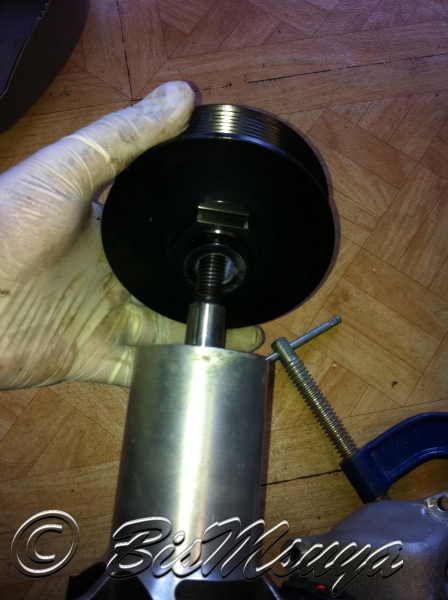
A quick comparison between the two pulleys...

All bolted in place now and looking good.
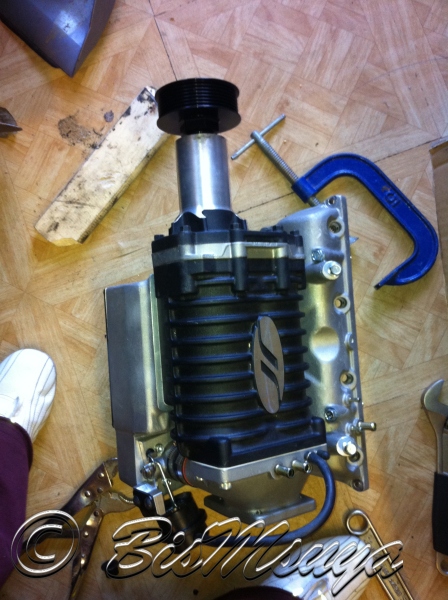
I checked the bolts under the charger and mounted the support brackets as this would be almost impossible to do once the charger is on the car...
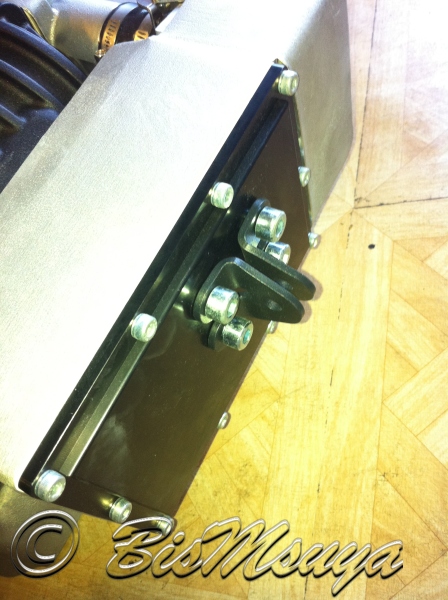
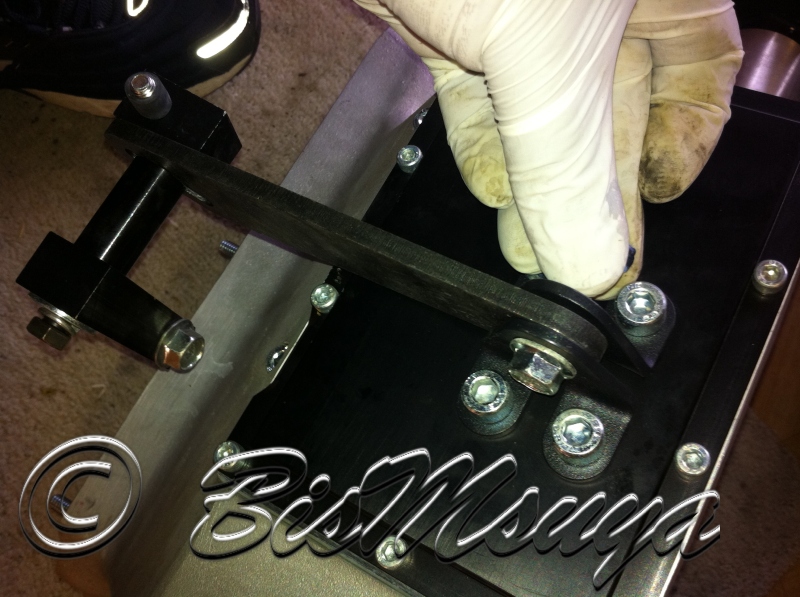
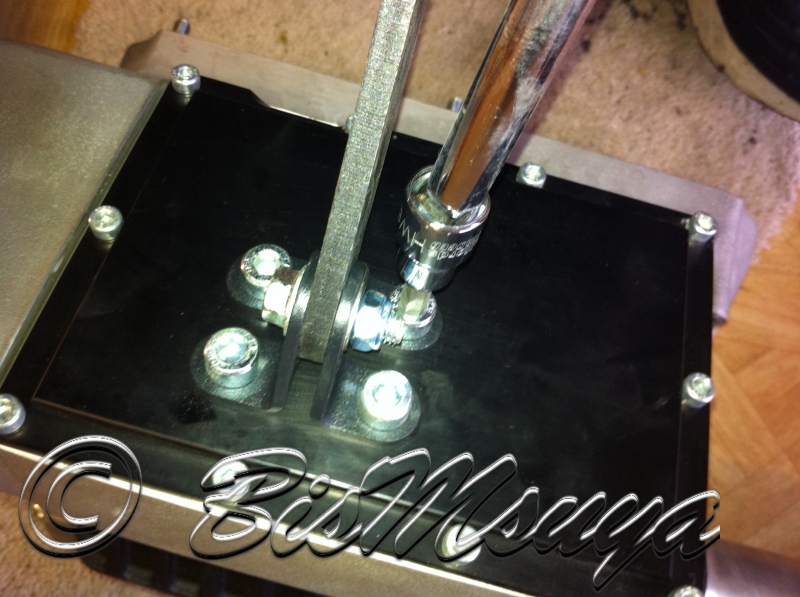
The pictures say it all. Looking good and fully secured now...
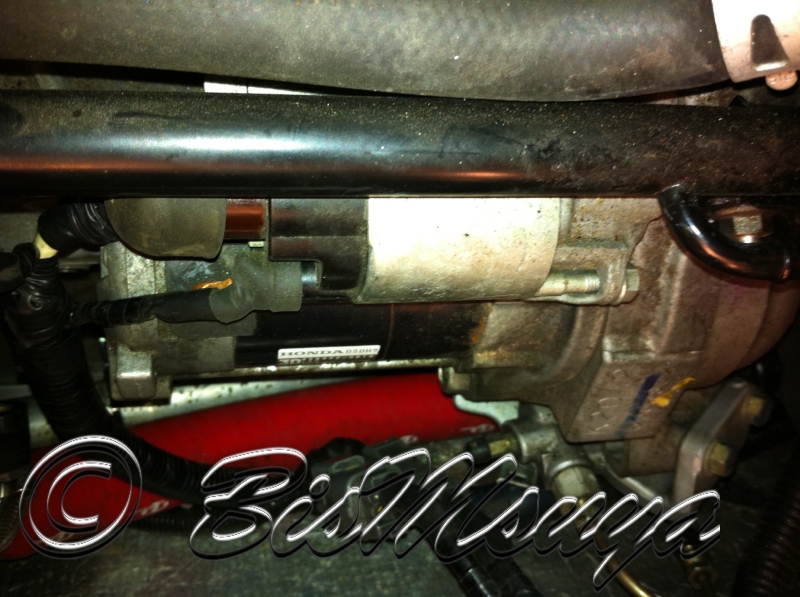
Starter Motor Modification
The supercharger will not clear the starter motor completely and you will have to make some minor modification.
Firstly, all wiring mounts have to be removed and thrown away. These are no longer required and if left in place, they would clash with the charger.
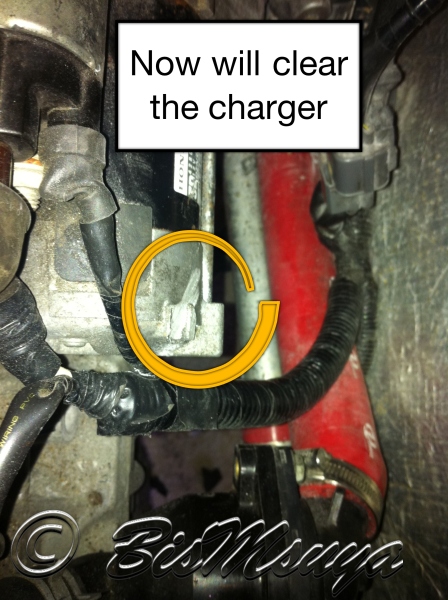
The main earthing cable coming out of the starter motor will have to be bent round and in-line with the black water pipe.
Note: Don't make the same mistake as I did and tried to fit the charger before making the changes. I did this and the wire got cut and shorted the earth. The cable started to heat up and almost caused a fire!!! Be warned!!
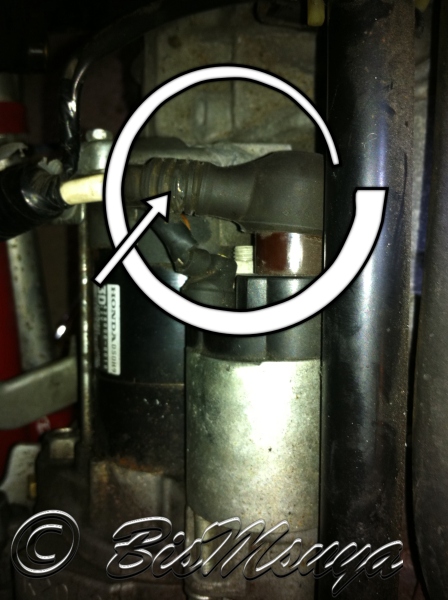
Now nicely modified and out of the way.
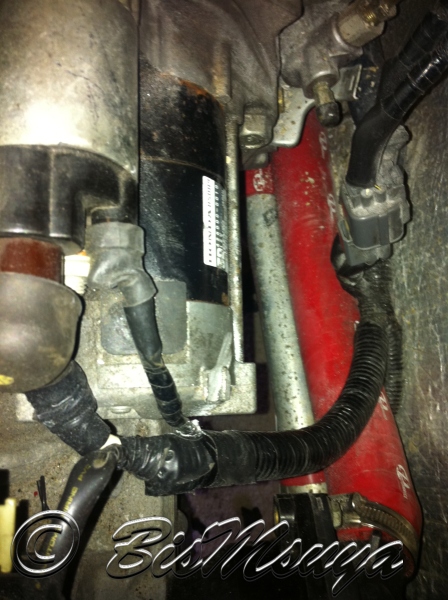
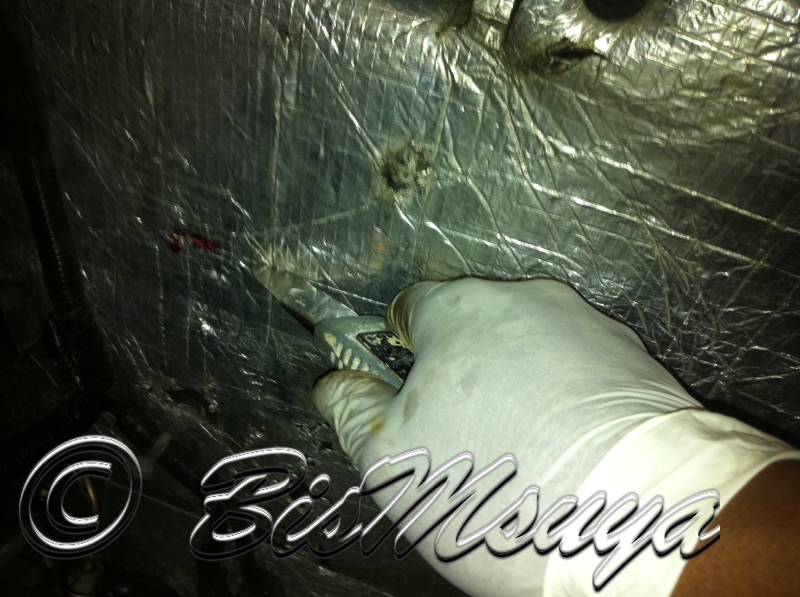
Once the cable was out of the way, I then had to remove the bit that held one of the wiring mounts on the starter motor. I have been told that in some cases, it is not necessary to remove this nodule, however in my case, I had to get it removed.
So out with the hacksaw...
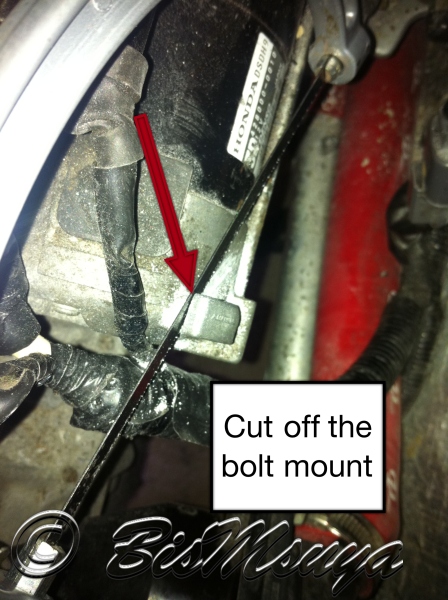
All done and clear now...
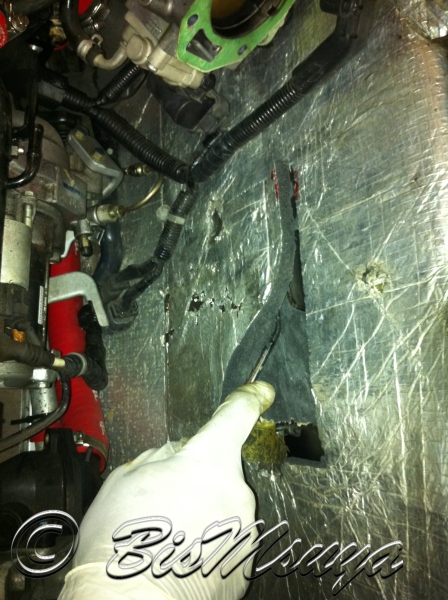
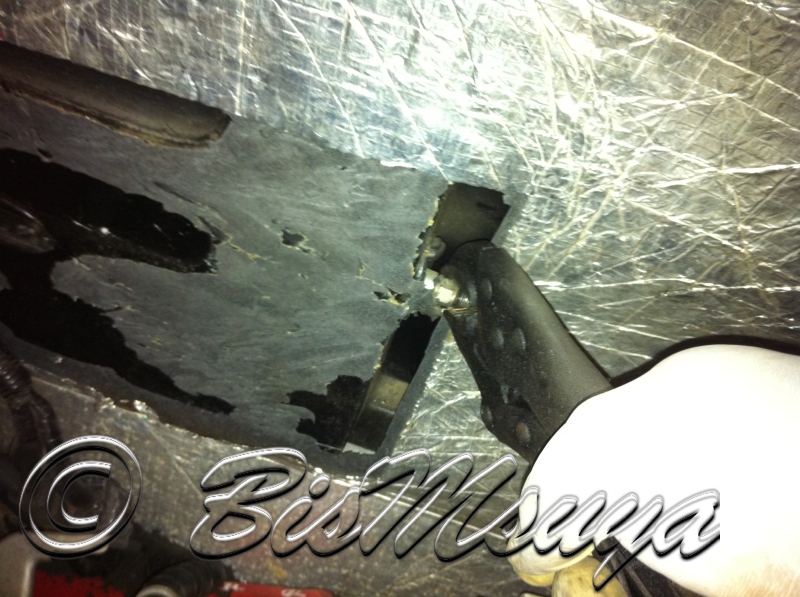
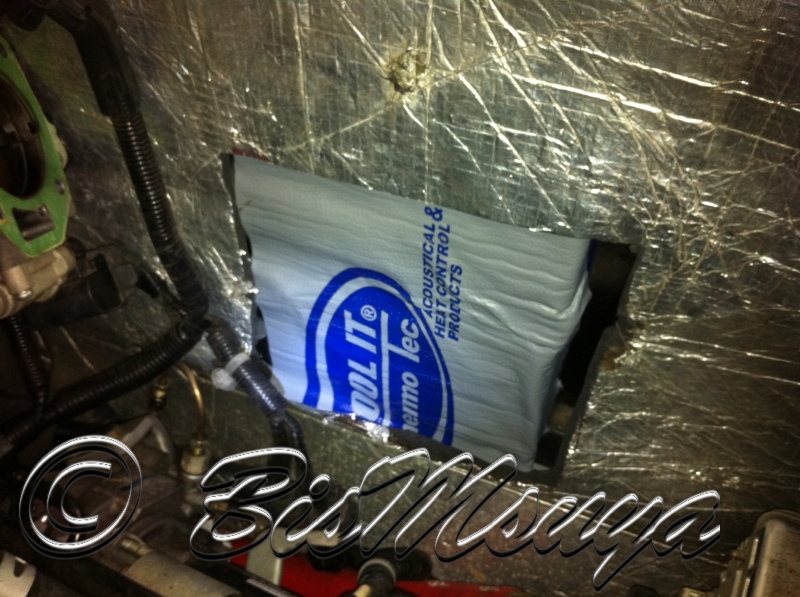
Bulkhead Modification
Now, due to the type of mounts I have on my conversion, the engine sits very tight against the builkhead, so much so that I had to removed the insulation to make enough room to accommodate the charger.
0 Comments
Recommended Comments
There are no comments to display.