


Entry posted by mambosasa
12,771 views
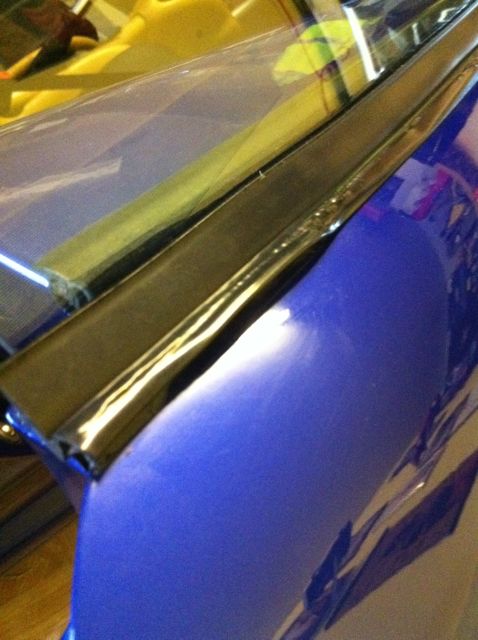
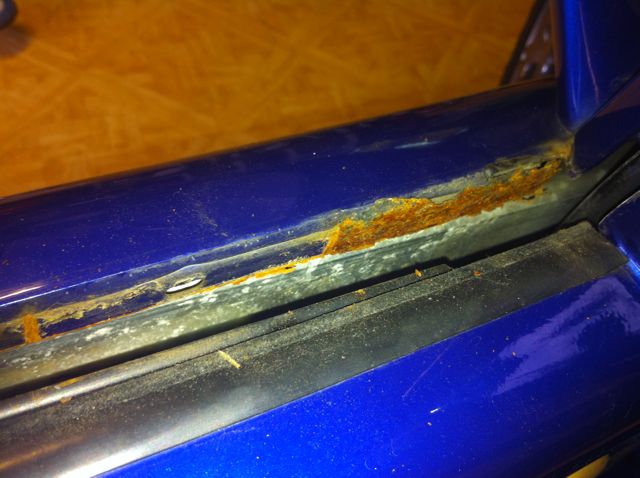
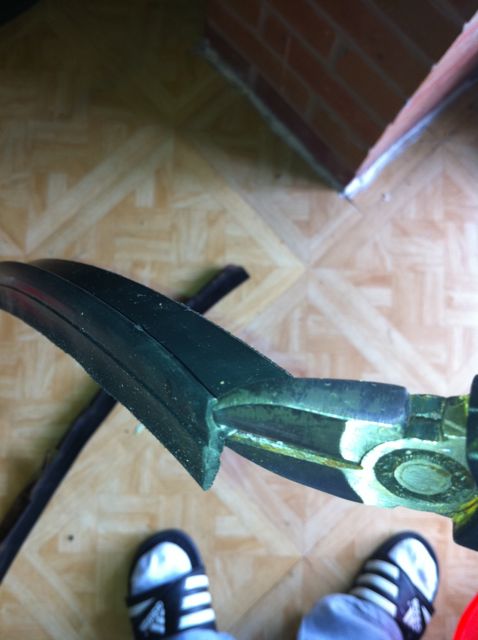
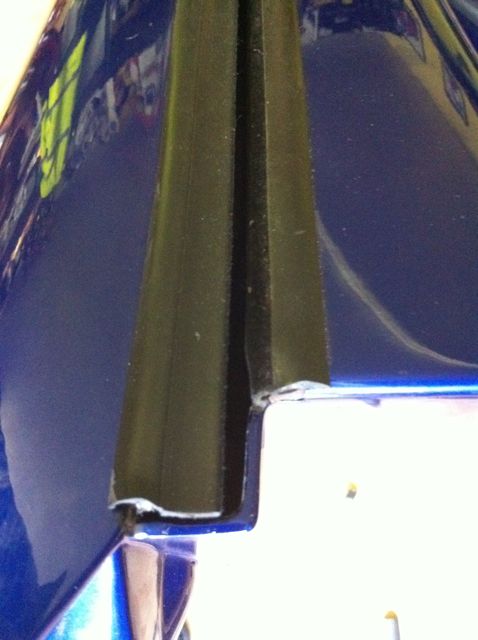
Like all Elise S1, my window window seals are looking in pretty bad shape. They are pretty bubbly with internal rust and look well past their best.
So, what are the options available.
1. To replace with the original seals - like for like. This is a pretty good option, except from the fact that Lotus would charge you £75 or so for the the seals alone! (this may even be per side)
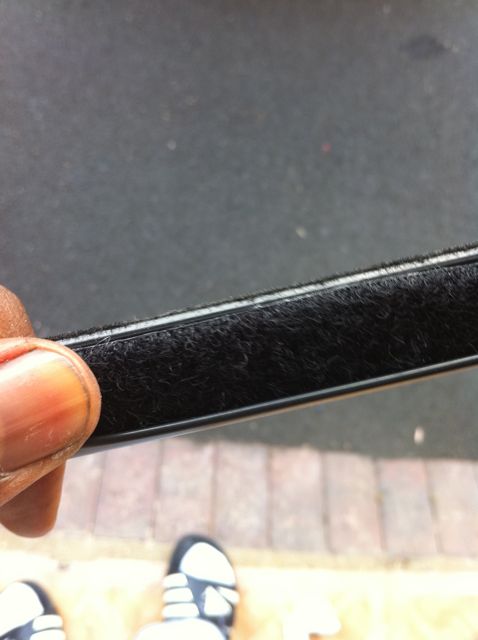
2. Replace them with aftermarket equivalent that has been used by others elsewhere - Woolies Trim version seems to do the job for about £20 once you pay for the delivery.
You can get them from here...http://www.woolies-trim.co.uk/p-1259-window-weatherstrip.aspx
So, down to work.
1. I wond the window right down and started by carefully pushing off the clips retaining the seals in place. If you have long nose pliers, this may be a better tool to use as you would be able to ensure the clips do not fall into the door cavity.
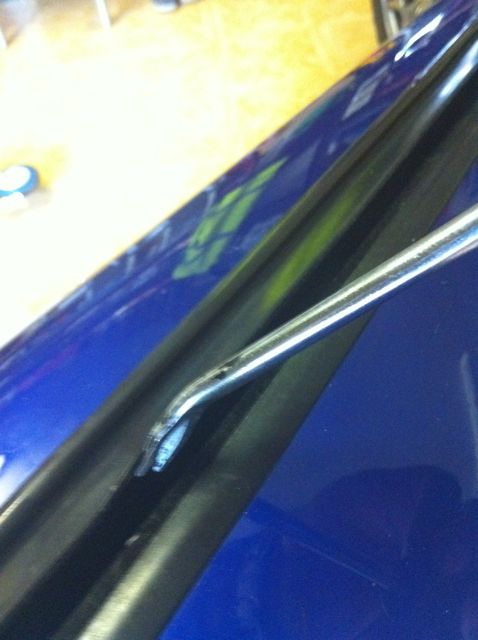
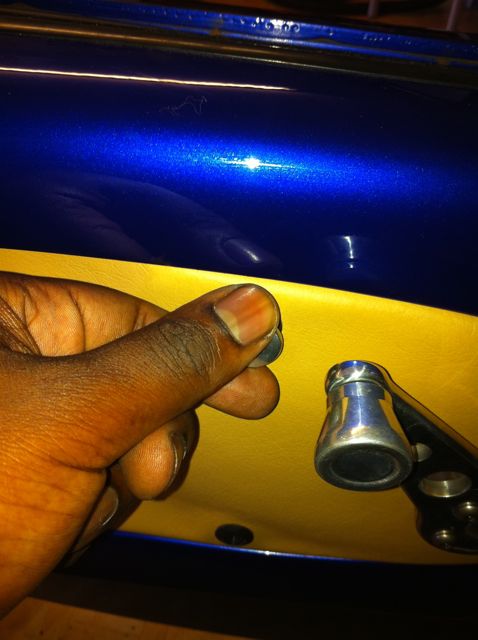
2. As I did not have the appropriate pair of pliers, I pushed the clips off the door into the door cavity and retrieved them though the door opening. This required the removal of the internal door card, which was pretty simple and quick.
Note: Ensure that you know how many clips feel into the door cavity and recover every single one otherwise you will end up with even more rattles that normal ![]()
Removing the internal door card...
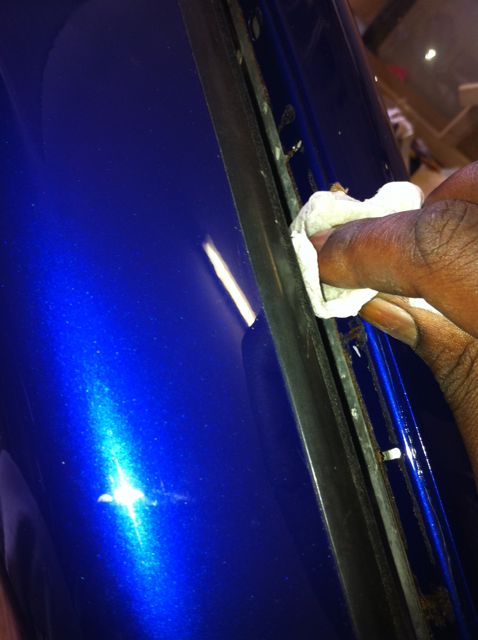
Gently pulling the seal free...
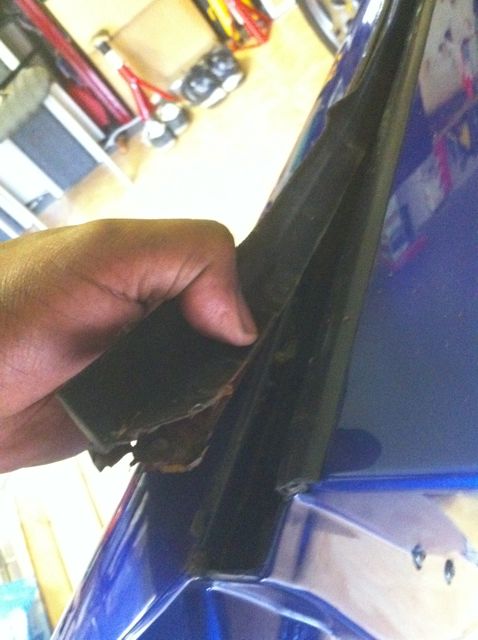
The rust has transferred onto the door...
3. I then very gently cleaned all the rust and glue left on the door with some white spirit and gentle scraping. Make sure that you take your time over this as you can very easily damage the paint on the door.
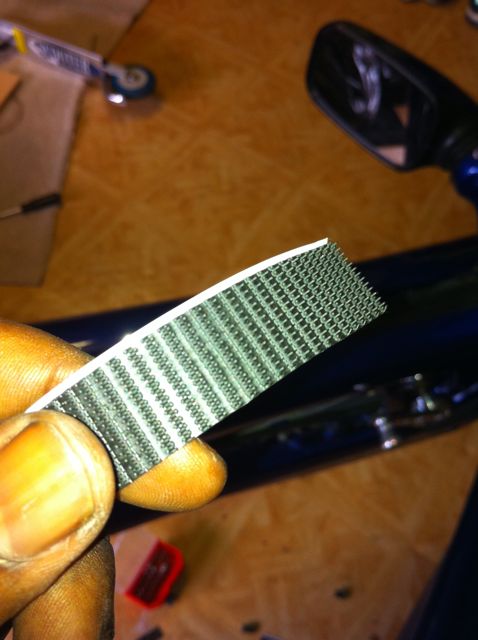
4. As done elsewhere, I opted to use Velcro as the primary means of holding the seals in place. These can be purchased from various on-line shops, however due to time, I ended up buying mine from B&Q
Looking at the setup, I ended up using the rough side of the Velcro strip on the door, with the softer side to be stuck to the seals themselves.
Carefully measure the length and once happy with your measurements, then cut the strip to size.
Then, taking care and time, carefully apply the strip to the cleaned side of the door.
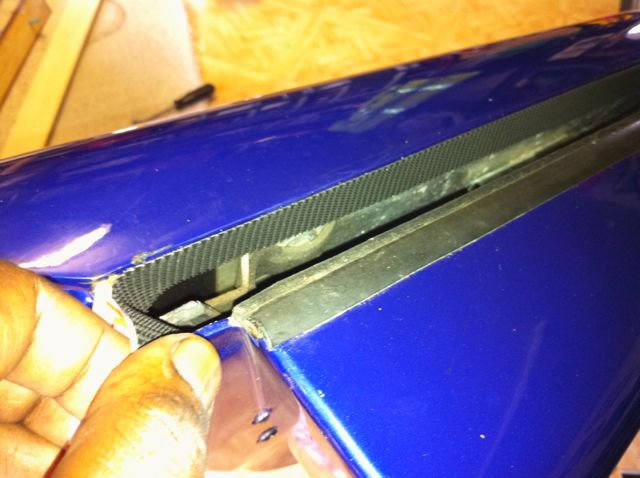
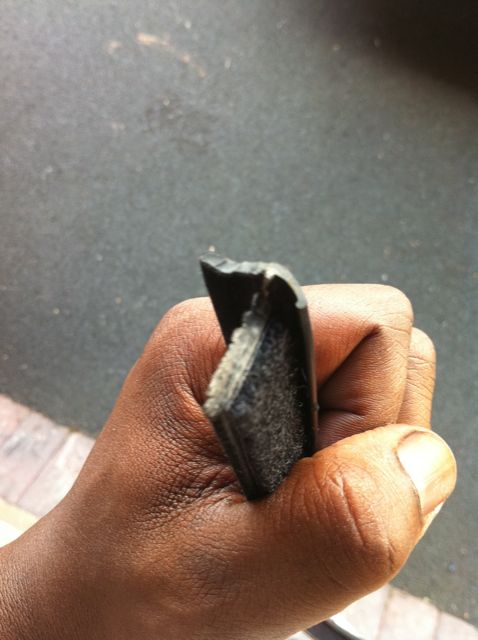
5. Once happy with the internal strip, I then moved on to the weather seals. I took pretty much the same approach as above and after measuring, I used a combination of a pair of pliers and scissors to cut to size.
Then cleaned the seals with white spirit before sticking the soft side of the Velcro strip to it...
6. The final step is by starting from the front end of the door, is to slowly get the two Velcro sides together, whilst ensuring that the seals are straight and look true when you look down the line...
The end result is pretty good I think...
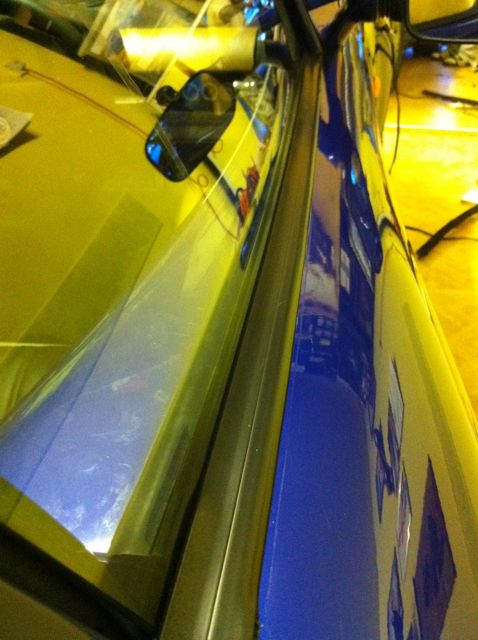
BE AWARE: That these seals do not push against the window as hard as the original ones, however they touch the glass enough to ensure that water does not end up in the door.
As for me, I am pretty happy with what I ended up with and would definitely recommend it to anyone else on the same situation.
I can consider this job done! 
7 Comments
Recommended Comments